raspberry pi

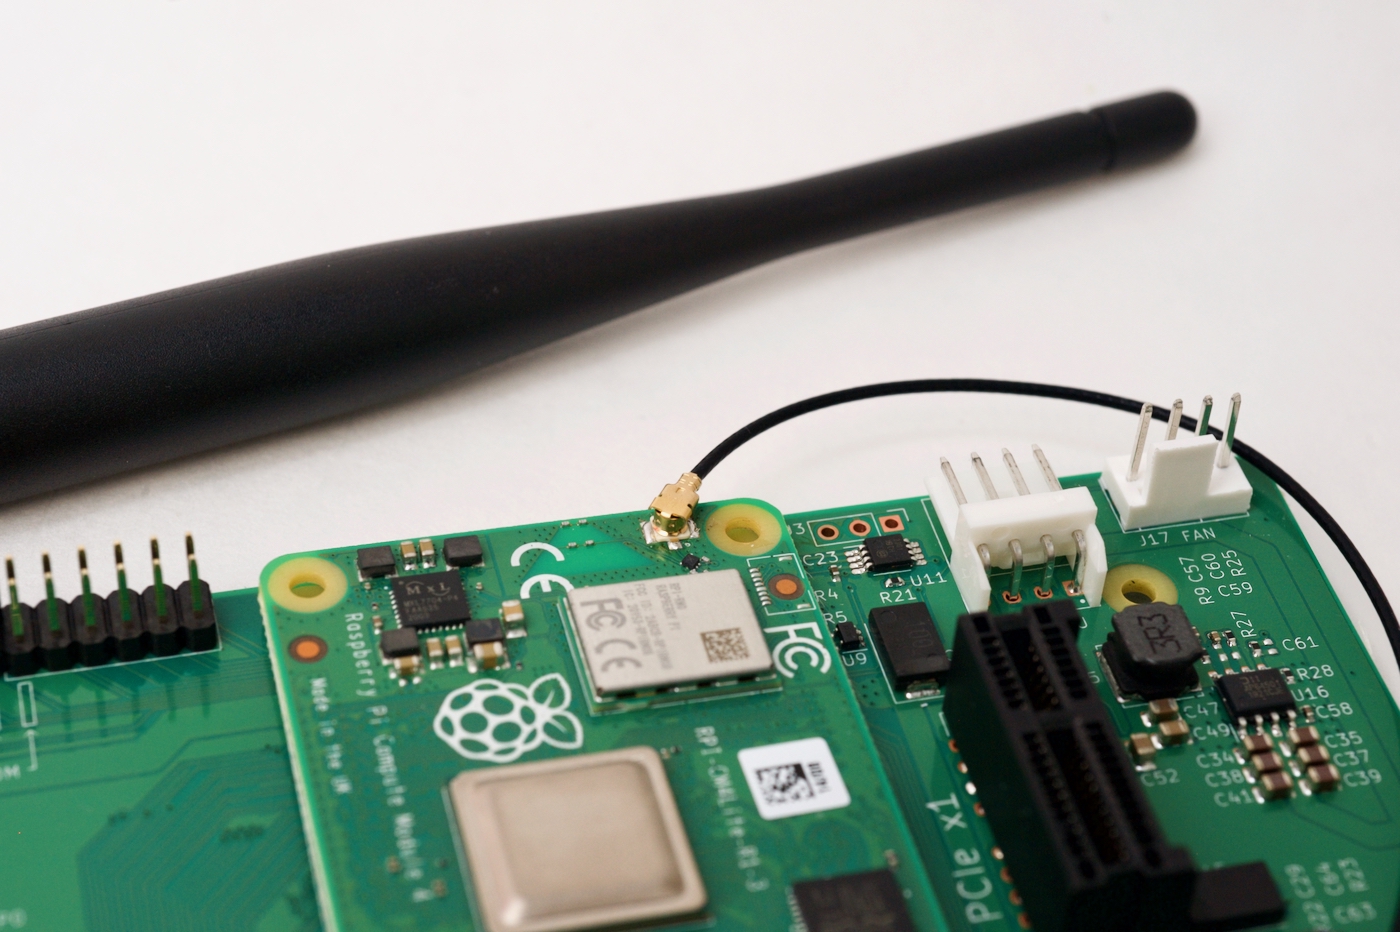
New Raspberry Pi: Compute Module 4S

Update: The Compute Module 4S is now listed on Raspberry Pi's website. But they state it "is not for general sale."

Strange times beget strange things.

And that's an apt description of the new Raspberry Pi Compute Module 4S:

Raspberry Pi Compute Module 3+ to 4S Differences

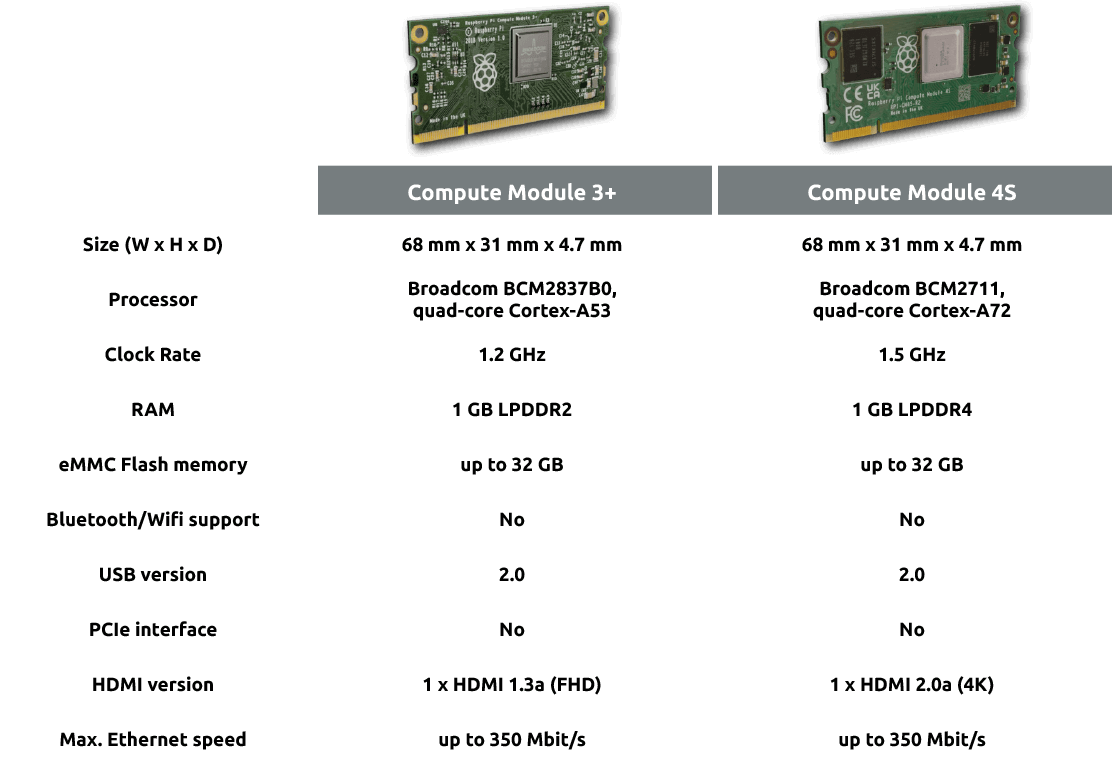
The above chart is from Revolution Pi's page announcing the RevPi S and SE, which are updates to their popular CM3+-based industrial DIN rail computers.

Playing sounds with Python on a Raspberry Pi

Today I needed to play back an MP3 or WAV file through a USB audio device on a Raspberry Pi, in a Python script. "Should be easy!" I thought!

Clarence the Raspberry Pi Bell Slapper with USB audio output and speaker

Well, a couple hours later I decided to write this blog post to document the easiest way to do it, since I had to take quite a journey to get to the point where sound actually plays through the USB audio output.

The problem is most guides, like this simple one from Raspberry Pi's project site, assume two things:

Top 10 Pi Projects for Raspberry Pi's 10th Birthday

Original Raspberry Pi model B and Pi 4 model B with old Pis in background

In case you didn't know, the Raspberry Pi turns 10 today!

That's right—the Raspberry Pi model B (pictured above, front left) was launched on February 29th, 2012. And it sold out immediately.

That seems to have become a theme with every Pi model, but for anyone who does have a Pi kicking around in a box somewhere—or if you're lucky enough to find a Pi in stock—check out my latest video, where I go through my top 10 Raspberry Pi projects (all of which I've built, and most of which I'm still running today!):

Building a desktop Pi PC with Axzez's Interceptor

A couple months ago, Axzez reached out and asked if I'd like to test out the Interceptor—an ATX-style mini motherboard for the Raspberry Pi Compute Module 4, complete with 5 SATA ports.

Axzez Interceptor Carrier Board for Compute Module 4

The board is meant to be used as an NVR (Network Video Recorder): You pop a Raspberry Pi Compute Module 4 on top, you plug in up to 5 SATA hard drives for storage, and then you plug IP cameras into the 3 extra LAN ports (via an RTL8367RB switch) on the back, and you can store IP camera footage on the drives, and access it over the network.

Gaming at 1080p and 120 Hz on a Raspberry Pi 4

I often like exploring what's possible on a Raspberry Pi (or other low-end hardware). One area I haven't explored much is GPU performance. I typically run my Pi's headless, and have only dabbled in embedded machine vision with Pi cameras, so most of my experience is on the programming / software side.

But seeing Apple's 120 Hz 'ProMotion', and ever-higher refresh rates in the enthusiast gaming realm (we may hit 480 Hz soon!), I wanted to see how a tiny Raspberry Pi could perform in this realm.

The Pi's VideoCore GPU can output 1080p at refresh rates up to 120 Hz—at least there's a setting for it. But I'd never tried it. The hardest I pushed a Pi was 4K at 60 Hz for my Pi 4 a Day challenge, and that didn't go as well as I'd hoped.

How to update the Raspberry Pi Compute Module 4 Bootloader / EEPROM

The Raspberry Pi 4 and Pi 400 share the same Broadcom BCM2711 SoC with the Compute Module 4. All three devices also share an SPI EEPROM flash chip, which stores the Raspberry Pi's bootloader.

SPI EEPROM Flash bootloader chip on Raspberry Pi 4 model B

But the Compute Module 4 differs in how you update the bootloader. With the Pi 4 or Pi 400, you can use Raspberry Pi imager to write a utility image to a microSD card to update the bootloader. You put in the card, power on the Pi, and the bootloader is updated.

On the Compute Module 4, because it may be used in remote or embedded environments, its bootloader can actually be hardware write-protected!

BliKVM - a PiKVM (KVM over IP) box based on the Compute Module 4

I received a couple BliKVM units recently, and since I don't have as much of a need (my only 'remote' PC is about 2' away from my desk...), I brought them to my Dad's radio station, and we set it up in their main on-air PC so operators could access the PC and fix problems at home, instead of driving in!

Check out our video on this board on the new Geerling Engineering YouTube channel:

You can buy the BliKVM on AliExpress, and try your luck finding a CM4 to use in it!

Hosting this website on a farm - or anywhere

tl;dr: This website is currently being hosted off-grid, on a cluster of Raspberry Pis, via 4G LTE—or at some points through the same tunnel via WiFi if signal strength gets too low. Here's the GitHub repo for the project.

Note: The website was down for a few hours this morning, as shortly after this post I started getting a 40-50 Mbps flood of POST requests (over 6 million in a 30 minute time frame)... and yeah, no way the little Pi cluster could handle that. Thanks, Internet. It's back up through Cloudflare now, and I'll post more on this 'fun' experience later.

A couple weeks ago, after months of preparation, I took my 4-node Turing Pi 2 cluster (see my earlier review) to my cousin's farm, and ran this website (JeffGeerling.com) on it, live on the Internet—completely disconnected from grid power or hard-wired Internet.

Enable the external antenna connector on the Raspberry Pi Compute Module 4

Raspberry Pi Compute Module 4 external U.FL antenna

The internal WiFi module on the Compute Module 4 (that's the bit under the metal shield in the picture above) routes its antenna signal via software. You can route the signal to either:

  1. The built-in PCB triangle antenna (this is the default).
  2. The external U.FL connector (which has an external antenna plugged into it in the picture above)

To switch the signal to the U.FL connector (for example, if you're installing your CM4 in a metal box where the PCB antenna would be useless), you need to edit the boot config file (sudo nano /boot/firmware/config.txt, and add the following at the bottom:

# Switch to external antenna.
dtparam=ant2

Then reboot the Pi.