electronics

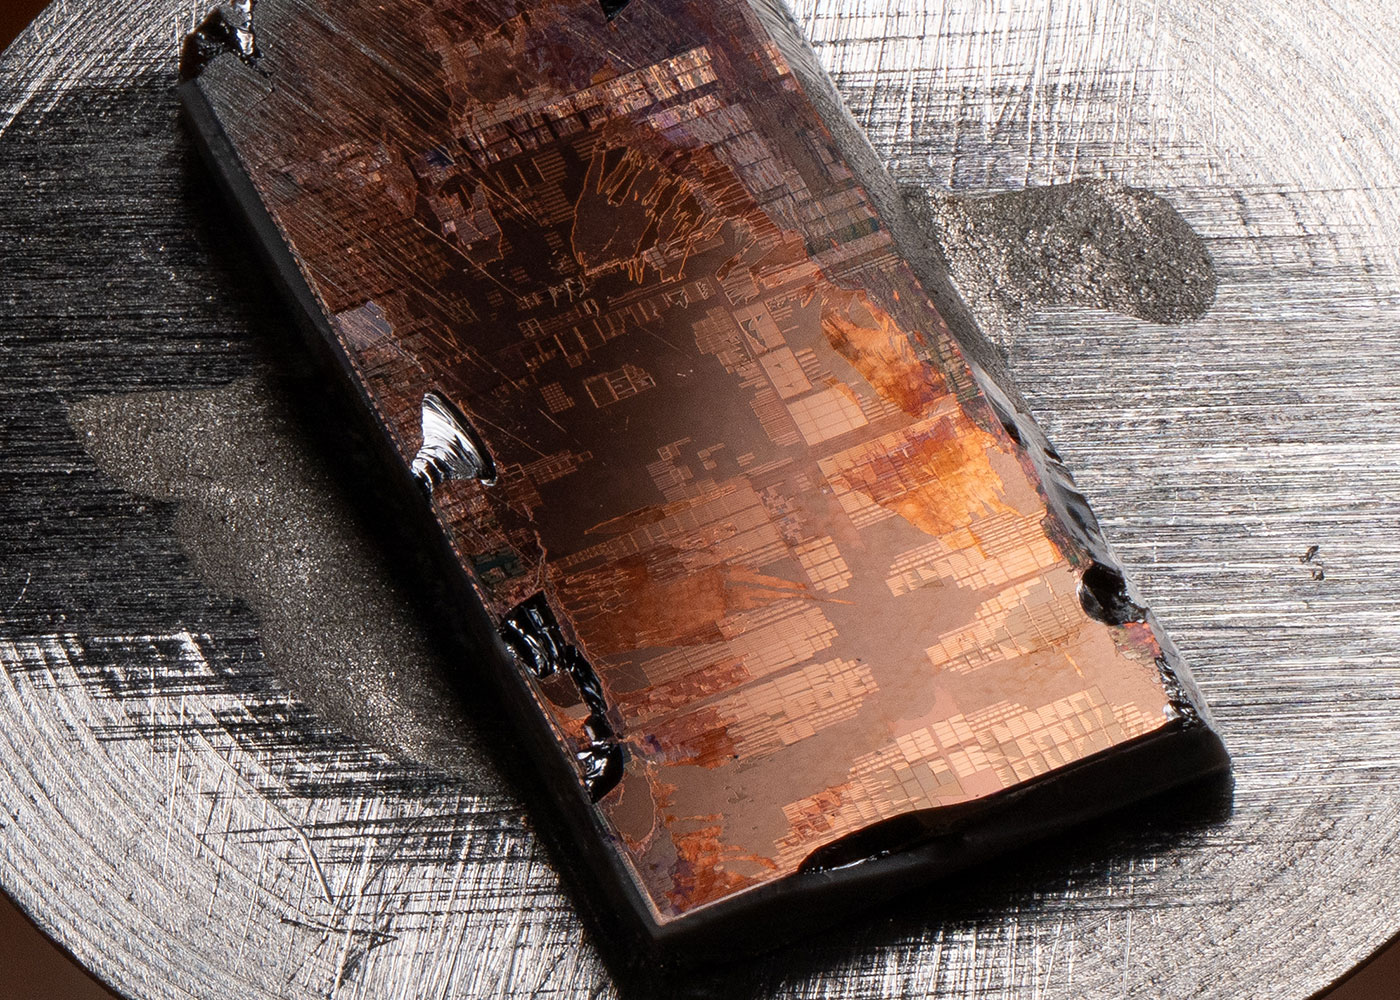
Die shots and transistor-level debugging on Raspberry Pi 5

Ever since I X-rayed the Raspberry Pi 5 to see inside the BCM2712 and RP1 chip packages, I've wanted die shots of both chips. Why? Mostly out of curiosity, since I'm not a silicon expert by any means.

I also ran into some weird overclocking issues after writing about my experience overclocking and underclocking the Raspberry Pi 5, and probably spent an unhealthy amount of time (and money) to learn about the clocks, PLLs, and chips on the latest version of everyone's favorite Single Board Computer.

Raspberry Pi 5 BCM2712 fragment 
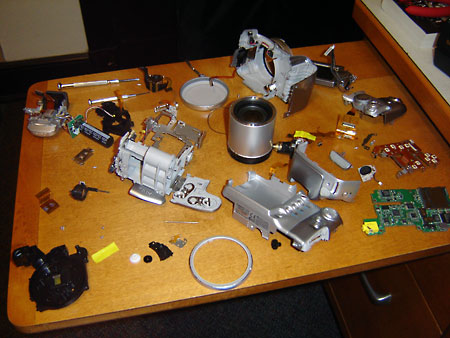
(Some Raspberry Pi 5s were harmed in the making of this blog post.)

Look inside the Raspberry Pi Zero 2 W and the RP3A0-AU

Today, Raspberry Pi released their new Zero 2 W, and it includes a new Raspberry Pi-branded chip, labeled RP3A0-AU.

I was able to get early access to the Zero 2, and I have a full review of the device on my YouTube channel, but I wanted to share more of the X-ray images I took of the device to reveal its inner workings, and because I just think they look cool. Also, I paid a bit of money to get these pictures, so might as well share!

First, here's what the Zero 2 W looks like in person:

Raspberry Pi Zero 2 W

And here's what it looks like via X-ray:

Raspberry Pi Zero 2 W - X-ray vision

Monitoring my home's air quality (CO2, PM2.5, Temp/Humidity) with AirGradient's DIY sensor

A few months ago, I found this Hacker News post about the AirGradient DIY Air Quality Monitor. I had already been considering buying an AirThings Wave Plus sensor to monitor my home's CO2 levels, but the high price and limited 'ownership' of the data coming from it turned me off.

AirGradient DIY Air Quality Sensor - Focus Stacked by Jeff Geerling

So I built two AirGradient DIY air quality monitor boards (see above), and integrated them into my Prometheus + Grafana home monitoring setup I've been using to monitor other things in my house:

AirGradient DIY Grafana Dashboard for CO2 PM2.5 Temperature Humidity monitoring

The Raspberry Pi IoT Notification Bell

Harbinger of the Internet of Dings

Last year, I built the first version of what I call the "Raspberry Pi Bell Slapper." It was named that because it used a servo and a metal arm to slap the top of the bell in response to a stimuli—in this case, an email from a donation notification system for a local non-profit radio station.

This year, that same radio station had another one of their fund-raisers (a radiothon), and to celebrate, I thought I'd do the thing justice, with a better circuit (using a solenoid instead of a servo) and a 3D printed enclosure. And this is the result:

Clarence 2.0 - The Raspberry Pi Notification Bell

There is a Raspberry Pi Zero W with a custom solenoid control HAT on top inside the case to the left, and the solenoid right up against the bell, which is mounted on the right.

I also posted a video on YouTube exploring the project in detail: The Raspberry Pi IoT Notification Bell.

The Raspberry Pi Pico is a new $4 microcontroller

Raspberry Pi Pico on breadboard

tl;dr: The Raspberry Pi Pico is a new $4 microcontroller board with a custom new dual-core 133 MHz ARM Cortex-M0+ microprocessor, 2MB of built-in flash memory, 26 GPIO pins, an assortment of SPI, I2C, UART, ADC, PWM, and PIO channels.

It also has a few other party tricks, like edge castellations that make it easier to solder the Pico to other boards.

The Pico is powered by a new RP2040 chip—a brand new Raspberry-Pi-built ARM processor. And the best thing about this processor is the insanely-detailed Datasheet available on the Pico website that steps through every bit of the chip's architecture.

Video Review and 'Baby Safe Temperature' Project

I posted an entire video reviewing the Pico and demonstrating a MicroPython project. The video is embedded below:

Fixing a 2011 MacBook Pro booting to a Grey Screen - AMD Radeon Video Glitch

I've been a Mac user for years, and I've repaired hundreds of different Macs, from the early II series to the latest 2015 and 2016 model MacBook Pros, iMacs (and other Apple hardware to boot!), and there is almost never a hardware situation where I've thrown in the towel and told someone to ditch their Mac.

The 2011 MacBook Pro has, for almost a decade, been the exception to that rule. There was a major flaw in the AMD Radeon GPUs included with that model year's logic board which seemed to cause GPU failure either due to overheating, internal chip problems, BGA solder joints getting broken, or a combination of the above. The problem was so rampant, Apple was forced to set up a free repair program for affected MacBook Pros—though the 2011 model has since been dropped from that program. I've handled three 2011 MacBook Pros (none of them my own—I had an Air back then), and all three of them were scrapped because of the GPU issue.

Refurbishing a classic microphone - the Electro-Voice RE20

In the world of radio and professional podcasting, there are fewer than a dozen 'go-to' microphones. Each of the classics (e.g. the Shure SM7B, the Neumann U87, or the EV RE20) has it's own advantages and a few marquee users, but one mic seems to rule the roost when it comes to versatility and ability to color almost any voice with the 'talk show' sound, and that's the EV RE20.

Electro-Voice RE20 classic black and white mounted in shock mount microphone EV
The RE20 mounted in the 309A shockmount.

Ansible deployments Visualized with a Raspberry Pi cluster

Raspberry Pi Dramble - cluster of Raspberry Pi computers

For the past few weeks, I've been building a cluster of six Raspberry Pis to test and demonstrate Ansible playbooks for Drupal deployment at upcoming events (like MidCamp and DrupalCon LA).

I added an RGB LED to each of the Raspberry Pis that can be controlled via software (for example, here's a Python script to turn on one individual color on the LED), and as part of the demonstration, I'm using the LEDs to indicate which server Ansible is currently working with.

RIP - Canon PowerShot S2 IS

Two weeks ago, my Canon PowerShot S2 IS died (the shutter would no longer open, even after I performed about six different resuscitation methods). After discovering the cost of repair was a little too high (almost $200!), I thought to myself, "Well, why don't you take a crack at seeing what's wrong?"

Bad idea.

Canon PowerShot S2 IS Disassembly

As you may surmise from the above picture, I was able to take apart practically every part of the S2 IS. However, I think I finally decided there was no chance of my repairing the camera, or even putting it back together, after I accidentally broke the itty-bitty microphone wires, then dropped two microscopic screws (until that time, I was carefully documenting where all the screws went...).