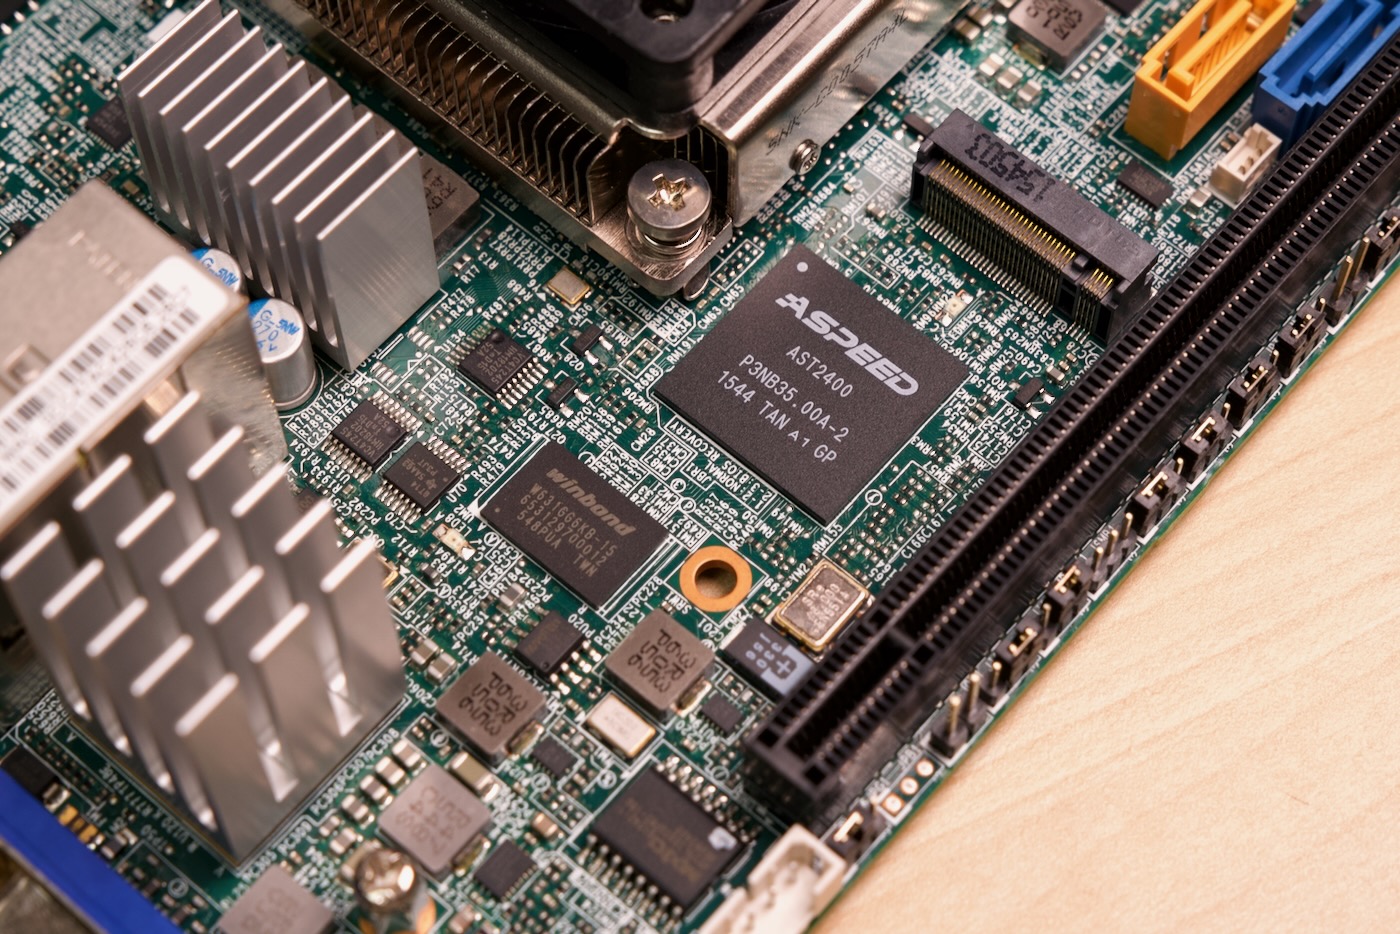
That title is awfully specific.

But I was building a new FreeBSD server with a used SuperMicro motherboard with IPMI. The default password was changed from ADMIN (or maybe it's a new enough board that it's a random password), and when I was booted into FreeBSD, I wanted to reset the IPMI settings so I could be sure I was starting fresh.
ipmitool that came with my FreeBSD install doesn't seem to be able to reset IPMI to factory defaults, so I tried running ipmicfg from Supermicro's website (which is annoying to download—you have to fill out a form and a Captcha for the privilege).
I put it on a flash drive, since I didn't have networking set up yet, and ran mkdir /mnt/usb && mount_msdosfs /dev/da0s1 /mnt/usb to open it up.
But when I tried running the executable, I got:
# ./IPMICFG-Linux.x86_64
ELF binary type "0" not known.
zsh: exec format error: ./IPMICFG-Linux.x86_64
Stuff built for Linux doesn't necessarily run on *BSD. Therefore, I had to enable Linux binary compatibility:
# nano /etc/rc.conf

linux_enable="YES" # Add this line to the file

# reboot
(In my case, I actually had to add the linux_enable line inside /conf/base/etc/rc.conf since I was running TrueNAS on this build.)
After the reboot, run:
# service linux start
Then you should be able to run the binary and reset to factory defaults:
# ./IPMICFG-Linux.x86_64
ELF interpreter /lib64/ld-linux-x86-64.so.2 not found, error 2
zsh: abort ./IPMICFG-Linux.x86_64
...or not. That didn't work because FreeBSD's Linux compatibility layer is apparently missing the libraries required for ipmicfg to run. Oh well, it was worth a try!
Switching gears - booting DOS!
So instead, I flashed FreeDOS to a USB flash drive using Rufus on my Windows PC. I then copied the DOS directory from the IPMICFG Supermicro download to the USB flash drive, then plugged that into my Supermicro motherboard, rebooted, and made sure to boot off that flash drive in the BIOS settings.
Once booted, I got the all-too-familiar C:\> prompt, and ran the following commands:
# Change into the DOS directory.
C:\> cd DOS

# Check the current IPMI user listing.
C:\DOS> ipmicfg -user list

# Change the ADMIN user password.
C:\DOS> ipmicfg -user setpwd 2 [password]
That worked!
Though, in my case, I found out the ADMIN user had been disabled somehow (it showed 'No' under the Enable column), so I ended up just resetting the entire BMC using the command:
# WARNING: This will wipe your BMC config entirely!
C:\DOS> ipmicfg -fd 2
And there... I could finally log into this used motherboard (which apparently came from OVH) and set my own password.
This answer on ServerFault was very helpful in figuring out ipmicfg, as well as the article on ServeTheHome titled Reset Supermicro IPMI Password to Default – Physical Access.
Updating the BIOS
At the same time, it might be a good idea to update your motherboard's BIOS:
- Search for your motherboard model number on this page
- Download the BIOS .zip file
- Copy the contents to a
BIOSdirectory on the FreeDOS boot drive - Reboot the server from that boot drive.
- In the BIOS directory, run
C:\BIOS> FLASH.BAT [BIOSFILE.###](e.g.X10SDVF1.604for the BIOS filename, in my case).
It'd be nice if you didn't need a license to update the BIOS through IPMI... but here we are. I mean, if you search for "SuperMicro IPMI License Generator", you can probably find a way to get the key for your server... but it'd be nice if the motherboard were unlocked by default.
Comments
Did you load the ipmi kernel module before trying to reset the password?
peterkleissner.com/ generate the ipmi license keys yourself.
Just watched your YouTube video about building mini nas, great supermicro motherboard I own similar, just want to give a heads up because from what I saw in the video you connected the 4pin power from psu to the motherboard, please consult supermicro manual for your board, because I suspect that you need to use either 4pin 12v, from special 12v psu or 24/20 atx power not both.
Interesting! I didn't know that—but in the manual it states:
So it does seem you should use one or the other—but I haven't noticed any side effect of using both... not sure why it's that way.
like a charm !