Today Raspberry Pi Trading announced the Raspberry Pi 400, the latest in the series of small education-focused computers that started with the original Raspberry Pi in 2012.
For years, people have come up with creative ways to hack a Pi into keyboards, like the Original Pi in an old Mitsumi keyboard, or the Pi 3 A+ in an official Pi Keyboard.
But the Pi 400 delivers something many have desired: an official Pi 4 board built right into a Pi Keyboard, in a space- and performance-efficient way.
This blog post will run through a full teardown and review of the Pi 400 and the rest of the official Kit you can purchase from the Raspberry Pi website for $100. (You can also buy the Pi 400 on its own for $70).
Videos: There are to videos that go along with this post:
What you get
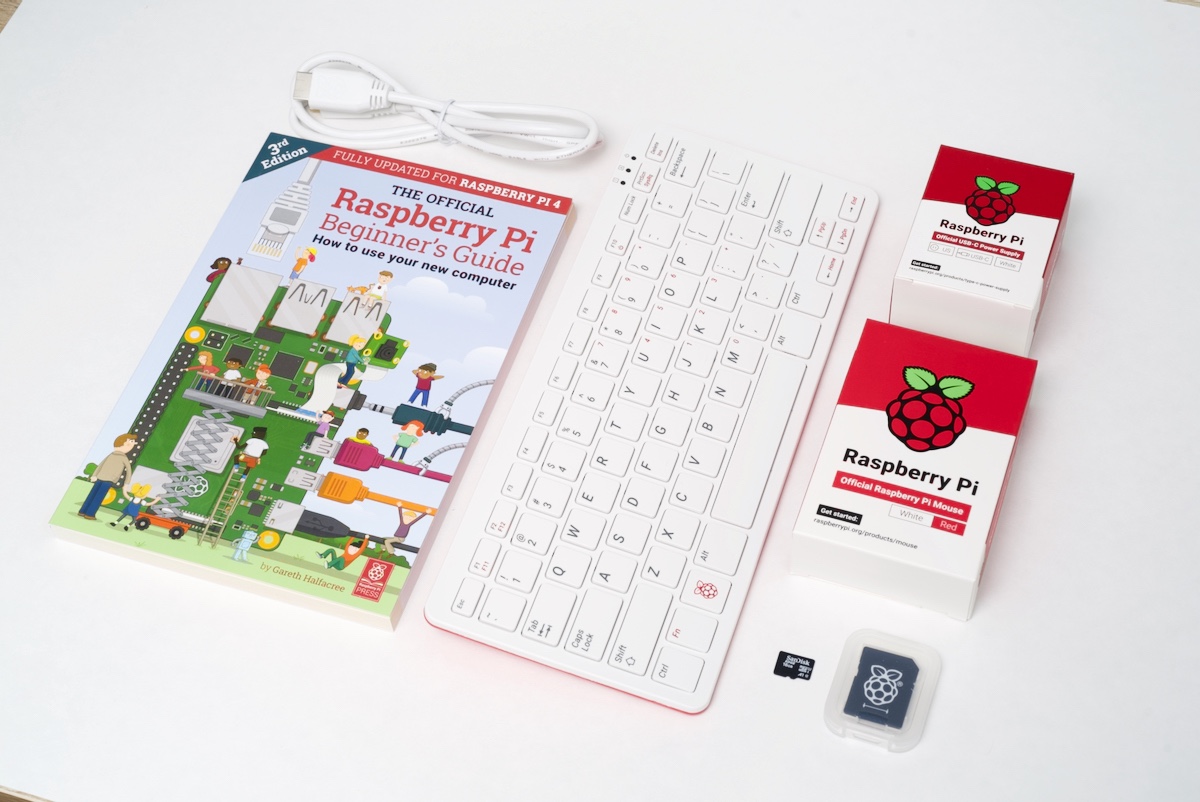
For $100, the Raspberry Pi 400 Kit gives you:
- The Pi 400 computer (1.8 GHz 4-core CPU, 4 GB RAM)
- The official Pi Keyboard (built-in; normally $20)
- A 16GB SanDisk Edge microSD card (normally $10)
- The official Pi USB-C Power Supply (normally $8)
- The official Pi Mouse (normally $8)
- The official Pi micro-HDMI to HDMI cable (normally $6)
- The Official Raspberry Pi Beginner's Guide (normally $10)
The equivalent cost Pi 4 model B (with a slower standard CPU clock) is $55, so the total for this entire bundle, purchased separately (and without the benefits the Pi 400 brings to the table) would be $117.
The kit's a great deal, but if you already have some or all of the required accessories, you can get the Pi 400 standalone for $70.
Comparison to the Pi Keyboard
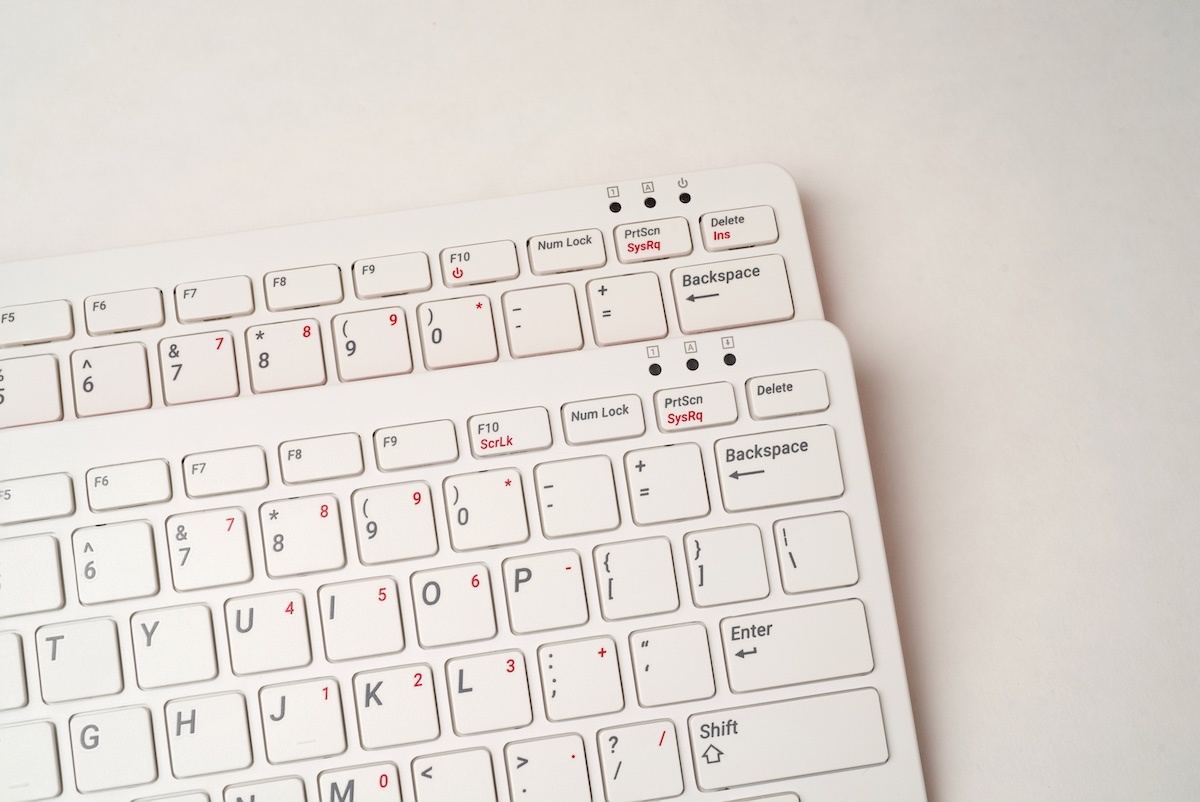
Looking at the Pi 400 and Pi Keyboard from above, it's not obvious what's different—on top, the only change is the F10 Scroll Lock key now is used as a power button, and the Scroll Lock indicator is now a power/activity indicator.
Aside: Has anyone reading this ever used scroll lock? I've at least used num lock before, but never scroll lock.
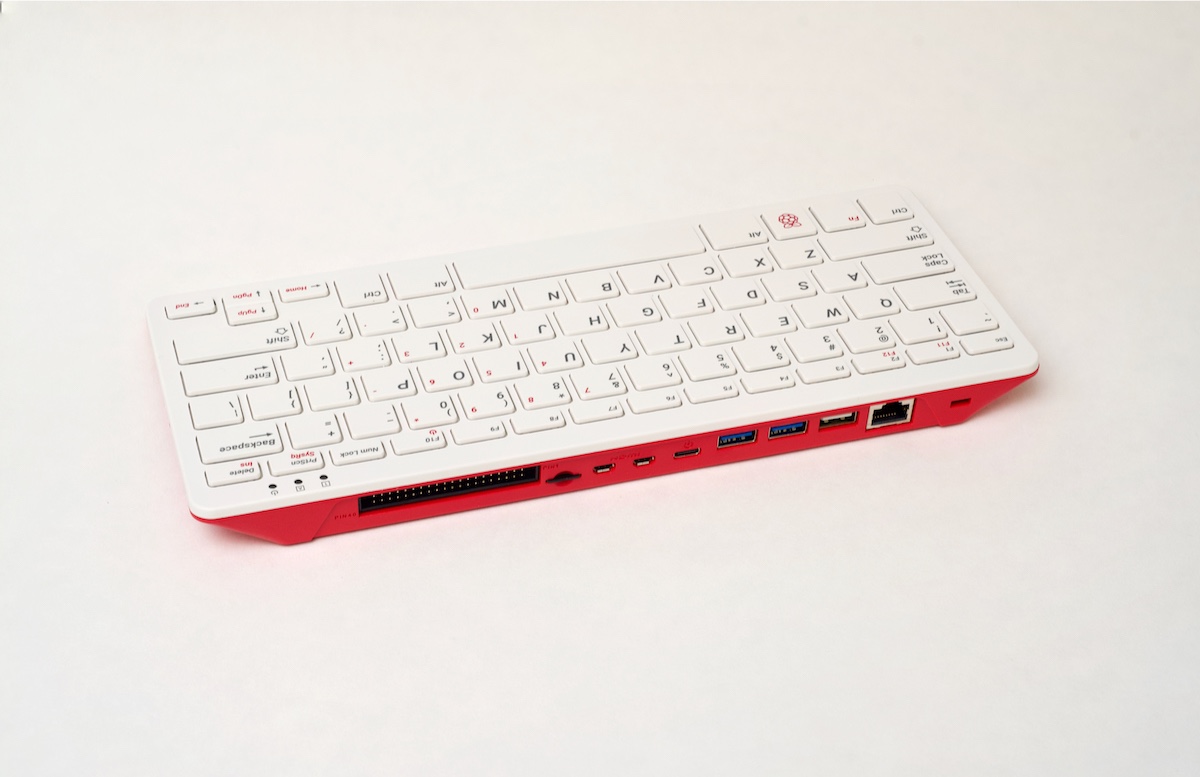
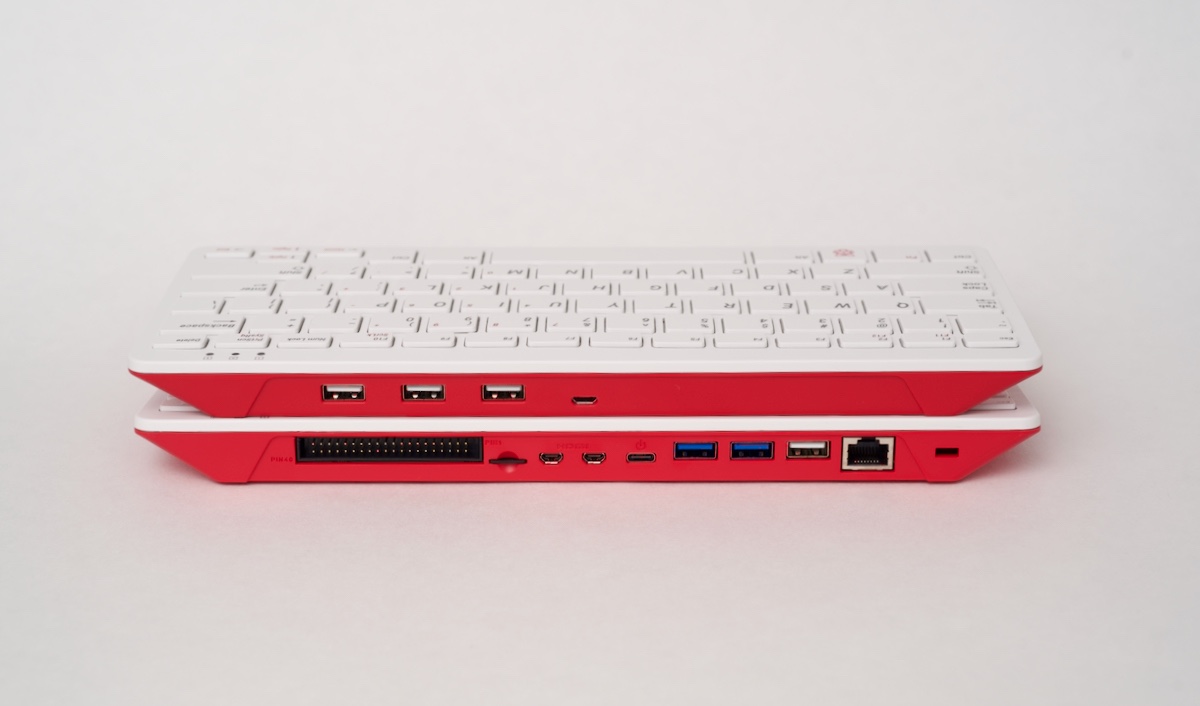
It's only when looking at the back that you see the major difference between the keyboard and the Pi 400—the latter has a full assortment of ports for use in general computing, even including the full 40-pin GPIO connection that's present on all Raspberry Pis since the Pi 2 model B!
Pi 400 Teardown
Before we talk about how the Pi 400 works, though, let's take it apart!
Looking at the bottom, there aren't any screws or other fasteners, and the only difference from the regular keyboard is the inclusion of some vents and larger rubber feet.
To get it open, I used a plexiglass cutter, which is the only tool I have that's thin enough to get into the side clips that hold the white keyboard top to the red plastic shell underneath, but also rigid enough to un-pop the snaps. After working my way around the board, I could separate the keyboard top from the bottom half:
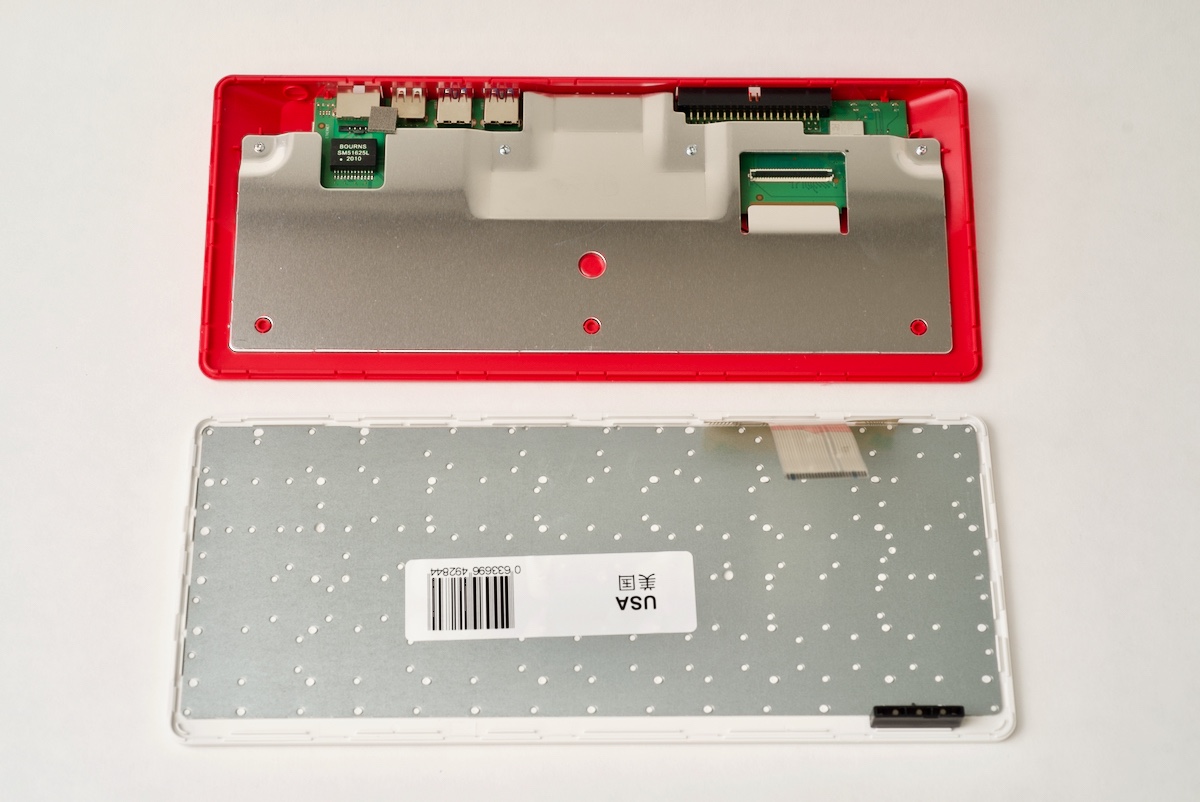
The keyboard just had a flip-up ribbon connector that I disconnected, and the next thing I noticed (besides that massive heat sink) is a little conductive pad in the top left corner, bridging the Ethernet jack, the heat sink, and the keyboard:
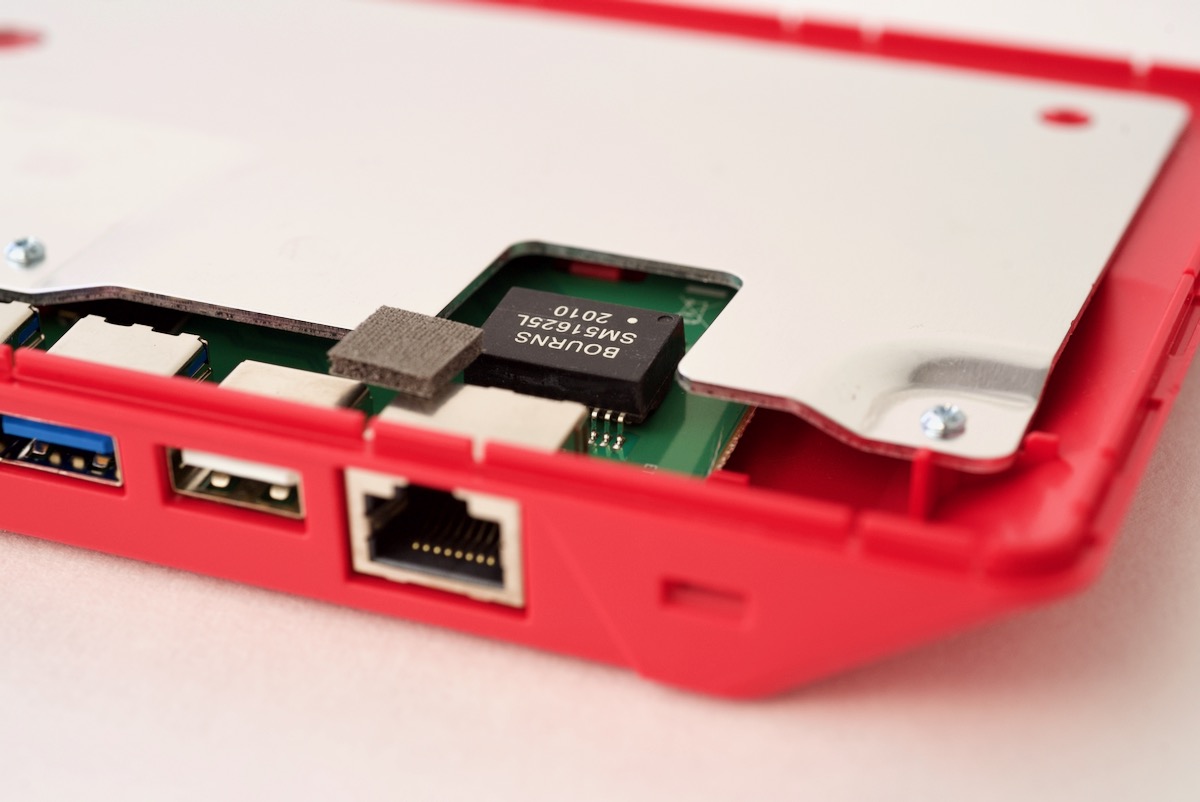
According to the Pi Engineer I asked, this pad is required to bond the ground from the back of the keyboard to the rest of the Pi 400's electronics.
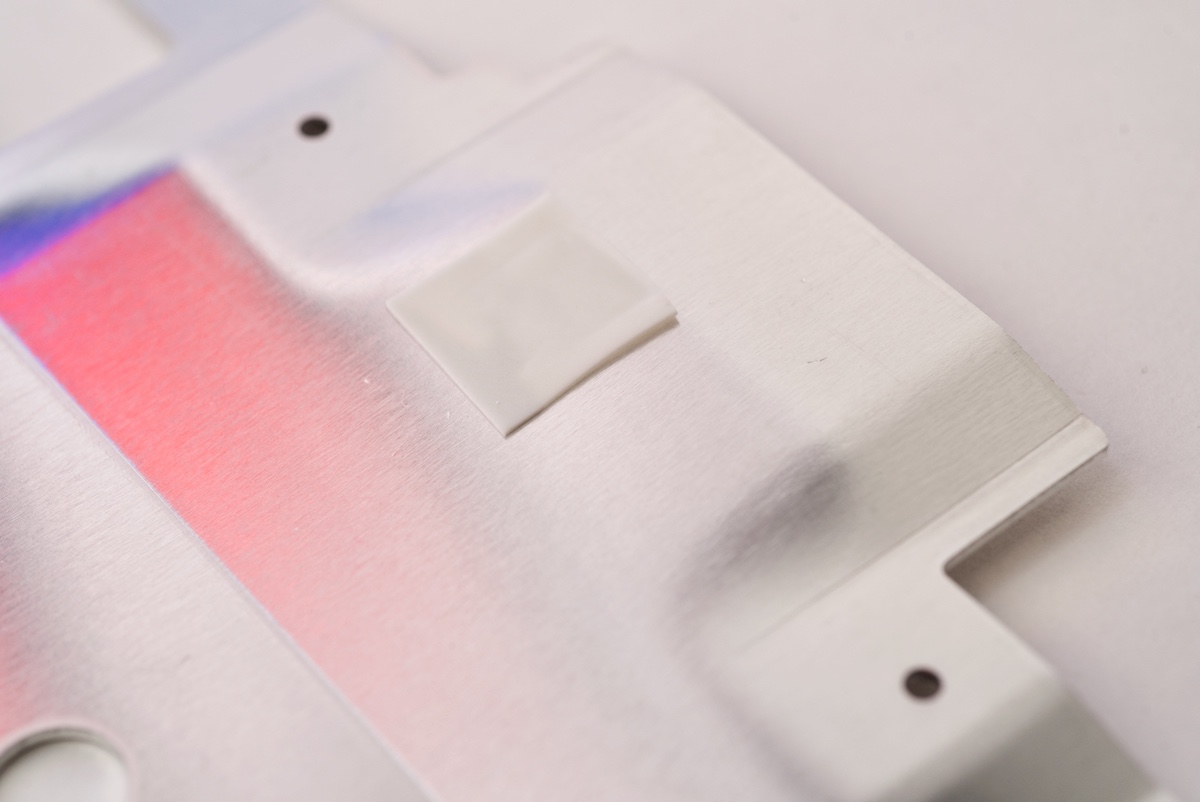
The next thing I did was remove the four screws holding down the heat sink. Then I had to rock it back and forth a bit while pulling up to reveal that it is held down to the Broadcom SoC with a pretty sticky thermal adhesive pad:
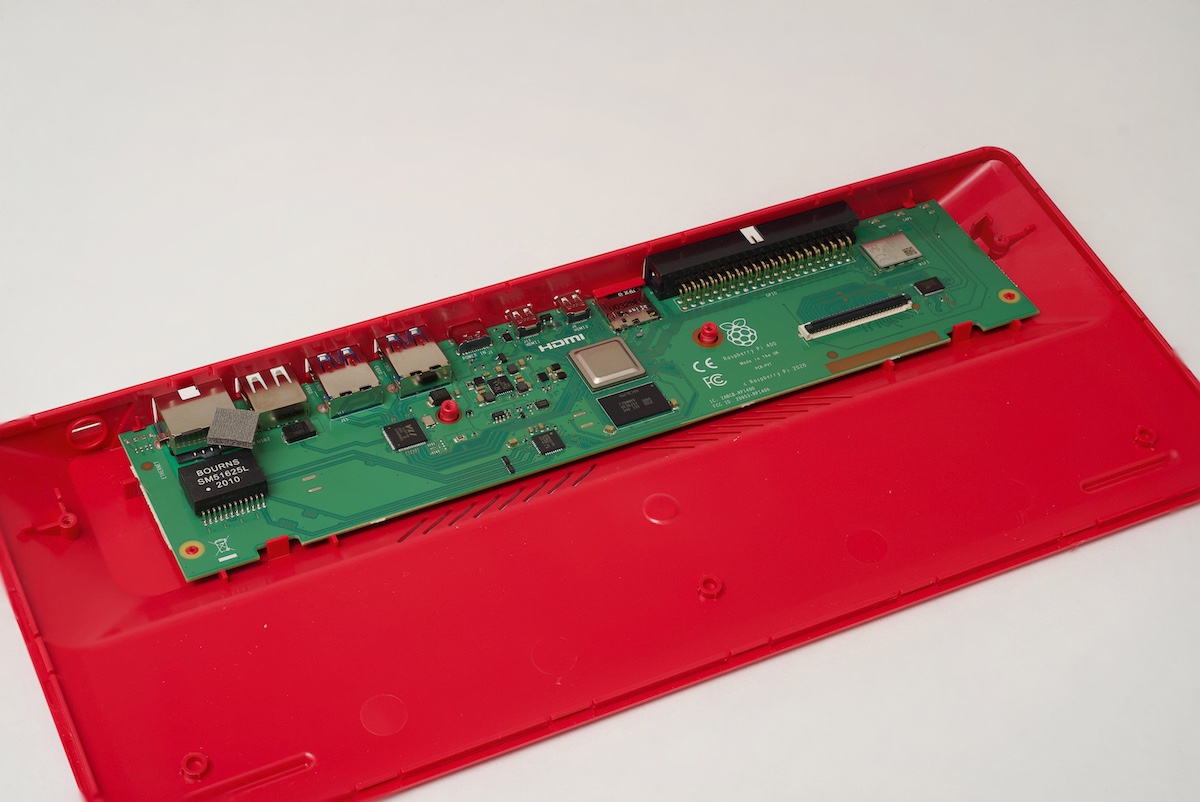
Now, with the heat sink out of the way, you can see the Pi 400 is a completely different design than the Pi 4 model B and Compute Module 4, even though much of the circuitry is similar if not identical:
And flipping over the Pi 400 main board, we can see there's not too much on the back, other than a ton of traces connecting things through vias to the topside:
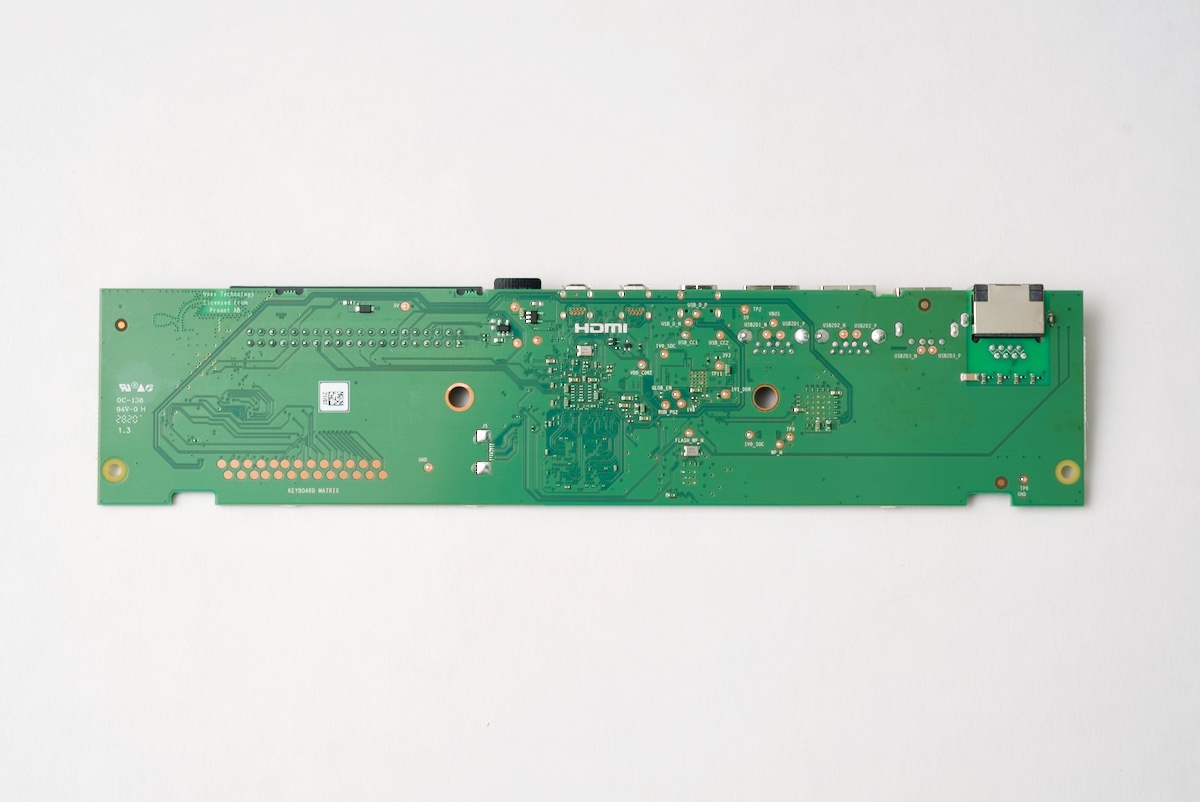
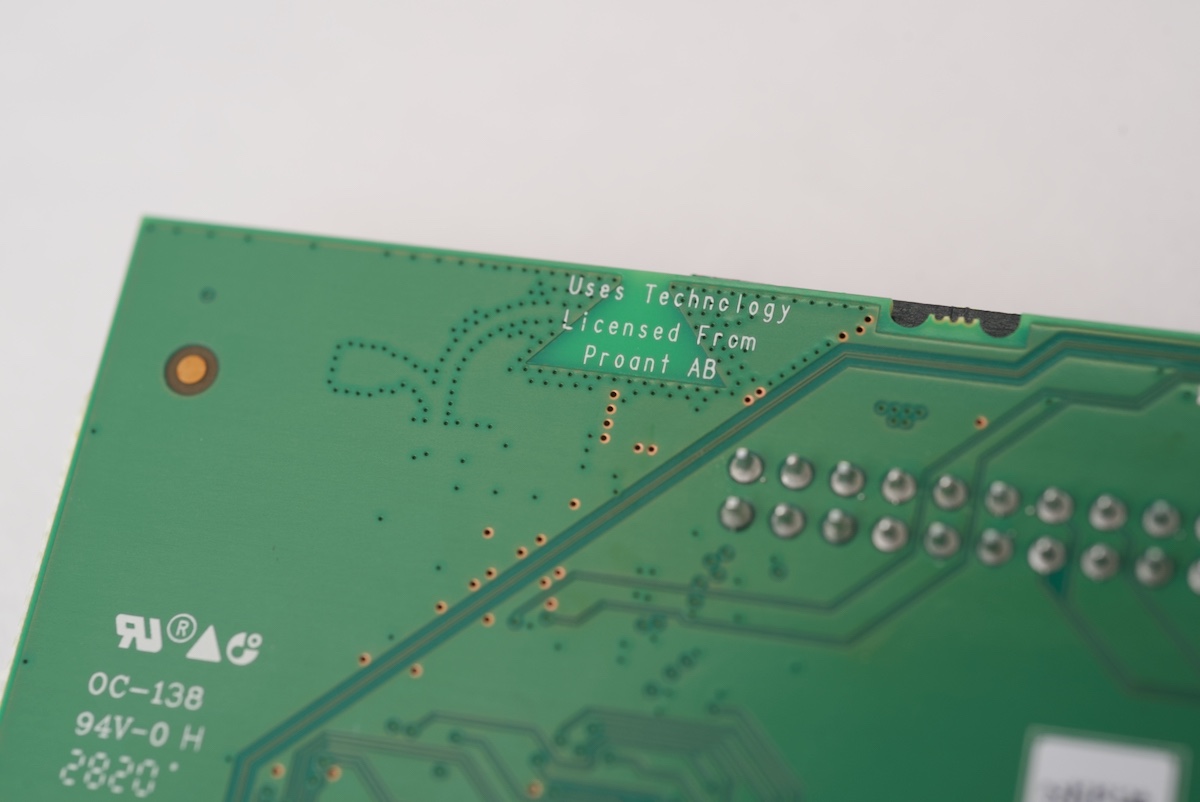
Looking more closely at the rear, though, you can see it uses the same PCB antenna for WiFi as found on other WiFi-enabled Pis, and from my experience testing the CM4, it's a pretty decent little antenna for having no external components!
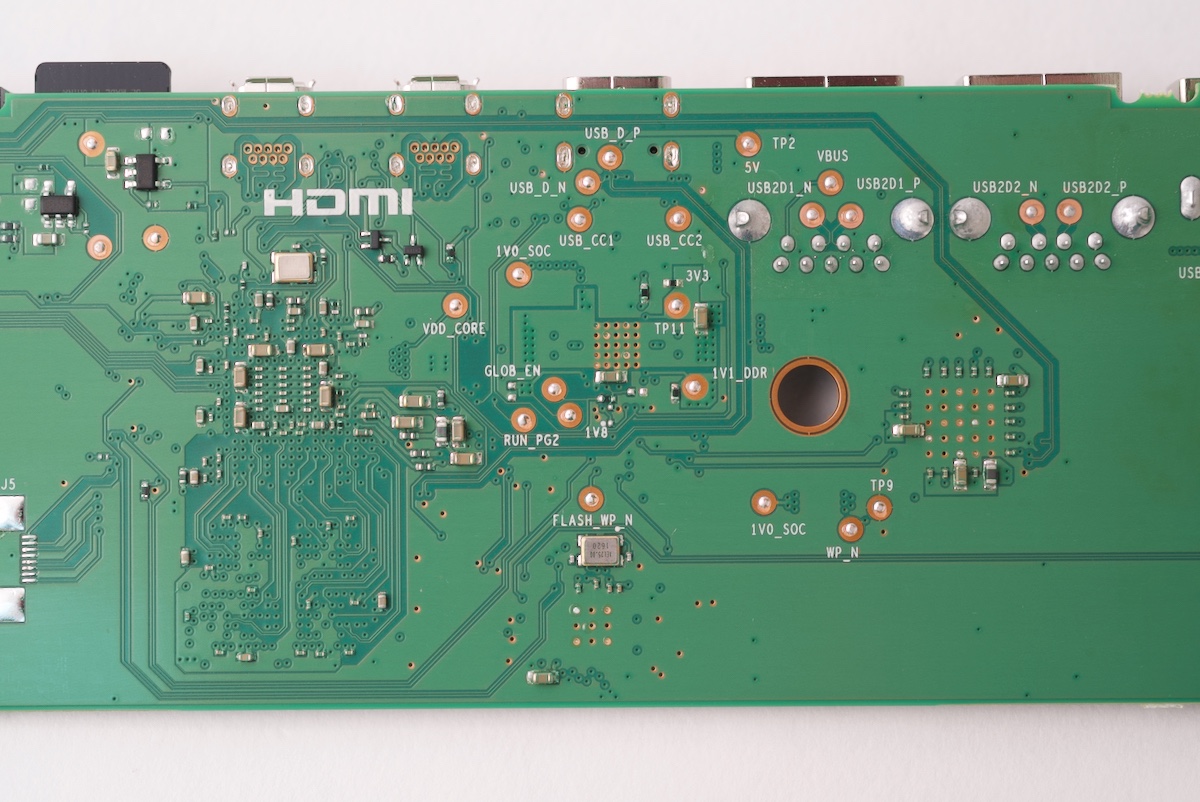
And another quick shot of some of the labeling and traces in the part of the Pi 400 behind the main chips: SoC, network, and USB 3.0 controller:
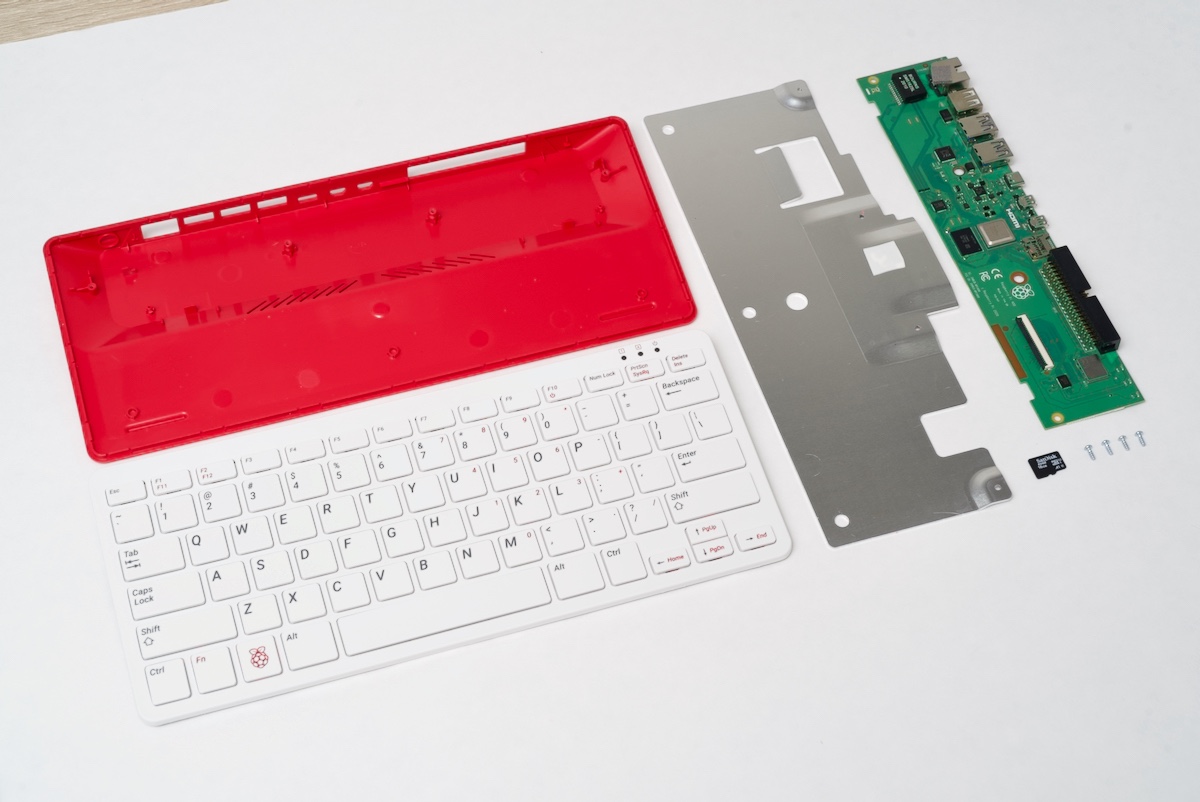
Finally, one shot with all the components that make up the Pi 400, including the little SanDisk Edge microSD card that's included with the computer:
Pi 400 Build Quality
As with all things Raspberry Pi, you're not going to get Apple-level hardware (no chamfered aluminium edges, diamond-blasted surfaces, stainless steel bands, etc.), but at least for the model I received, the plastic molds seemed to produce high-quality parts, and everything fit together (and survived four separate complete teardown-rebuild cycles!) very well.
I don't think this is a computer that most people will ever open up, but if you have the patience (and the right tool) to do so, it's not going to harm anything. Just be careful especially around the GPIO connector, as the case plastic is fairly thin in that area.
Pi 400 Performance
One thing you might notice in the Pi 400's specs is a new, higher default clock speed than you get with the year-old Pi 4 model B.
It's clocked at 1.8 GHz out of the box, while the Pi 4 model B is clocked at 1.5 GHz.
In some quick Phoronix benchmarks, the Pi 400 performed about 18% faster than the Pi 4 model B at the higher clock speed... which is expected, since that's the same ratio as the increase in megahertz.
But how is this higher clock possible? Well, not only is the massive heatsink helpful here—the Pi 400 didn't overheat even when I was running it with an overclock to 2.147 GHz, the maximum it allows currently—but the actual BCM2711 chip is different in this model:
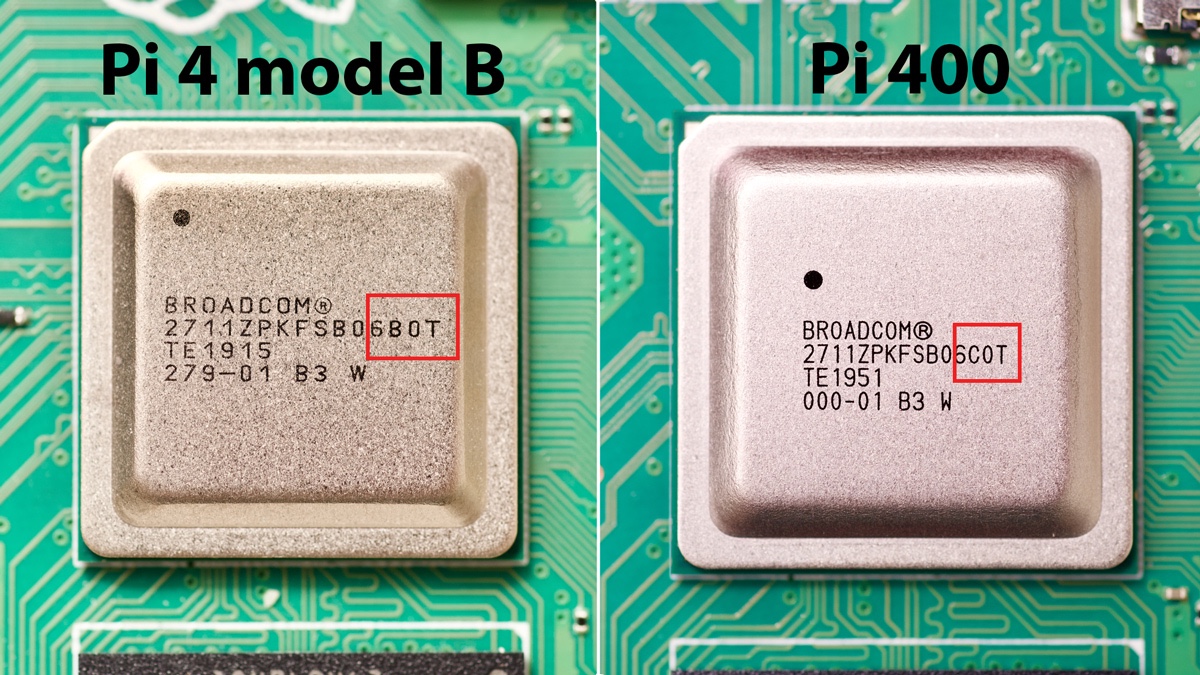
The key difference here is the final "B0T" vs "C0T". That "C0" indicates the chip in the Pi 400 has a higher 'stepping' than the "B0" Pi 4. That means the chip has some minor bugfixes and improvements—in this case better thermal performance at higher clock speeds—and it can do more than the slightly older version of the same chip.
Fun fact: I just checked my Compute Module 4, and it, too, has the newer "C0" revision. Interestingly, it is still clocked at the same 1.5 GHz default as the Pi 4 model B.
In the end, it's not a massive difference, but it is a noticeable speed bump for many operations, and can even help make IO faster, for example if copying large files over the network to a fast USB 3.0 drive.
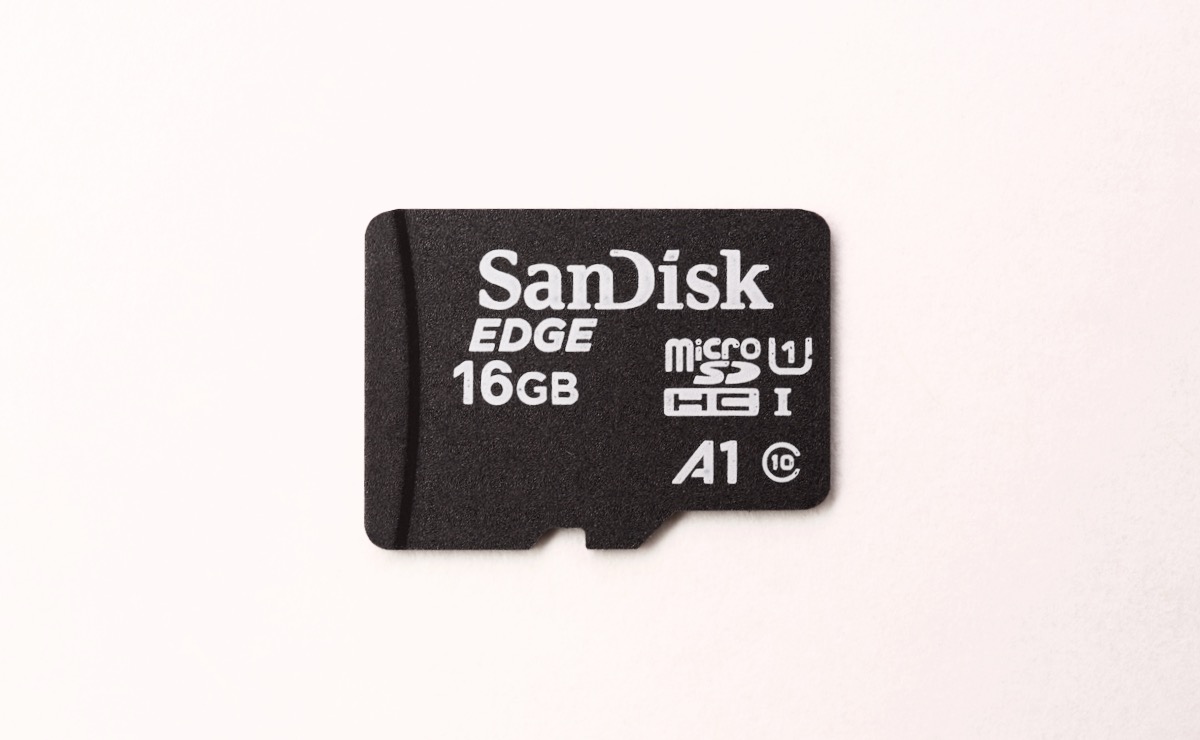
SanDisk Edge microSD Card
The Pi 400 includes a SanDisk Edge 16GB microSD card:
The card isn't a slouch, and is certainly better than most of the no-name or cheaper cards out there, but in comparison to two of the microSD cards I use and recommend the most (the Samsung Evo+ and SanDisk Extreme Pro A1), it leaves a bit of performance on the table:

The easiest performance upgrade for the Pi 400 is to replace the included microSD card with a faster (and larger!) card, and keep the SanDisk Edge card as a backup.
Or—and this feature is supported out of the box—boot from a USB SSD!
Other Notes
I'm still compiling some other thoughts about the Pi 400, as I have only just gotten it a week or so ago. I'll update this post over time with any new information.
- You can overclock the Pi 400 to 2.2 GHz, and even without any extra cooling, it didn't overheat after hours of use!
- The Raspberry Pi Blog posted an article about the design process: Designing Raspberry Pi 400
Conclusion
The Pi 400 is a great general purpose 'computer-in-a-keyboard'. I think it's a great option for someone who just needs to browse the web, edit documents, work on email, browse social media, and maybe even do some light photo or video organization.
It's not a substitute for something like a modern laptop or desktop if you need the horsepower and certain apps, but it offers a ton, and the software for the Pi is getting better every day, as more of the computing world increases Linux and ARM compatibility.
For my own needs, I often like to mount my Pi computers in custom cases or in places where I operate them headless. So I wouldn't necessarily buy a Pi 400 for that. But I do like it enough to stash it in my 'go' bag for networking tasks, and to have a computer at the ready anywhere I go. All I need is power, a TV, and a mouse—and technically I could skip that last bit!
You can buy a Raspberry Pi 400 Kit for $100 on the Raspberry Pi website.
Thanks to the Raspberry Pi Foundation for sending me a pre-release Pi 400 Kit, which was used in the production of this blog post and the associated videos.
Comments
Would it be possible to take a few of these apart swap the microSD cards and cluster them together?
4gb raspis are getting pricey 😆
Very cool
I got my Pi 400 about a year ago, and a few of the keyboard keys are unreliable if you want to type a document in LibreOffice. So I just use a way better keyboard through the USB2 port. Otherwise, a beautiful machine!
I just want to say thanks for the comments about Scroll Lock key, after 30 years in IT. I just discover today it use and why is there.
Long live to Duran Duran.