ssd

Pi modder successfully adds M.2 slot to Pi 500

As I briefly mentioned yesterday, someone mentioned in this blog's comments a successful M.2 socket installation on the empty header on the Pi 500 (something I attempted, rather poorly!). With a few added components, and 3.3V supplied to a pad on the bottom via a bench power supply, the M.2 slot works just fine, allowing the use of NVMe SSDs or other PCIe devices.

Pi 500 NVMe dmesg boot info

Indeed, this person emailed me further proof, along with notes for anyone wishing to follow in their footsteps.

First, solder on four minuscule capacitors (rating may be gleaned off the CM5 IO Board schematics, I think?) on the PCIe lines heading to the NVMe slot. These are incredibly small, so a good microscope and decent SMD soldering skills are pretty necessary.

3rd Party PoE HATs for Pi 5 add NVMe, fit inside case

Today I published a video detailing my testing of three new Raspberry Pi HATs—these HATs all add on PoE+ power and an NVMe SSD slot, though the three go about it in different ways.

You can watch the video for the full story (embedded below), but in this post I'll go through my brief thoughts on all three, and link to a few other options coming on the market as well.

.embed-container { position: relative; padding-bottom: 56.25%; height: 0; overflow: hidden; max-width: 100%; } .embed-container iframe, .embed-container object, .embed-container embed { position: absolute; top: 0; left: 0; width: 100%; height: 100%; }

GeeekPi P33 M.2 NVMe M-Key PoE+ HAT

52Pi P33 GeeekPi PoE+ NVMe HAT for Pi 5

microSD cards' SBC days are numbered

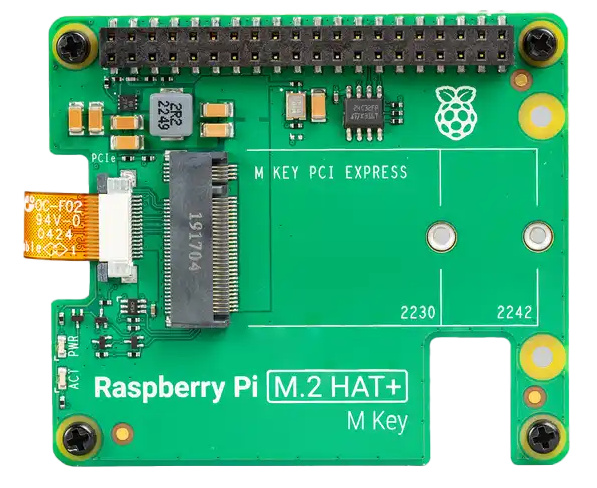
Raspberry Pi M.2 HAT+

For years, SBCs that aren't Raspberry Pis experimented with eMMC and M.2 storage interfaces. While the Raspberry Pi went from full-size SD card in the first generation to microSD in every generation following (Compute Modules excluded), other vendors like Radxa, Orange Pi, Banana Pi, etc. have been all over the place.

Still, most of the time a fallback microSD card slot remains.

But microSD cards—even the fastest UHS-II/A2/V90/etc. ones that advertise hundreds of MB/sec—are laggards when it comes to any kind of SBC workflow.

The two main reasons they're used are cost and size. They're tiny, and they don't cost much, especially if you don't shell out for industrial-rated microSD cards.

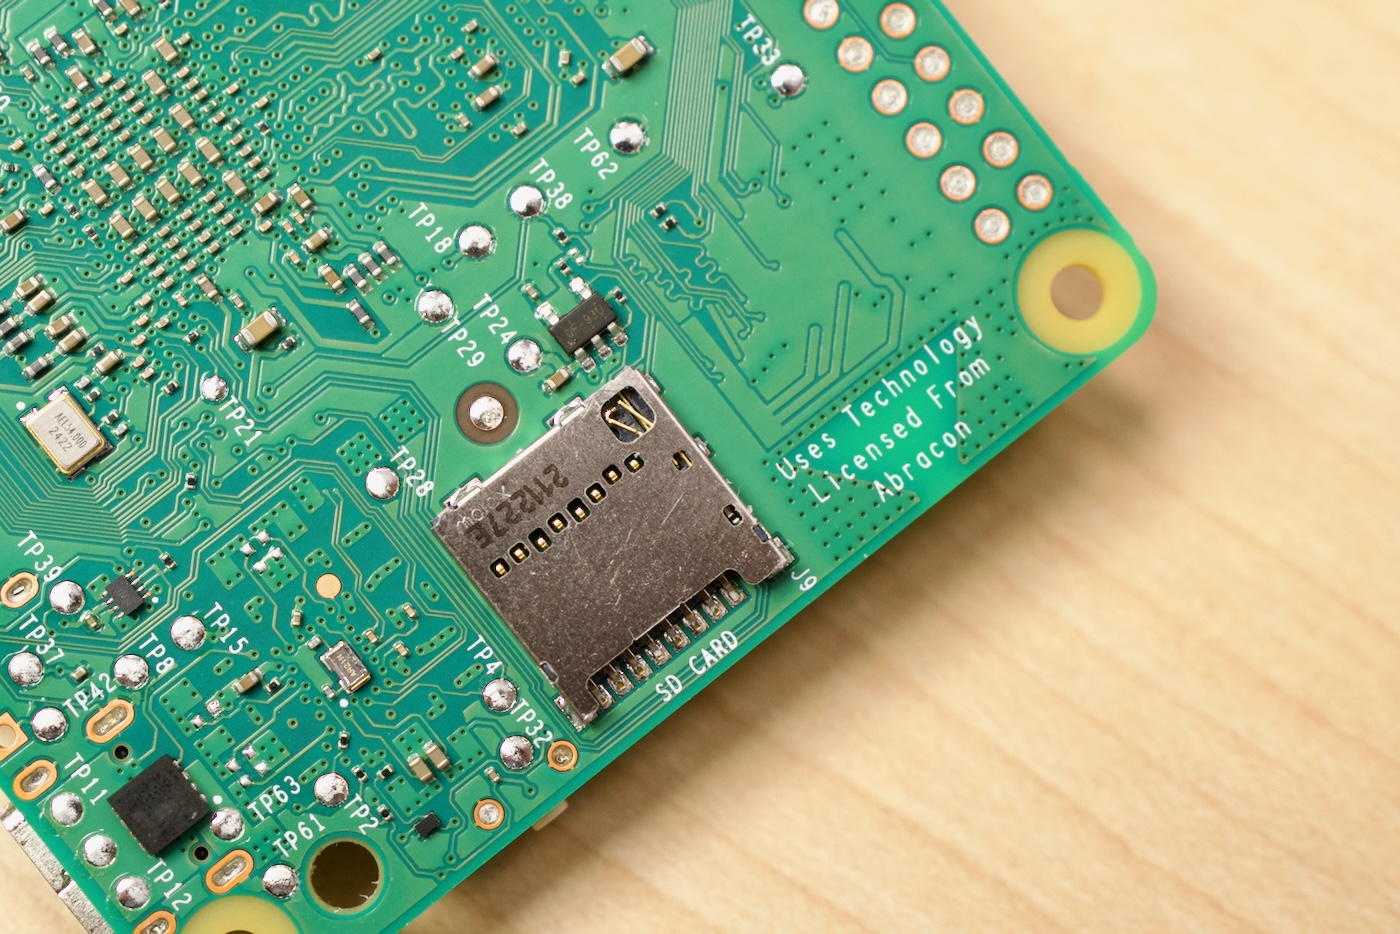
microSD card slot on Raspberry Pi

4-way NVMe RAID comes to Raspberry Pi 5

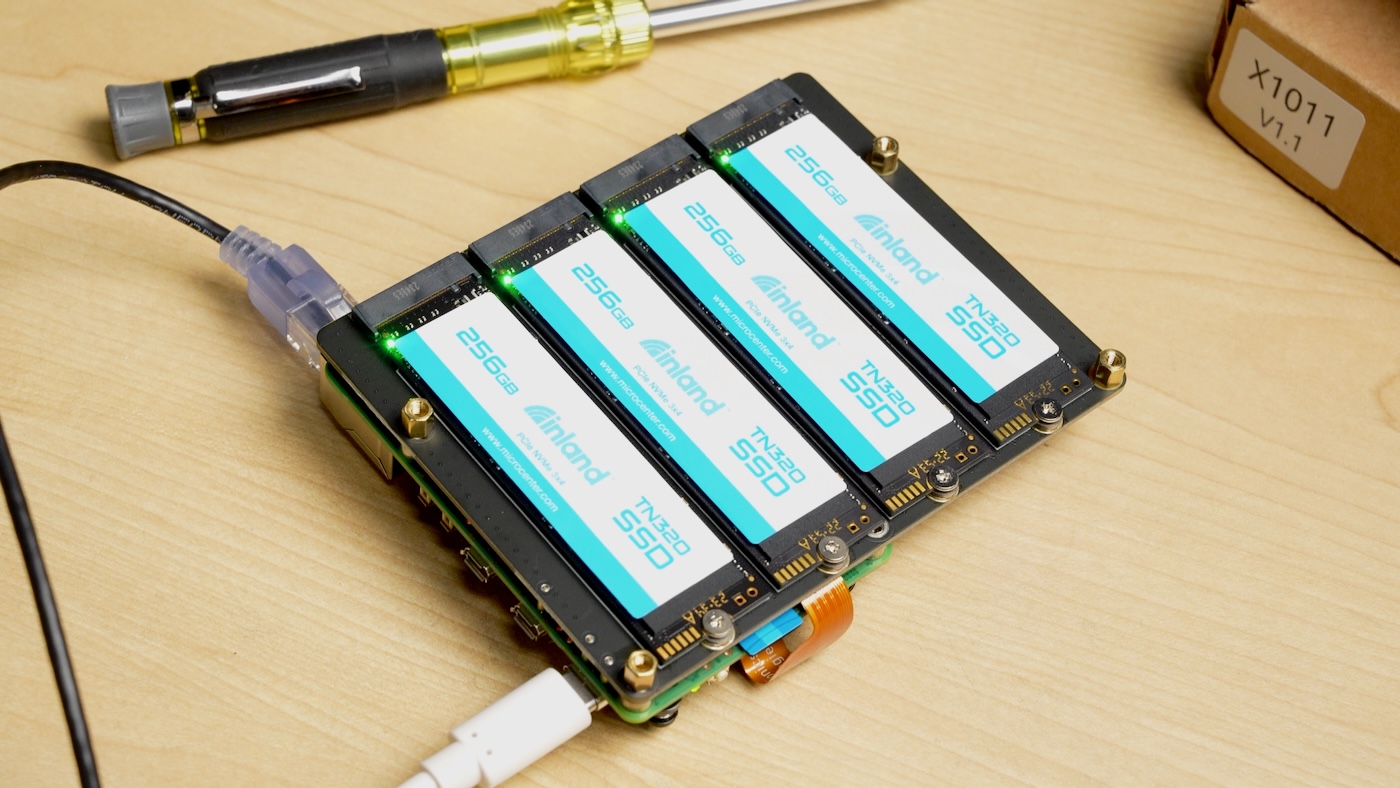
With the Raspberry Pi 5's exposed PCI Express connector comes many new possibilities—which I test and document in my Pi PCIe Database. Today's board is the Geekwork X1011, which puts four NVMe SSDs under a Raspberry Pi.

Inland 256GB NVMe SSDs installed on X1011 on Raspberry Pi 5

Unlike the Penta SATA HAT I tested last month, this carrier uses thinner and faster NVMe storage, making it a highly-compact storage expansion option, which has the added benefit of freeing up the top of the Pi 5 for other HAT expansion options.

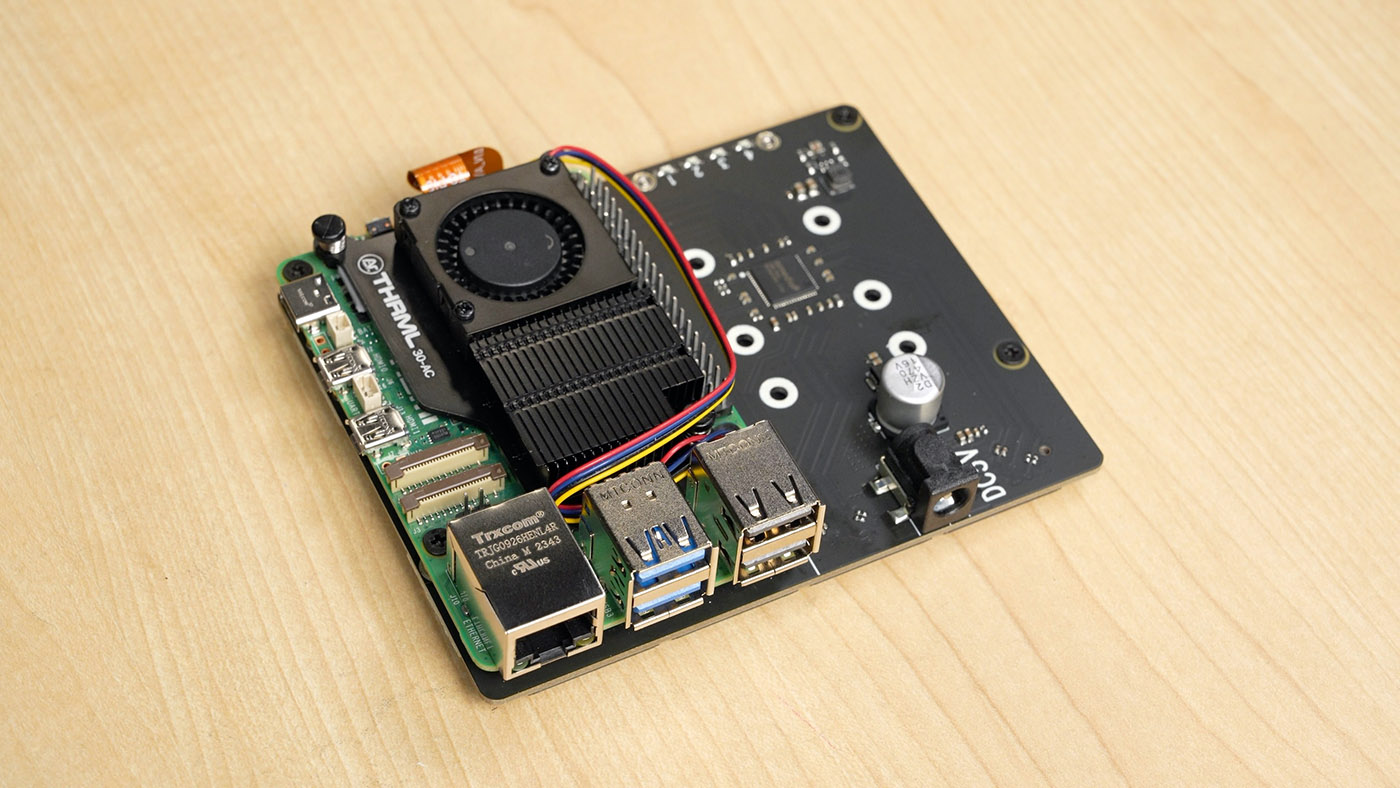
Raspberry Pi 5 installed atop Geekworm X1011 NVMe SSD carrier

HTGWA: How to completely erase a hard drive in Linux

This is a simple guide, part of a series I'll call 'How-To Guide Without Ads'. In it, I'll show you how I completely initialize a hard drive so I can re-use it somewhere else (like Ceph) that doesn't like drives with partition information!

First, a warning: this blog post does not show how to zero a hard drive, or secure erase. That's a slightly different process.

But as someone with way too many storage devices (from testing, mostly), I find myself in the position of trying to use a spare drive in some place where it expects a brand new drive, but winds up failing because the drive had a partition, or had valid boot files from an SBC or something.

I wanted to document the easiest way in Linux to completely reset a hard drive—at least from Linux's perspective.

The impetus was when I was trying to get some hard drives added to a Ceph OSD, and the process that tried adding them ran into an error stating RuntimeError: Device /dev/sda has partitions.

First look: ASUSTOR's new 12-bay all-M.2 NVMe SSD NAS

Last year, after I started a search for a good out-of-the-box all-flash-storage setup for a video editing NAS, I floated the idea of an all-M.2 NVMe NAS to ASUSTOR. I am not the first person with the idea, nor is ASUSTOR the first prebuilt NAS company to build one (that honor goes QNAP, with their TBS-453DX).

But I do think the concept can be executed to suit different needs—like in my case, video editing over a 10 Gbps network with minimal latency for at least one concurrent user with multiple 4K streams and sometimes complex edits, without lower-bitrate transcoded media (e.g. ProRes RAW).

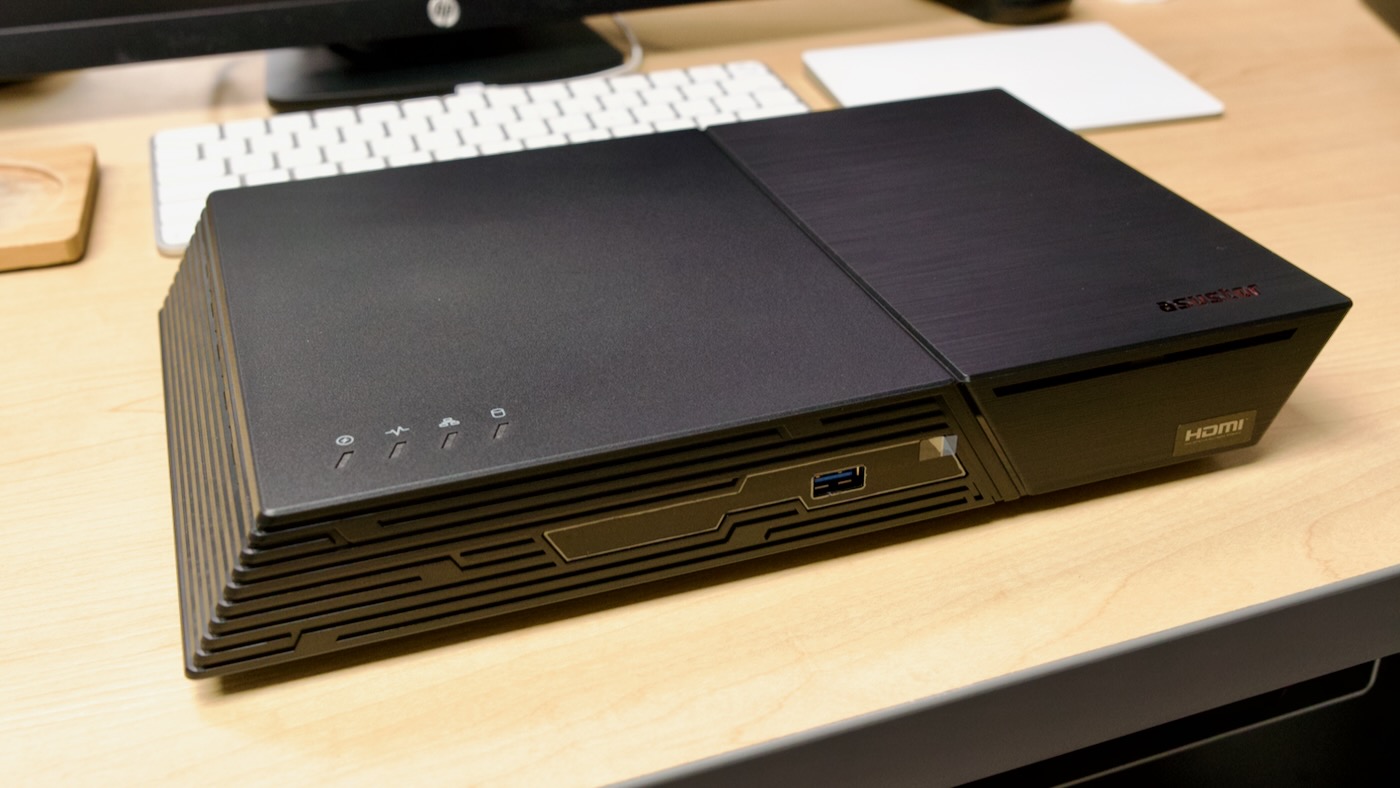
ASUSTOR Flashstor 12 Pro - front and top

Using PiBenchmarks.com for SBC disk performance testing

For many years, I've maintained some scripts to do basic disk benchmarking for SBCs, to test 1M and 4K sequential and random access speeds, since those are the two most relevant tests for the Linux workloads I run on my Pis.

I've been using this script for years, and it uses fio and iozone to get the metrics I need.

And from time to time, I would test a number of microSD cards on the Pi, or run tests on NVMe SSDs on the Pi, Rock 5 model B, or other SBCs. But my results were usually geared towards a single blog post or a video project.

In 2021 James Chambers set up PiBenchmarks to move to a more community-driven testing dataset.

You can run the following command on your SBC to test the boot storage and upload results directly to PiBenchmarks.com:

Building a fast all-SSD NAS (on a budget)

All SSD Edit NAS build - completed

I edit videos non-stop nowadays. In a former life, I had a 2 TB backup volume and that stored my entire digital life—all my photos, family video clips, and every bit of code and text I'd ever written.

Video is a different beast, entirely.

Every minute of 4K ProRes LT footage (which is a very lightweight format, compared to RAW) is 3 GB of space. A typical video I produce has between 30-60 minutes of raw footage (which brings the total project size up to around 100-200 GB).

HTGWA: Use bcache for SSD caching on a Raspberry Pi

This is a simple guide, part of a series I'll call 'How-To Guide Without Ads'. In it, I'm going to document how I set up bcache on a Raspberry Pi, so I could use an SSD as a cache in front of a RAID array.

Getting bcache

bcache is sometimes used on Linux devices to allow a more efficient SSD cache to run in front of a single or multiple slower hard drives—typically in a storage array.

In my case, I have three SATA hard drives: /dev/sda, /dev/sdb, and /dev/sdc. And I have one NVMe SSD: /dev/nvme0n1.

I created a RAID5 array with mdadm for the three hard drives, and had the raid device /dev/md0.

I then installed bcache-tools:

$ sudo apt-get install bcache-tools

And used make-bcache to create the backing and cache devices:

Kubesail's PiBox mini 2 - 16 TB of SSD storage on a Pi

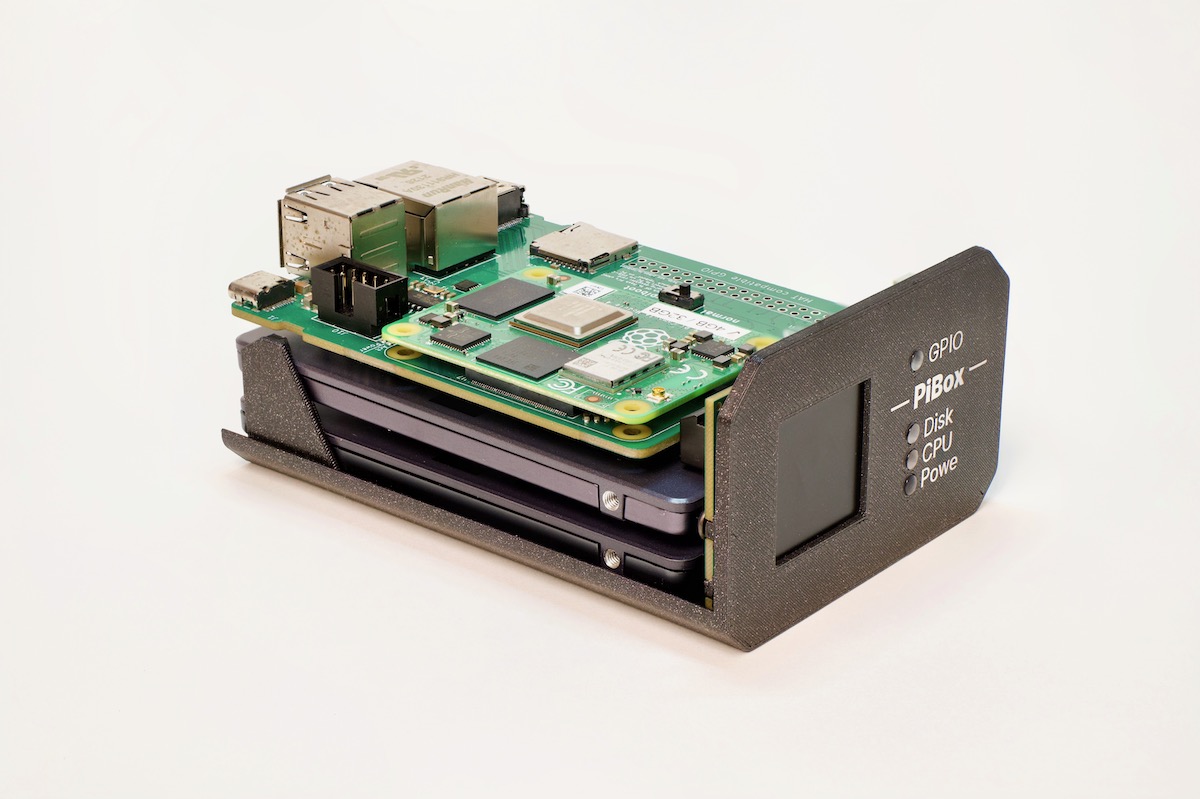
Kubesail Raspberry PiBox mini 2 front side exposed

Many months ago, when I was first testing different SATA cards on the Raspberry Pi Compute Module 4, I started hearing from GitHub user PastuDan about his experiences testing a few different SATA interface chips on the CM4.

As it turns out, he was working on the design for the PiBox mini 2, a small two-drive NAS unit powered by a Compute Module 4 with 2 native SATA ports (providing data and power), 1 Gbps Ethernet, HDMI, USB 2, and a front-panel LCD for information display.

The Hardware

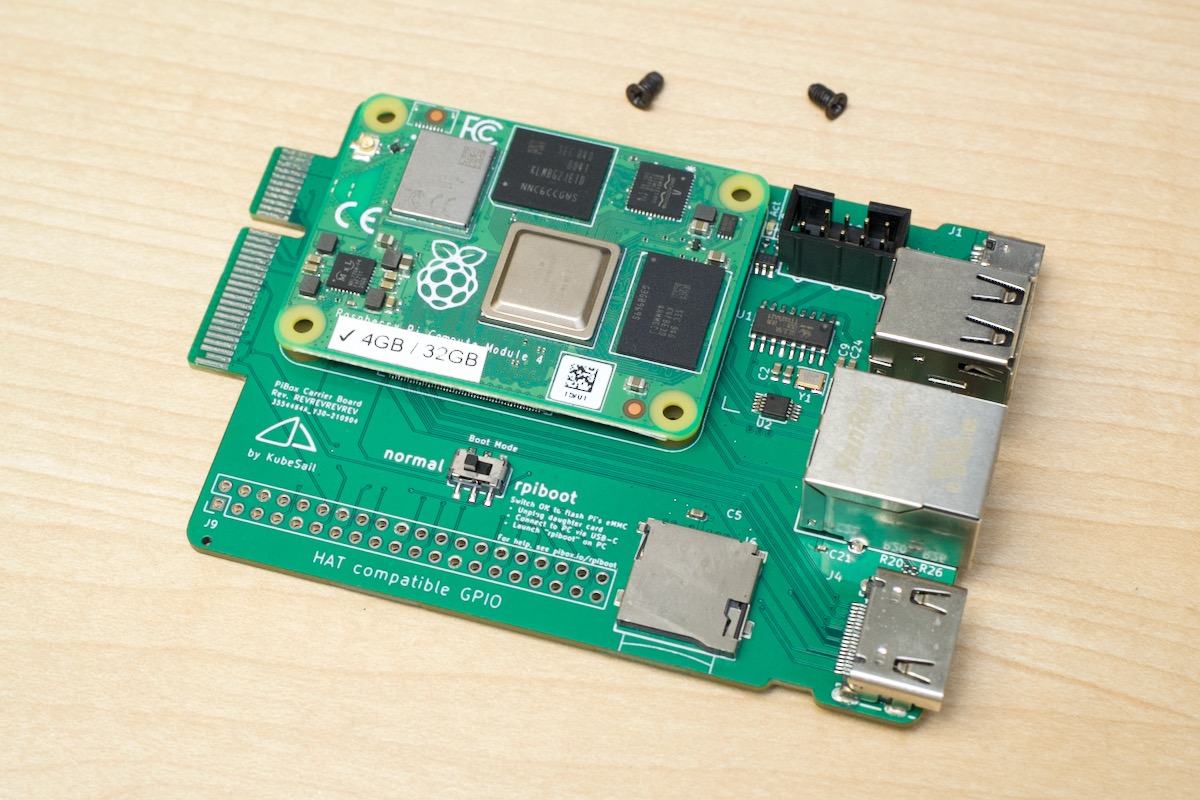
The PiBox mini 2 is powered by the Compute Module 4 on this interesting carrier board:

PiBox mini carrier board with Raspberry Pi Compute Module 4