Finding a server's BMC / IPMI IP address with ipmitool
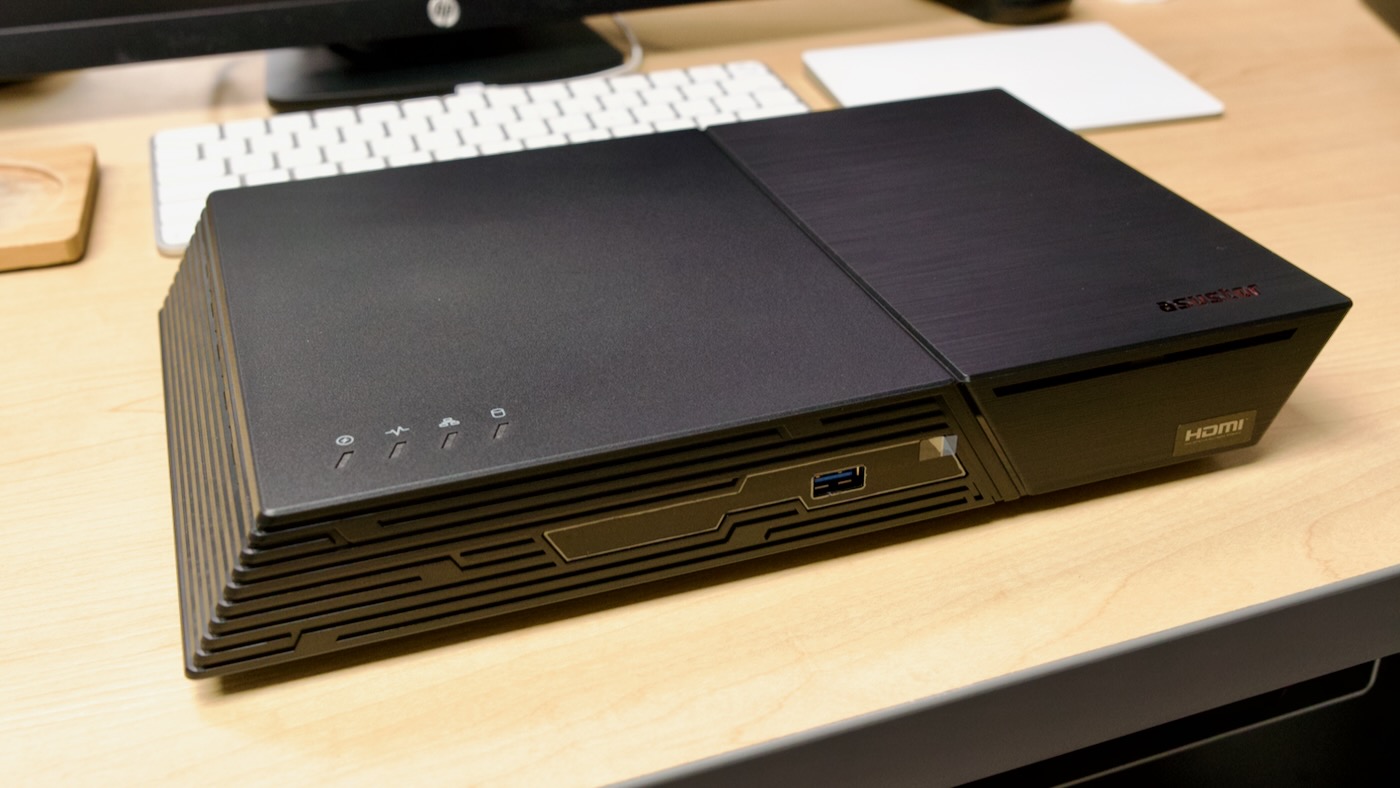
I test servers on a temporary basis a lot, and many enterprise servers don't have as user-friendly external port indications, or little OLED displays to provide useful information. They're no-frills because they don't need frills, you just deploy them and they run for years.
I often need to gain access to the server's IPMI/BMC interface to manage the server remotely, and it's not always obvious what IP address is assigned if you don't manually assign one via your router and a MAC address.
I could scan my network for the IP address, but assuming I have the server booted and it's a modern Supermicro or other standard system, I can use ipmitool to grab the BMC IP: