Building a Pi Frigate NVR with Axzez's Interceptor 1U Case
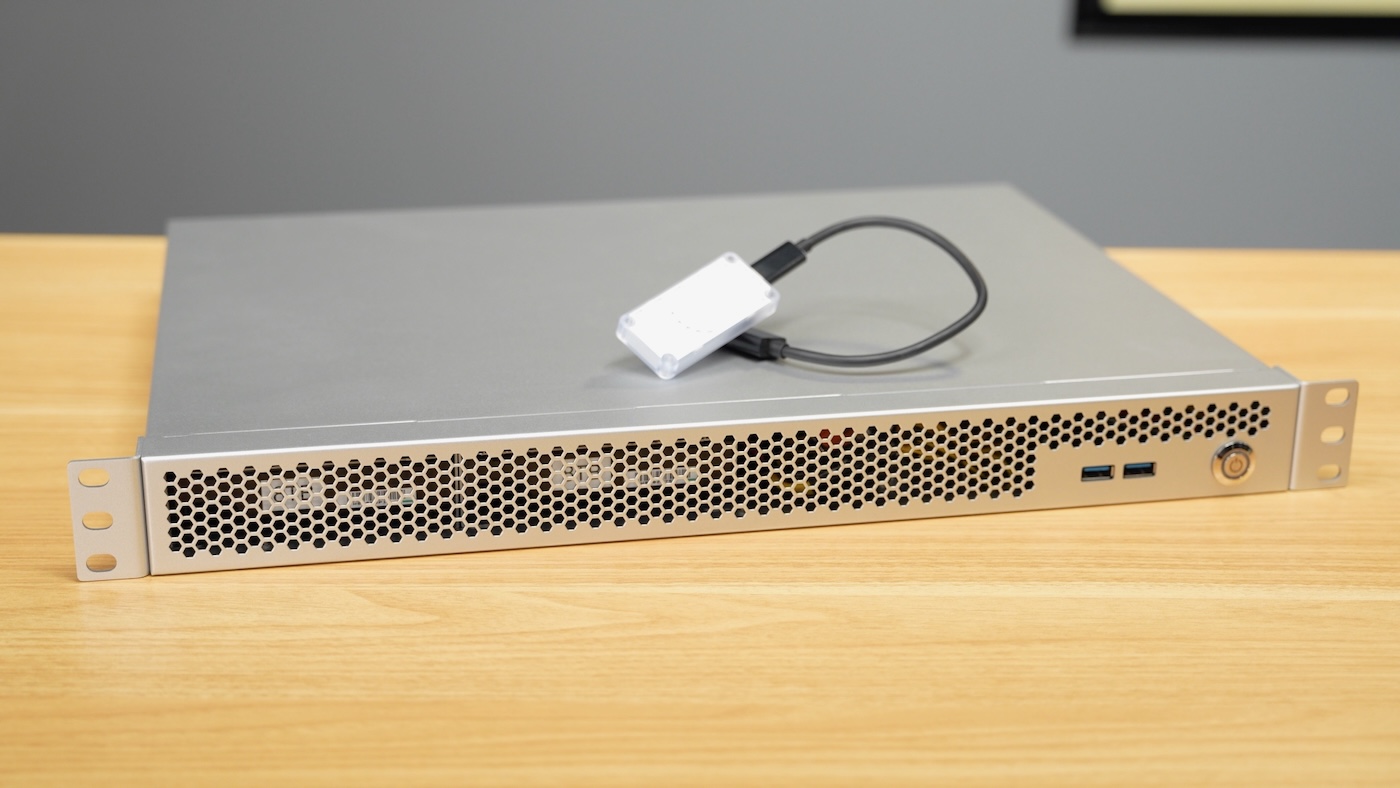
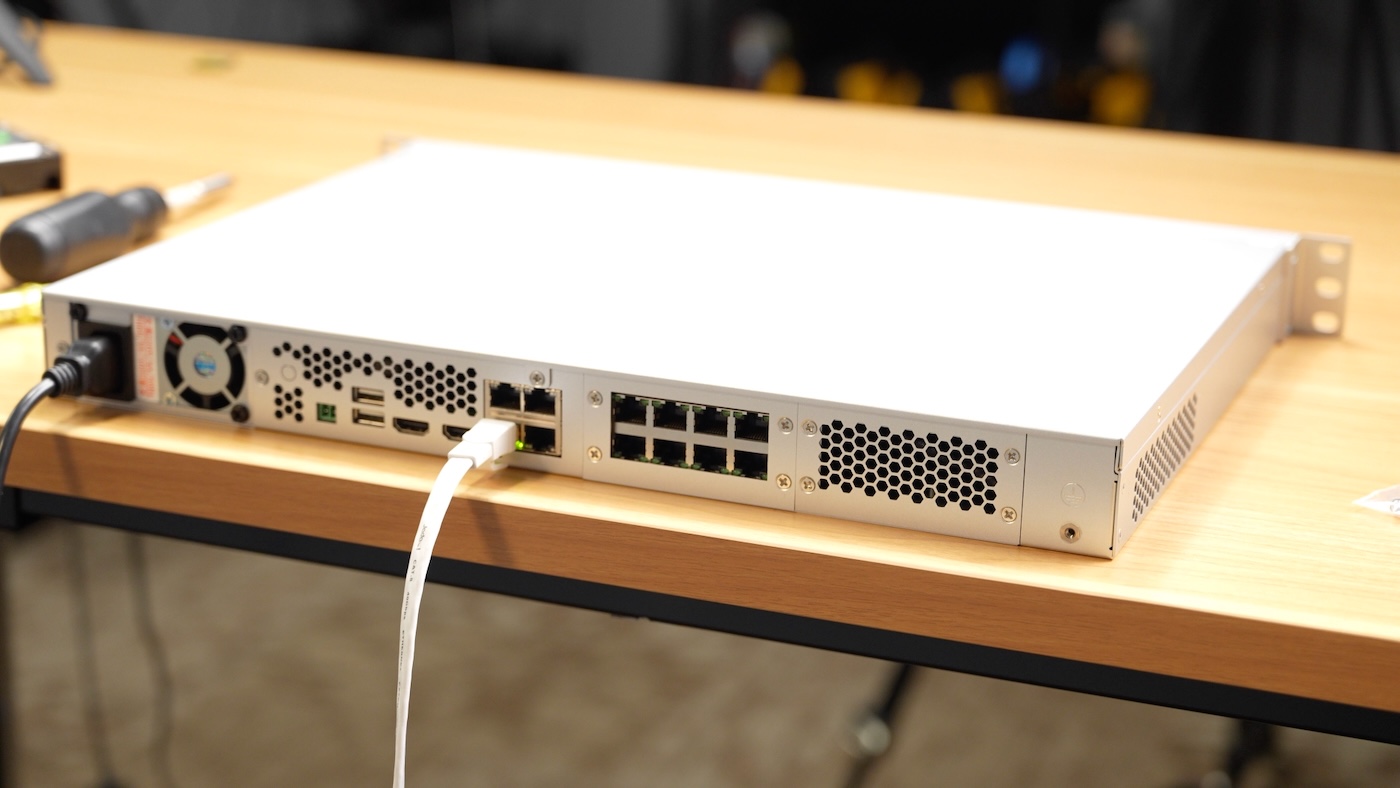
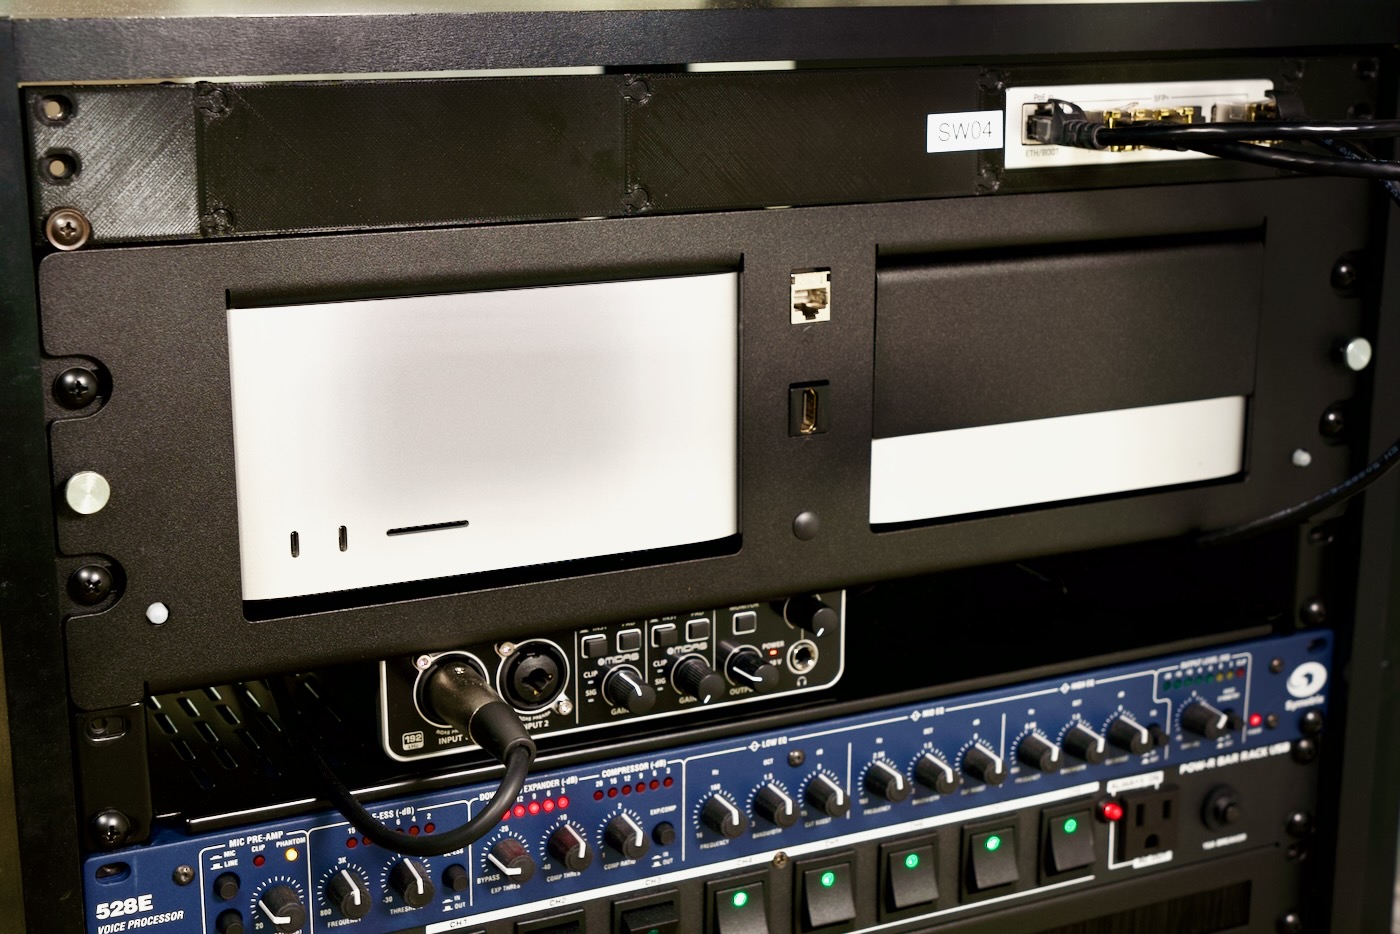
In today's video, I walked through setting up Axzez's Interceptor 1U case with a Raspberry Pi as a Frigate NVR, or Network Video Recorder.
Doing so allows me to plug multiple PoE security cameras straight into the back of the device, and record their IP video streams to disk (the case has space for up to 3 hard drives or SSDs). And by adding on a USB Coral TPU, I can also run inference on frames where motion is detected, and identify people, cars, bikes, and more using built-in object recognition models.