networking

Testing 10 GbE throughput on Windows - iperf3 is outdated

iperf3 only showing 4.5 gbps in Windows

Recently I upgraded my AMD-based PC on a livestream, and I installed an Innodisk EGPL-T101 10 Gbps M.2 NIC (link to Innodisk product page).

Under Linux, I could get through 9.4 Gbps using iperf3 between the PC and my Mac Studio. But under Windows, I could only get up to about 4.5 Gbps (tested around 1h 27m into the stream)!

Testing iperf through an SSH tunnel

I recently had a server with some bandwidth limitations (tested using scp and rsync -P), where I was wondering if the problem was the data being transferred, or the server's link speed.

The simplest way to debug and verify TCP performance is to install iperf3 and run an iperf speed test between the server and my computer.

On the server, you run iperf3 -s, and on my computer, iperf3 -c [server ip].

But iperf3 requires port 5201 (by default) to be open on the server, and in many cases—especially if the server is inside a restricted environment and only accessible through SSH (e.g. through a bastion or limited to SSH connectivity only)—you won't be able to get that port accessible.

So in my case, I wanted to run iperf through an SSH tunnel. This isn't ideal, because you're testing the TCP performance through an encrypted connection. But in this case both the server and my computer are extremely new/fast, so I'm not too worried about the overhead lost to the connection encryption, and my main goal was to get a performance baseline.

Getting to 1.5 Gbps WiFi 6E on the Raspberry Pi CM4

In the pursuit of doing crazy things on a Raspberry Pi, my latest endeavor was to see if I could consistently pipe more than a gigabit per second of traffic through WiFi using a Raspberry Pi.

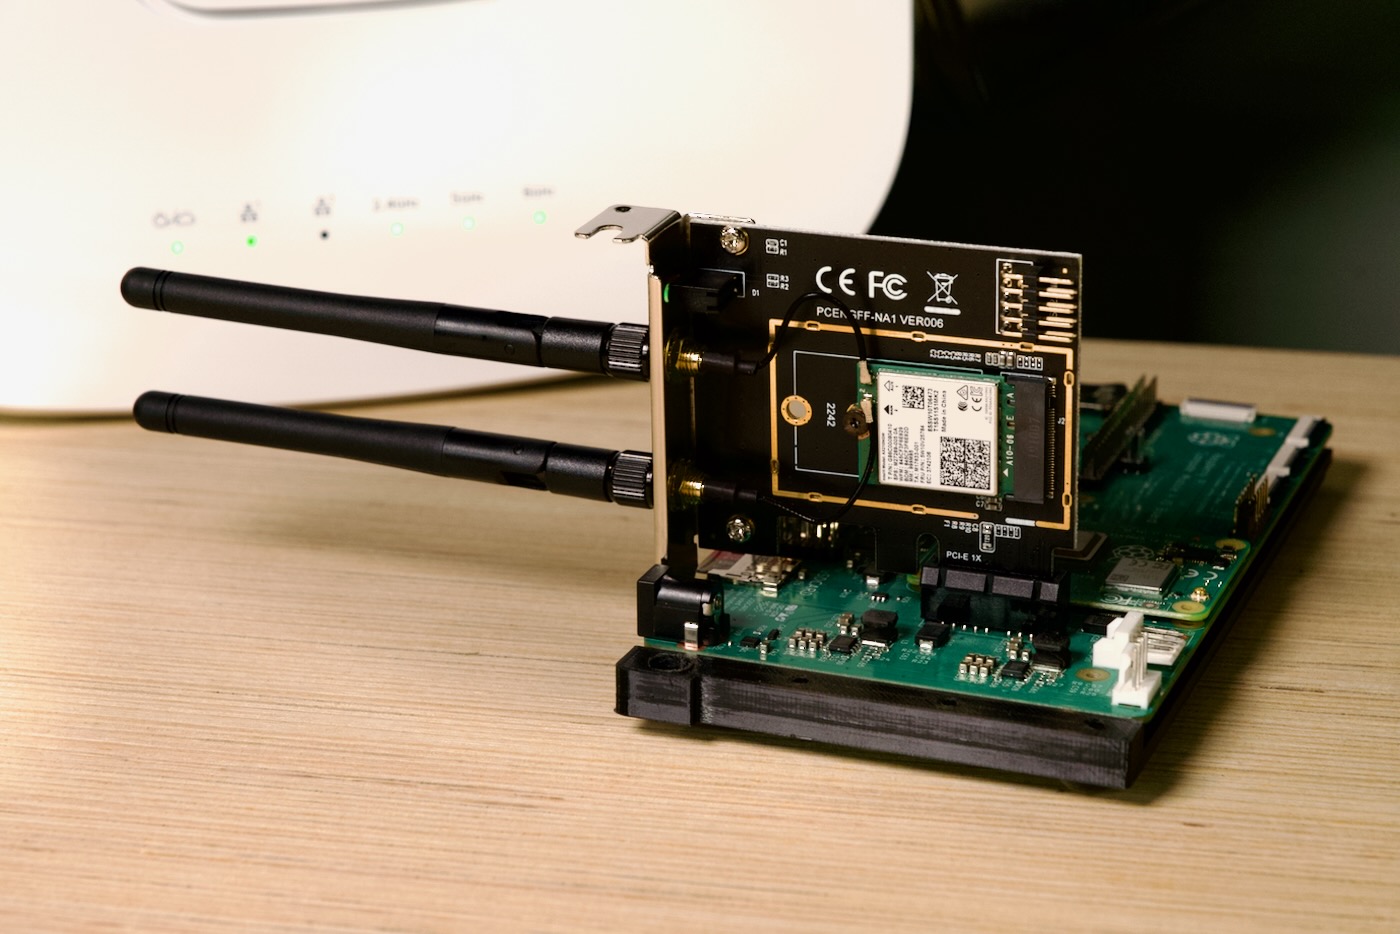
Raspberry Pi Compute Module 4 IO Board with Intel AX210 on M.2 adapter card

In the past, I had some faltering attempts where sometimes things would work—sort-of—using WiFi 6 (802.11ax, 40 MHz bandwidth, 2x2) using an Intel AX200 M.2 card on the Raspberry Pi Compute Module 4.

An easier way to find an ASUSTOR NAS to set it up

I have a few ASUSTOR NASes at my house, and I don't like installing a custom application just to identify the NAS so I can visit it's web UI the first time.

The official ASUSTOR getting started guide recommends installing ASUSTOR Control Center, which does a good job of identifying ASUSTOR devices on your network. And that's about it.

But behind the scenes, it's likely just scanning your network and matching any MAC addresses in Asustek's range. Which is easy to do without a third party app.

In my case, I can just run the following nmap command in the terminal and it spits out a list of all ASUS/ASUSTOR devices on my network:

Monitoring my ASUS RT-AX86U Router with Prometheus and Grafana

I've been running my Internet Monitoring Pi for a year or so, and it's nice to collect data on Internet performance from inside my network.

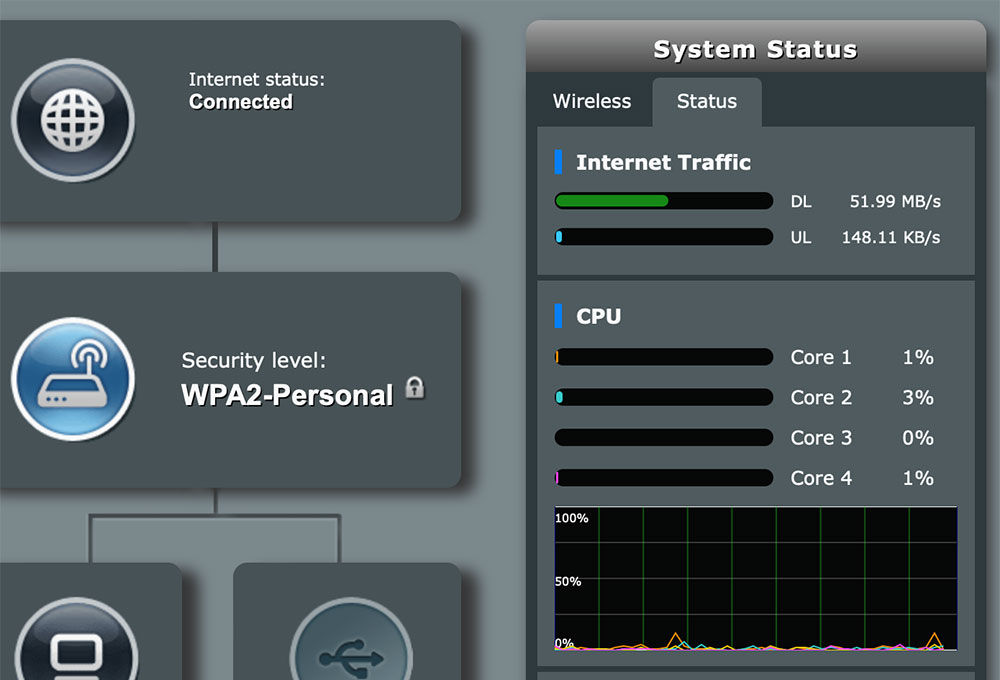
But my router—currently an ASUS RT-AX86U—also tracks its own metrics for inbound and outbound traffic, among other things:

ASUSWRT-Merlin System Status Dashboard metrics

Sometimes having the raw data from the router that's on the edge of the network can tell a different story than measuring things behind the router. So I want to grab this data and put it into Prometheus.

Benchmarking DNS on my Mac with Pi-Hole

After watching Level1Techs' THE FORBIDDEN ROUTER II - DIAL-UP BY DAWN video, I wanted to do some DNS benchmarking on my local network.

Since I run Pi-hole locally, and rely on it for local DNS resolution, I wanted to have a baseline so I could compare performance over time.

In the video, Wendell mentioned the use of Gibson's Windows-only DNS Benchmark tool. But that's Windows-only. Or maybe Linux under WINE, but definitely not a native / open source tool that's easily used across different platforms.

I looked around and settled on bulldohzer—for now, at least—as it's easy to install anywhere Node.js runs. I have Node.js installed via Homebrew on my Mac, so I just ran:

npm install --location=global bulldohzer

Then I could run a benchmark against Google and my own local DNS resolver (Pi-Hole):

2.5 Gigabit homelab upgrade - with a PoE+ WiFi 6 AP

For the past year, I've slowly upgraded parts of my network to 10 Gigabit. But 10 Gigabit switches, NICs, and even cabling is a bit more expensive and sometimes annoying to deal with than the very-cheap 1 Gbps equipment most homelabbers are used to.

I dipped my toes into the 2.5 Gbps waters once I got a NAS with 2.5G ports—you can use standard USB NICs that cost less than $50, or PCIe cards for even less. And cabling is easier, since 2.5G works fine over Cat5e (which I already have run to most of my house).

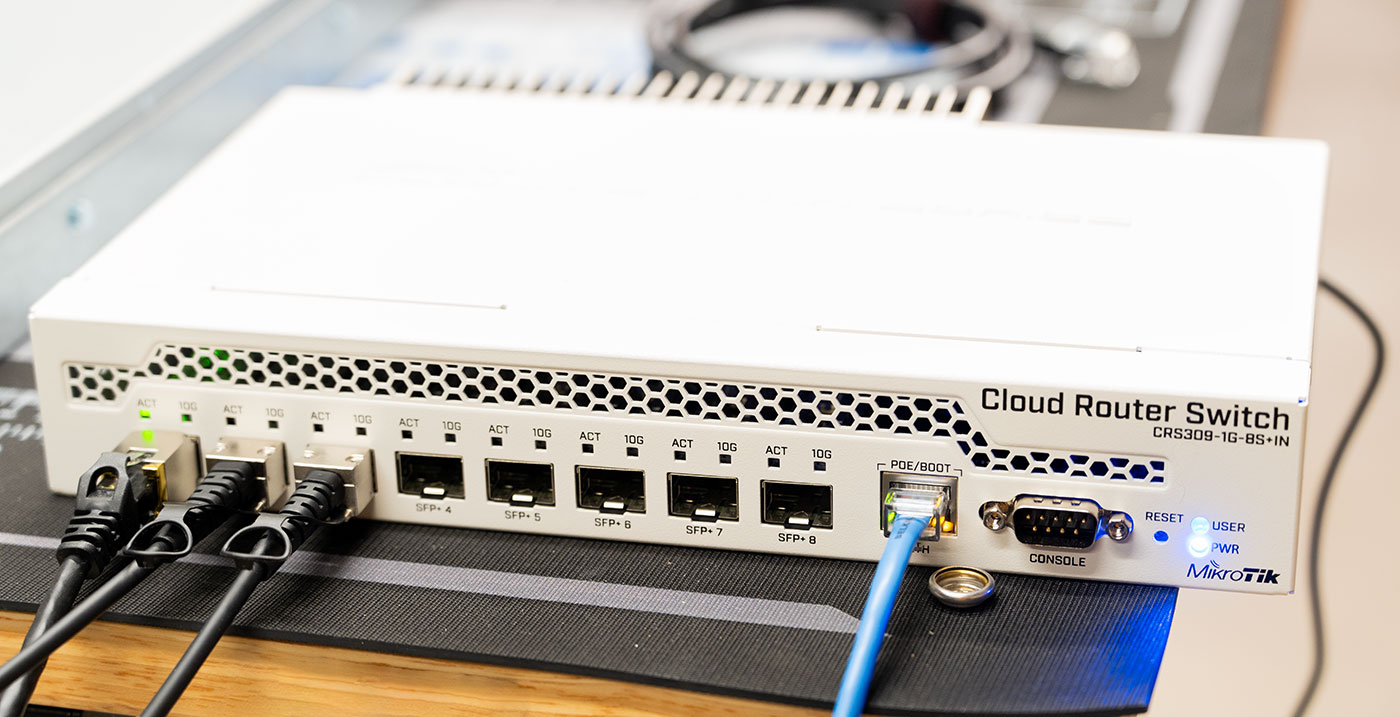
So in order to install a new WiFi 6 Access Point upstairs—and get it's full bandwidth—I upgraded my main 1 Gbps PoE+ switch to a 2.5 Gbps PoE+ switch.

Looking around at options, most switches with more than 4 2.5 Gbps ports with PoE+ seem to cost upwards of $300. And knowing that I'd like to expand my network a bit in the future, I finally splurged a bit and bought this 20-port monstrosity:

Using 4G LTE wireless modems on a Raspberry Pi

For a recent project, I needed to add cellular connectivity to a Raspberry Pi (actually, an entire cluster... but that's a story for a future time!).

Raspberry Pi 4 model B with 4G LTE wireless Quectel modem and antenna and USB adapter

I figured I'd document the process in this blog post so people who follow in my footsteps don't need to spend quite as much time researching. This post is the culmination of 40+ hours of reading, testing, and head-scratching.

There doesn't seem to be any good central resource for "4G LTE and Linux" out there, just a thousand posts about the ABC's of getting an Internet connection working through a 4G modem—but with precious little explanation about why or how it works. (Or why someone should care about random terms like PPP, ECM, QMI, or MBIM, or why someone would choose qmi_wwan over cdc_ether, or ... I could go on).

Hopefully you can learn something from my notes. Or point out places where I'm glaringly wrong :)

Network interface routing priority on a Raspberry Pi

52Pi Raspberry Pi Compute Module 4 Router Board

As I start using Raspberry Pis for more and more network routing activities—especially as the Compute Module 4 routers based on Debian, OpenWRT, and VyOS have started appearing—I've been struggling with one particular problem: how can I set routing priorities for network interfaces?

Now, this is a bit of a loaded question. You could dive right into routing tables and start adding and deleting routes from the kernel. You could mess with subnets, modify firewalls, and futz with iptables.

But in my case, my need was simple: I wanted to test the speed of a specific interface, either from one computer to another, or over the Internet (e.g. via speedtest-cli).

The problem is, even if you try limiting an application to a specific IP address (each network interface has its own), the Linux kernel will choose whatever network route it deems the best.

Quick 'Hello World' HTTP deployment for testing K3s and Traefik

Recently I needed to test the full HTTP stack between a Kubernetes cluster's member nodes and an external Internet routing setup, and so I wanted to quickly install K3s (which includes Traefik by default, and load balances through ports 80 and 443 on all nodes), then get a quick 'hello world' web page up, so I could see if the traffic was routing properly all the way from the external host through to a running container exposed via Traefik Ingress.

Here's how I set up a basic 'Hello World' web page on my K3s cluster:

First, I created an HTML file to be stored as a ConfigMap. Create a file named index.html with the following contents:

<html>
<head>
  <title>Hello World!</title>
</head>
<body>Hello World!</body>
</html>

Create a ConfigMap with the HTML from the file you just created:

$ kubectl create configmap hello-world --from-file index.html

Save the following to Kubernetes resource definitions into a file named hello-world.yml: