linux

It's official: Raspberry Pi OS goes 64-bit

64-bits. More is always better, right?

Well, not exactly. And that's why it's taken years for Raspberry Pi OS to add an officially-supported 64-bit version, in addition to the 32-bit version they've had since the original Pi came out.

Since May 2020, there's been a beta 64-bit version of Pi OS, but it wasn't intended for beginners, and was never linked from the main downloads page.

You had to kinda be 'in the know' to get it. And the reason for that is it's actually branched directly off of Debian Linux and had a few growing pains. But almost all those problems have been ironed out now, and apparently it's time for the Raspberry Pi's 64-bit era.
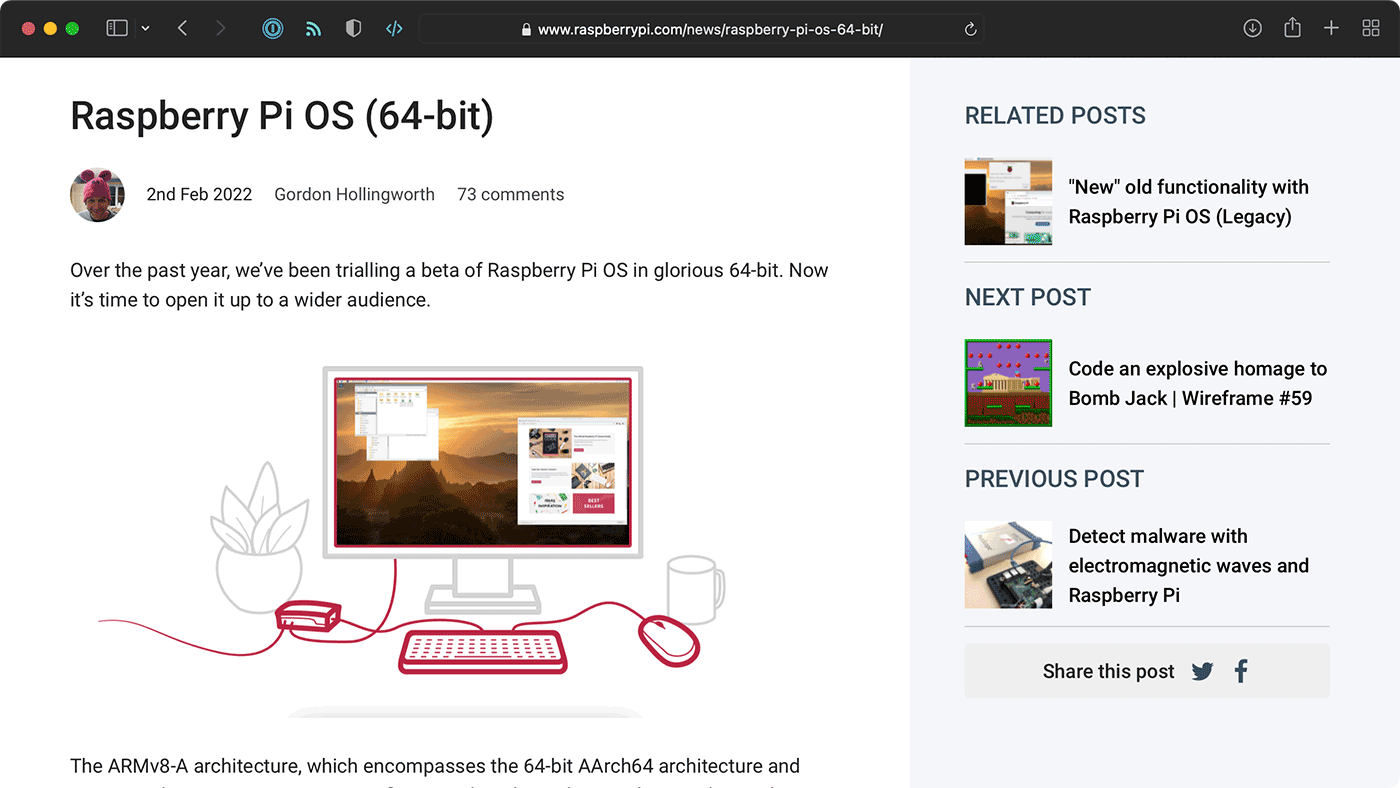
Raspberry Pi OS 64-bit blog post

Using 4G LTE wireless modems on a Raspberry Pi

For a recent project, I needed to add cellular connectivity to a Raspberry Pi (actually, an entire cluster... but that's a story for a future time!).

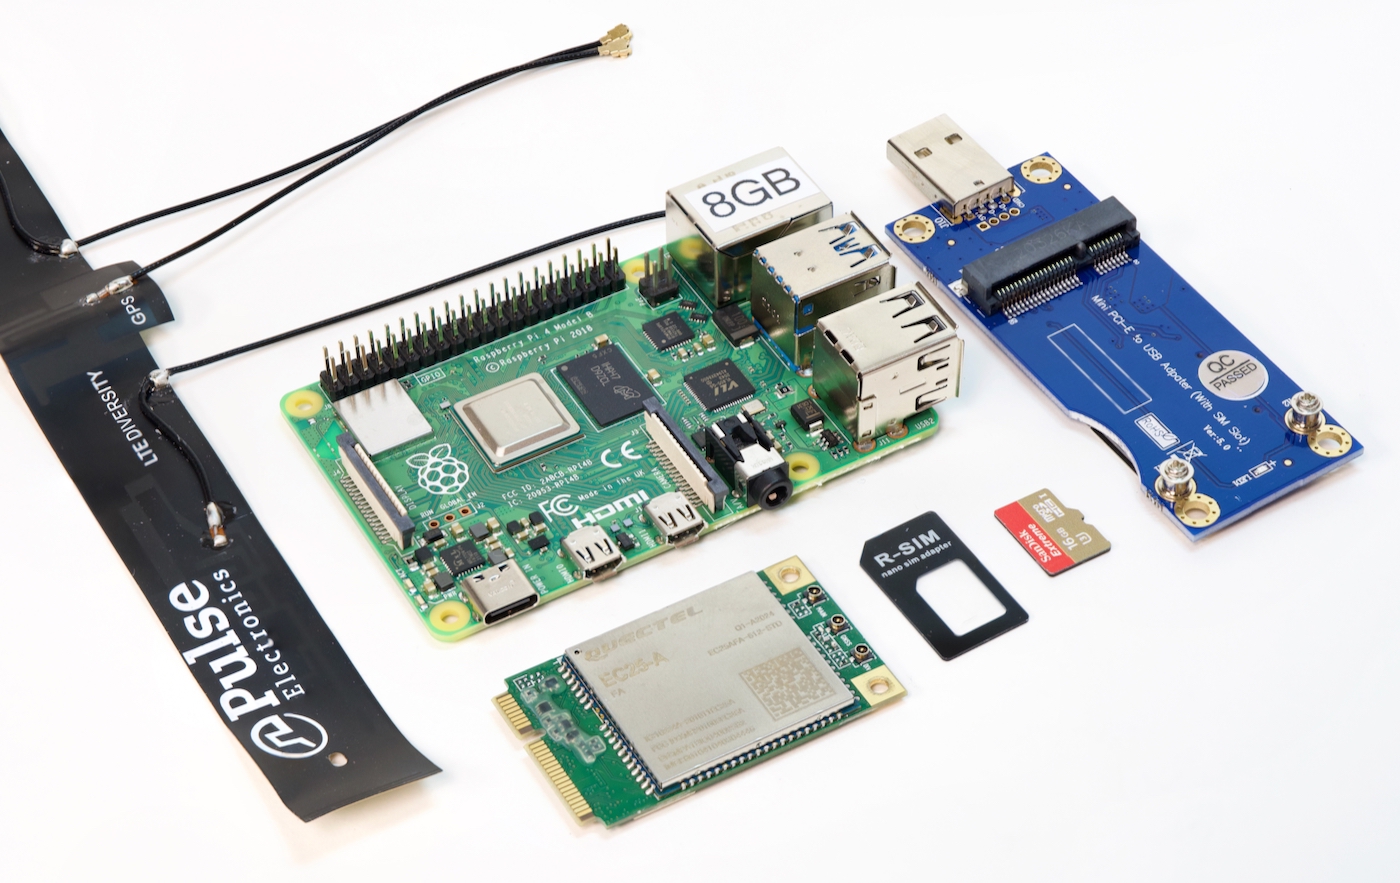
Raspberry Pi 4 model B with 4G LTE wireless Quectel modem and antenna and USB adapter

I figured I'd document the process in this blog post so people who follow in my footsteps don't need to spend quite as much time researching. This post is the culmination of 40+ hours of reading, testing, and head-scratching.

There doesn't seem to be any good central resource for "4G LTE and Linux" out there, just a thousand posts about the ABC's of getting an Internet connection working through a 4G modem—but with precious little explanation about why or how it works. (Or why someone should care about random terms like PPP, ECM, QMI, or MBIM, or why someone would choose qmi_wwan over cdc_ether, or ... I could go on).

Hopefully you can learn something from my notes. Or point out places where I'm glaringly wrong :)

Network interface routing priority on a Raspberry Pi

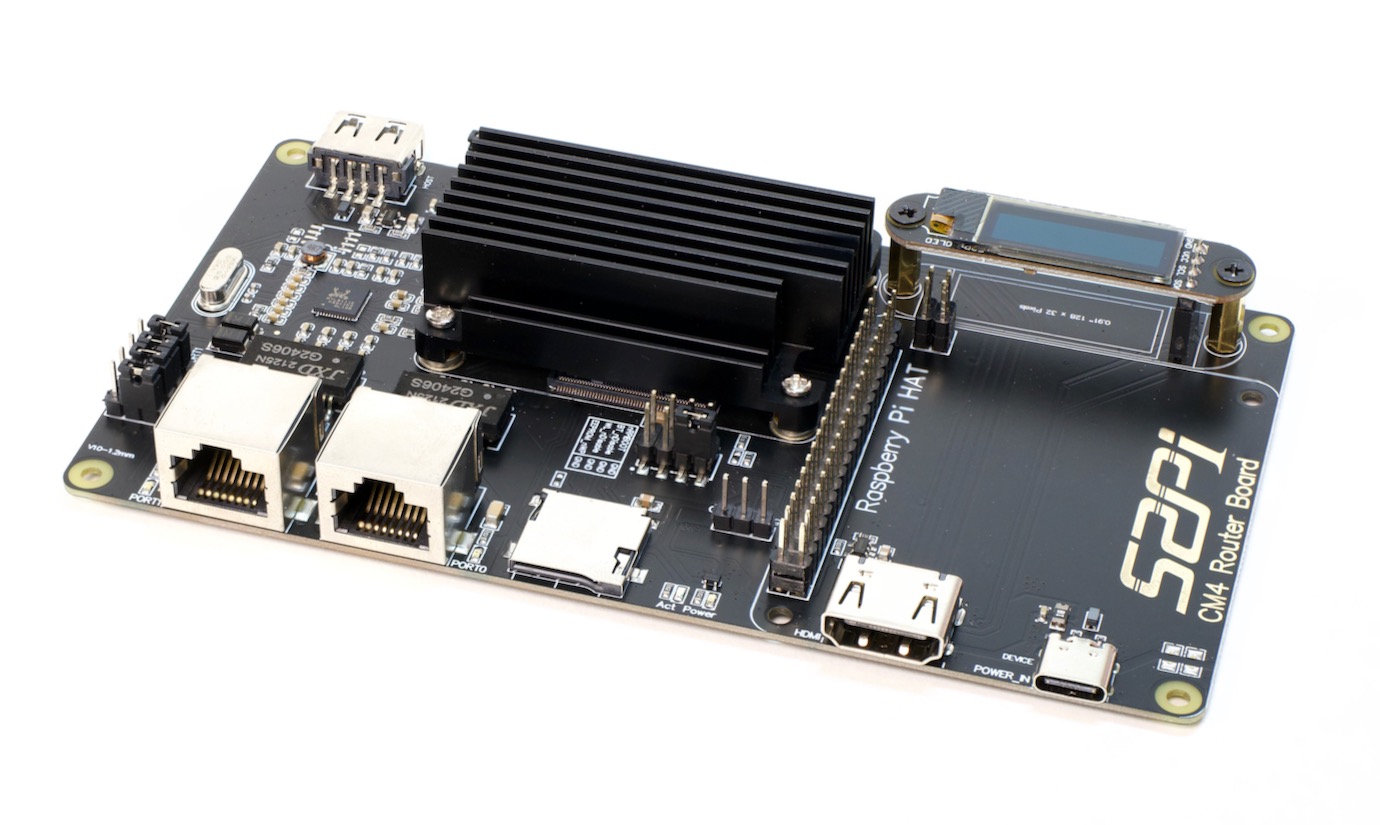
52Pi Raspberry Pi Compute Module 4 Router Board

As I start using Raspberry Pis for more and more network routing activities—especially as the Compute Module 4 routers based on Debian, OpenWRT, and VyOS have started appearing—I've been struggling with one particular problem: how can I set routing priorities for network interfaces?

Now, this is a bit of a loaded question. You could dive right into routing tables and start adding and deleting routes from the kernel. You could mess with subnets, modify firewalls, and futz with iptables.

But in my case, my need was simple: I wanted to test the speed of a specific interface, either from one computer to another, or over the Internet (e.g. via speedtest-cli).

The problem is, even if you try limiting an application to a specific IP address (each network interface has its own), the Linux kernel will choose whatever network route it deems the best.

Check your driver! Faster Linux 2.5G Networking with Realtek RTL8125B

Since the Raspberry Pi Compute Module 4 was introduced last year, I've been testing a variety of PCI Express NICs with it. One of the main types of NIC I'm interested in is cheap 2.5 Gigabit Ethernet adapters.

2.5 Gigabits is about the highest reasonable bandwidth you can get through the PCI Express Gen 2.0 x1 lane on the Raspberry Pi, and it's also a lot more accessible than 10 Gigabit networking, especially for home users who might already have Cat5e runs that they are loathe to swap out for Cat6 or better cabling.

In my testing, besides discovering that not all 10 Gbps SFP+ transceivers are created equal, I found out that when it comes to performance, the Linux driver you're using matters—a lot.

HTGWA: Use bcache for SSD caching on a Raspberry Pi

This is a simple guide, part of a series I'll call 'How-To Guide Without Ads'. In it, I'm going to document how I set up bcache on a Raspberry Pi, so I could use an SSD as a cache in front of a RAID array.

Getting bcache

bcache is sometimes used on Linux devices to allow a more efficient SSD cache to run in front of a single or multiple slower hard drives—typically in a storage array.

In my case, I have three SATA hard drives: /dev/sda, /dev/sdb, and /dev/sdc. And I have one NVMe SSD: /dev/nvme0n1.

I created a RAID5 array with mdadm for the three hard drives, and had the raid device /dev/md0.

I then installed bcache-tools:

$ sudo apt-get install bcache-tools

And used make-bcache to create the backing and cache devices:

Making sure symlinks work on CIFS/SMB mounted shares

I was recently working on some backup scripts to make sure I could clone all my GitHub repositories to my NAS, which I have mounted to a Raspberry Pi that handles all my backups.

I'm using gickup to run through all my GitHub repos and clone them locally, and I configured it to clone each repo directly into my NAS share, which is mounted over CIFS using something like:

sudo mount -t cifs -o uid=pi,username=myuser,password=mypass //my-nas-server/Backups /Volumes/Backups

Most repositories cloned correctly, but a few had symlinks inside, and when git was cloning them, the process would error out with:

Controlling PWM fans with the Raspberry Pi CM4 IO Board's EMC2301

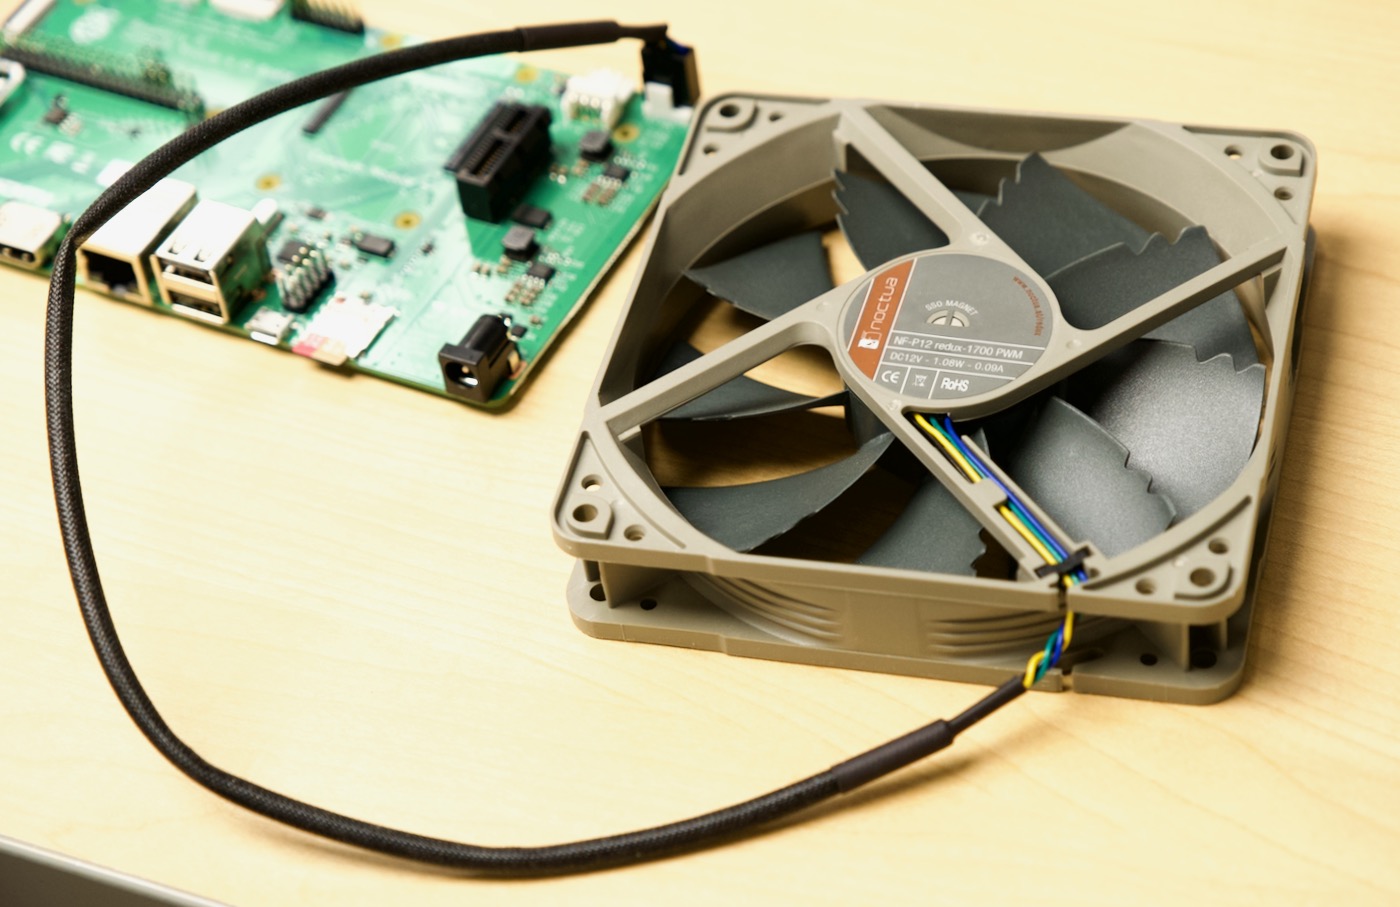
Noctua 120mm PWM fan connected to Raspberry Pi CM4 IO Board

When I initially reviewed the Compute Module 4 IO Board, I briefly mentioned there's a 4-pin fan connector. It's connected to the Pi's I2C bus using a little PWM chip, the EMC2301.

But wait... what's I2C, what's PWM, and what's so special about a 4-pin fan connector? I'm glad you asked—this post will answer that and show you how you can control a fan connected to the IO Board, like the quiet Noctua NF-P12 pictured above with my IO Board.

If you plug a fan like that into the CM4 IO Board, it will start running full blast, 24x7. If you need that much cooling, that's great, but a lot of times, I don't mind my Pi's CPU getting warmer if it means I can run the fan silent most of the time.

Working with multiple WiFi interfaces on a Raspberry Pi

Sometimes I like to connect to multiple WiFi networks on my Pi for... reasons.

Other times I like being able to use a better wireless interface than the built-in WiFi module on the Pi 4 or CM4, but don't want to add dtoverlay=disable-wifi in my /boot/config.txt and reboot.

Since Pi OS uses wpa_supplicant, it's actually easy to do this.

First, see what interfaces you have available, e.g. with ip a:

$ ip a
...
3: wlan0: <BROADCAST,MULTICAST> mtu 1500 qdisc pfifo_fast state DOWN group default qlen 1000
    link/ether e4:5f:01:4e:f0:22 brd ff:ff:ff:ff:ff:ff
4: wlan1: <NO-CARRIER,BROADCAST,MULTICAST,UP> mtu 1500 qdisc noqueue state DOWN group default qlen 1000
    link/ether 84:5c:f3:f6:e9:29 brd ff:ff:ff:ff:ff:ff

If you want to specify a network configuration that only applies to wlan1, create a file named /etc/wpa_supplicant/wpa_supplicant-wlan1.conf, and put your network credentials inside:

HTGWA: Create a ZFS RAIDZ1 zpool on a Raspberry Pi

This is a simple guide, part of a series I'll call 'How-To Guide Without Ads'. In it, I'm going to document how I set up a ZFS zpool in RAIDZ1 in Linux on a Raspberry Pi.

Prequisites

ZFS does not enjoy USB drives, though it can work on them. I wouldn't really recommend ZFS for the Pi 4 model B or other Pi models that can't use native SATA, NVMe, or SAS drives.

For my own testing, I am using a Raspberry Pi Compute Module 4, and there are a variety of PCI Express storage controller cards and carrier boards with integrated storage controllers that make ZFS much happier.

I have also only tested ZFS on 64-bit Raspberry Pi OS, on Compute Modules with 4 or 8 GB of RAM. No guarantees under other configurations.

Installing ZFS

Since ZFS is not bundled with other Debian 'free' software (because of licensing issues), you need to install the kernel headers, then install two ZFS packages:

HTGWA: Create an NFS share in Linux on a Raspberry Pi

This is a simple guide, part of a series I'll call 'How-To Guide Without Ads'. In it, I'm going to document how I create an NFS share in Linux on a Raspberry Pi.

Install NFS

$ sudo apt-get install -y nfs-kernel-server

Create a shared directory

$ sudo mkdir /mnt/mydrive/shared
$ sudo chmod -R 777 /mnt/mydrive/shared

I won't deal with permissions in this post; read this post for more suggestions.

Configure NFS to share that directory

Edit the NFS exports file with sudo nano /etc/exports, and add the following:

/mnt/mydrive/shared *(rw,all_squash,insecure,async,no_subtree_check,anonuid=1000,anongid=1000)

Update the NFS active exports

sudo exportfs -ra

Connect to the share

From another computer, access: nfs://[hostname-or-ip-of-pi]/mnt/mydrive/shared