linux

HTGWA: Create an NFS share in Linux on a Raspberry Pi

This is a simple guide, part of a series I'll call 'How-To Guide Without Ads'. In it, I'm going to document how I create an NFS share in Linux on a Raspberry Pi.

Install NFS

$ sudo apt-get install -y nfs-kernel-server

Create a shared directory

$ sudo mkdir /mnt/mydrive/shared
$ sudo chmod -R 777 /mnt/mydrive/shared

I won't deal with permissions in this post; read this post for more suggestions.

Configure NFS to share that directory

Edit the NFS exports file with sudo nano /etc/exports, and add the following:

/mnt/mydrive/shared *(rw,all_squash,insecure,async,no_subtree_check,anonuid=1000,anongid=1000)

Update the NFS active exports

sudo exportfs -ra

Connect to the share

From another computer, access: nfs://[hostname-or-ip-of-pi]/mnt/mydrive/shared
HTGWA: Create a Samba (SMB) share on a Raspberry Pi

This is a simple guide, part of a series I'll call 'How-To Guide Without Ads'. In it, I'm going to document how I create Samba (SMB) shares in Linux on a Raspberry Pi.

Install Samba

This is important, for obvious reasons:

$ sudo apt install -y samba samba-common-bin

Create a shared directory

$ sudo mkdir /mnt/mydrive/shared
$ sudo chmod -R 777 /mnt/mydrive/shared

I won't deal with permissions in this post; read the Samba docs for that.

Configure Samba to share that directory

Edit the Samba config file with sudo nano /etc/samba/smb.conf, and add the following:

[shared]
path=/mnt/mydrive/shared
writeable=Yes
create mask=0777
directory mask=0777
public=no

Restart Samba so the new shared directory is available:

$ sudo systemctl restart smbd

Create a password for Samba access

The user must already exist on the system; in this example, I'll use the default pi user:

HTGWA: Create a RAID array in Linux with mdadm

This is a simple guide, part of a series I'll call 'How-To Guide Without Ads'. In it, I'm going to document how I create and mount a RAID array in Linux with mdadm.

In the guide, I'll create a RAID 0 array, but other types can be created by specifying the proper --level in the mdadm create command.

Prepare the disks

You should have at least two drives set up and ready to go. And make sure you don't care about anything on them. They're gonna get erased. And make sure you don't care about the integrity of the data you're going to store on the RAID 0 volume. RAID 0 is good for speed... and that's about it. Any drive fails, all your data's gone.

Note: Other guides, like this excellent one on the Unix StackExchange site, have a lot more detail. This is just a quick and dirty guide.

List all the devices on your system:

HTGWA: Partition, format, and mount a large disk in Linux with parted

This is a simple guide, part of a series I'll call 'How-To Guide Without Ads'. In it, I'm going to document how I partition, format, and mount a large disk (2TB+) in Linux with parted.

Note that newer fdisk versions may work better with giant drives... but since I'm now used to parted I'm sticking with it for the foreseeable future.

List all available drives

$ sudo parted -l
...
Error: /dev/sda: unrecognised disk label
Model: ATA Samsung SSD 870 (scsi)                                         
Disk /dev/sda: 8002GB
Sector size (logical/physical): 512B/512B
Partition Table: unknown
Disk Flags:

Good, I had plugged in that SSD just now, and it's brand new, so it doesn't have a partition table, label, or anything. It's the one I want to operate on. It's located at /dev/sda. I could also find that info with lsblk.

CutiePi - a Raspberry Pi CM4 Linux Tablet

A few weeks ago, I got my hands on an early prototype of the CutiePi.

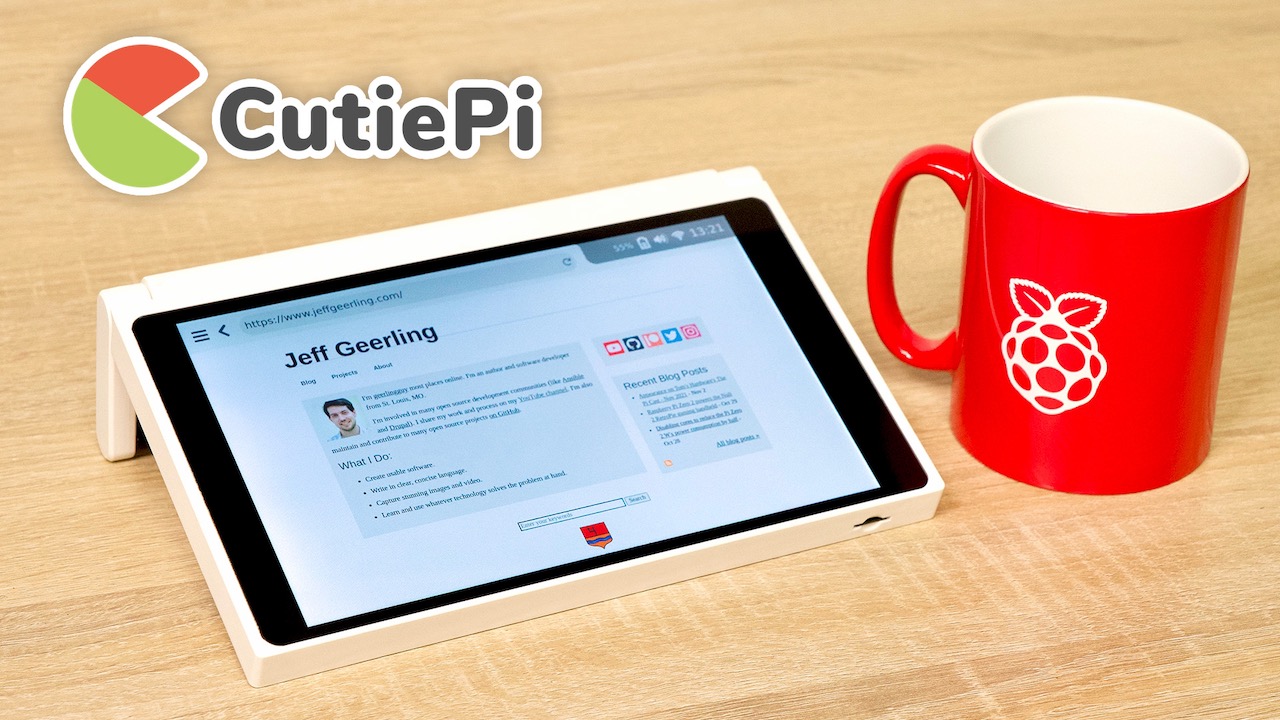
CutiePi Tablet with Raspberry Pi mug

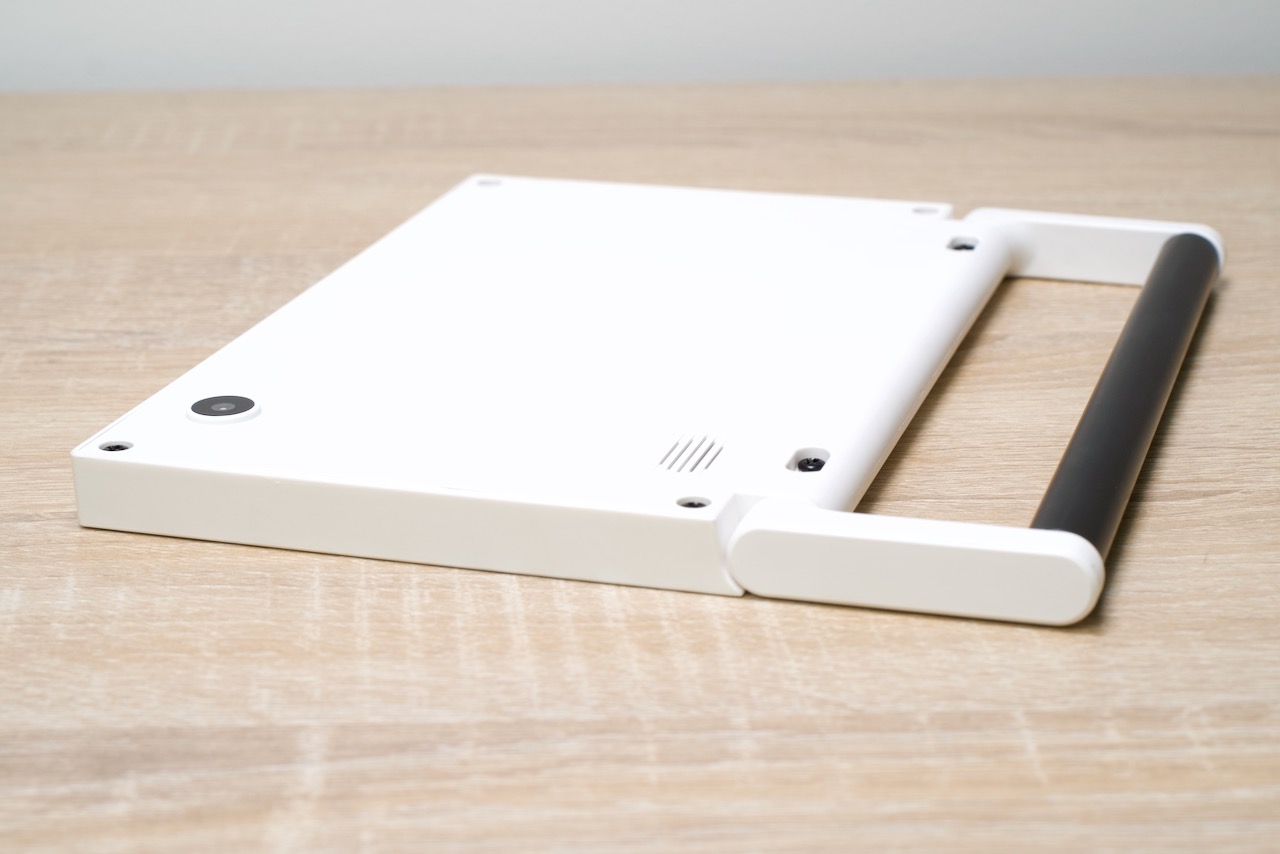
Unlike many other Pi 'tablet' projects, this one is actually more of a, well, tablet, since it is based on the diminutive Compute Module 4. And because of that, and a custom main board, the CutiePi is less than half as thick as the other decent modern Raspberry Pi tablet on the market, the RasPad—plus it has a cute handle:

CutiePi Back

It has an 8" 1280x800 multi-touch display, a 5000 mAh battery, USB 2.0, USB-C power (you can use the tablet while charging), micro HDMI for an external monitor or TV, and a microphone, speaker, and 5MP 1080p rear-facing camera.

Raspberry Pi OS now has SATA support built-in

After months of testing various SATA cards on the Raspberry Pi Compute Module 4, the default Raspberry Pi OS kernel now includes SATA support out of the box.

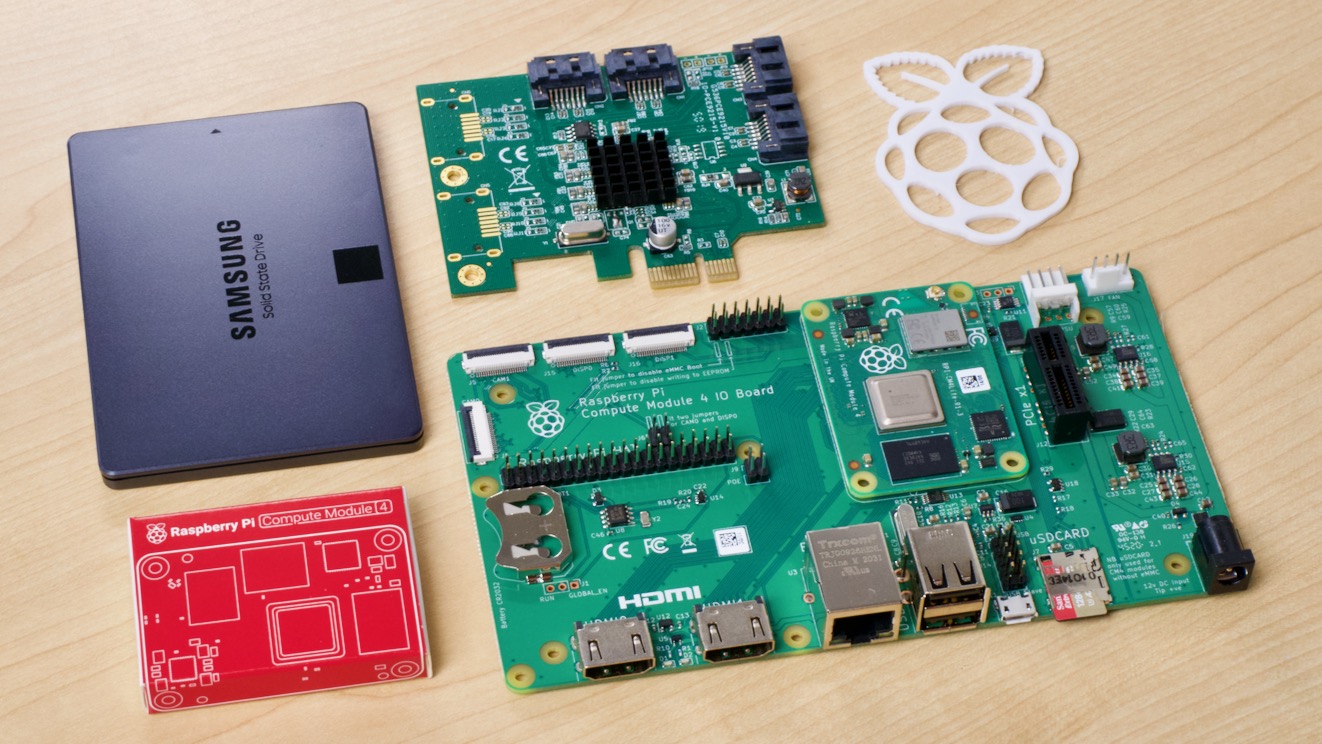
SATA card and Samsung SSD with Raspberry Pi Compute Module 4 IO Board

In the past, if you wanted to use SATA hard drives or SSDs and get native SATA speeds, and be able to RAID them together for redundancy or performance, you'd have to recompile the Linux kernel with SATA and AHCI.

Sure you could always use hard drives and SSDs with SATA to USB adapters, but you sacrifice 10-20% of the performance, and can't RAID them together, at least not without some hacks.

There's a video version of this post: SATA support is now built into Raspberry Pi OS!

The Apple M1 compiles Linux 30% faster than my Intel i9

(With a caveat: I'm compiling the ARMv8 64-bit Pi OS kernel.)

It seems every week or so on Hacker News, a story hits the front page showing some new benchmark and how one of the new M1-based Macs matches or beats the higher-priced competition in some specific benchmark—be it GeekBench, X86-specific code, or building Emacs.

Well, here's my quick story.

I've been doing a lot of work with Raspberry Pis lately—more specifically, work which often requires recompiling the Pi OS Linux kernel for the aarch64 architecture. I recompile the kernel enough I made my own shirt for it!

Cracks are showing in Enterprise Open Source's foundations

I've worked in open source my entire career1. To say that I'm worried about the impact recent events have on the open source ecosystem would be an understatement.

Red Hat and Elastic logos

In the past couple months:

  • Red Hat effectively killed CentOS
  • Elastic effectively killed Elasticsearch

People may rightfully refute these statements, but the statements are more complicated than you might think. Killing a project doesn't mean the project will vanish overnight, but what has happened so far is two very large companies in the 'enterprise open source' space have shown the chinks in the armor of the monetization of open source software.

For many years, everyone in the industry pointed at Red Hat as the shining example of 'how to build a company around open source'.

And for the past decade, the open source Elasticsearch, Logstash, and Kibana logging ecosystem was on a tear, becoming a standard in the open source cloud stack.

WiFi 6 is not faster than Ethernet on the Raspberry Pi

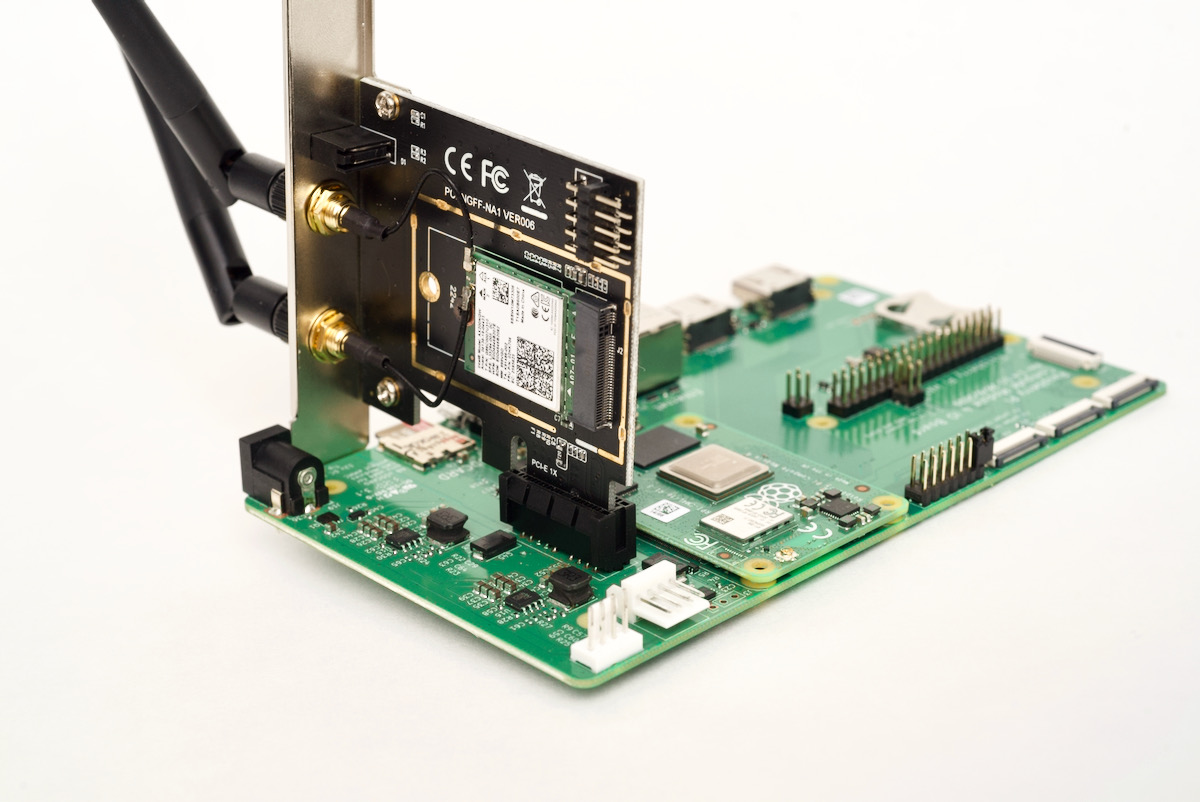
I didn't know it at the time, but my results testing the EDUP WiFi 6 card (which uses the Intel AX200 chipset) on the Raspberry Pi in December weren't accurate.

It doesn't get 1.34 gigabits of bandwidth with the Raspberry Pi Compute Module 4 like I stated in my December video, WiFi 6 on the Raspberry Pi CM4 makes it Fly!.

I'm very thorough in my benchmarking, and if there's ever a weird anomaly, I try everything I can to prove or disprove the result before sharing it with anyone.

In this case, since I was chomping at the bit to move on to testing a Rosewill 2.5 gigabit Ethernet card, I didn't spend as much time as I should have re-verifying my results.

MZHOU WiFi Bluetooth M.2 NGFF Adapter Card for PCIe Raspberry Pi Compute Module 4 AX200 Intel 6

Kubuntu Focus M2 Linux laptop review and MacBook Pro comparison

A few months ago, I replaced my Core i9 MacBook Pro with a Raspberry Pi 4 model B with 8GB of RAM for a day, and I made a video and a blog post about the experience.

Obviously there's a vast difference between a new Core i9 laptop with 32 GB of RAM, a dedicated GPU, and a 2 terabytes of fast storage and a tiny Raspberry Pi running ARM. So it wasn't a fair fight, but I could do a lot of things well enough, and every generation of Pi has gotten better.

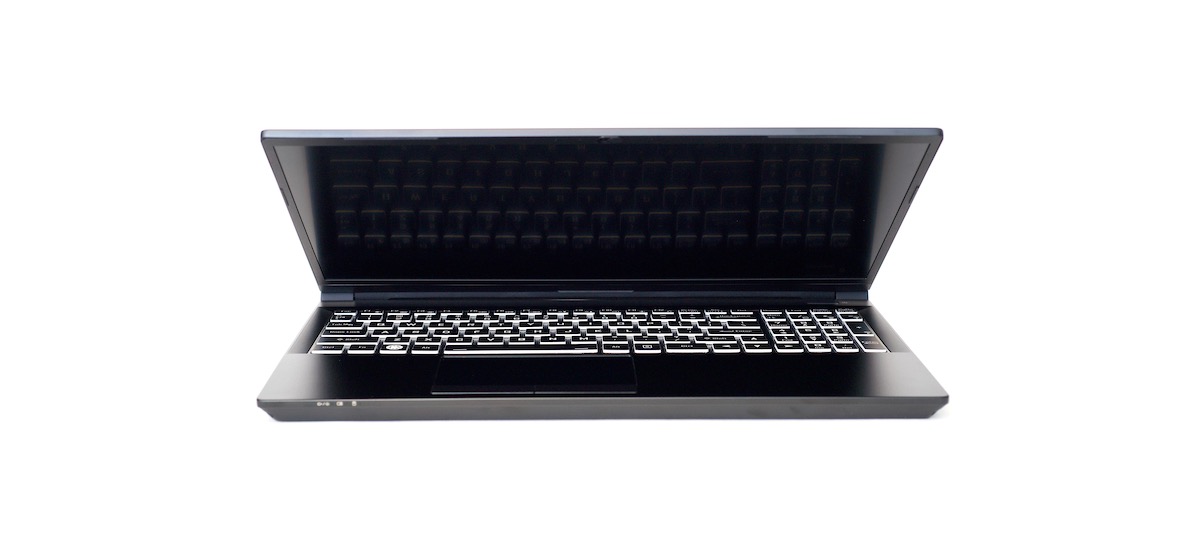
Kubuntu Focus M2 Linux laptop

A few weeks ago, someone from Mindshare Management asked me if I'd like to do the same test, but this time with an almost one-for-one replacement laptop: the new Kubuntu Focus M2.

Review video: Check out the video that goes along with this review: