hard drive

HTGWA: How to completely erase a hard drive in Linux

This is a simple guide, part of a series I'll call 'How-To Guide Without Ads'. In it, I'll show you how I completely initialize a hard drive so I can re-use it somewhere else (like Ceph) that doesn't like drives with partition information!

First, a warning: this blog post does not show how to zero a hard drive, or secure erase. That's a slightly different process.

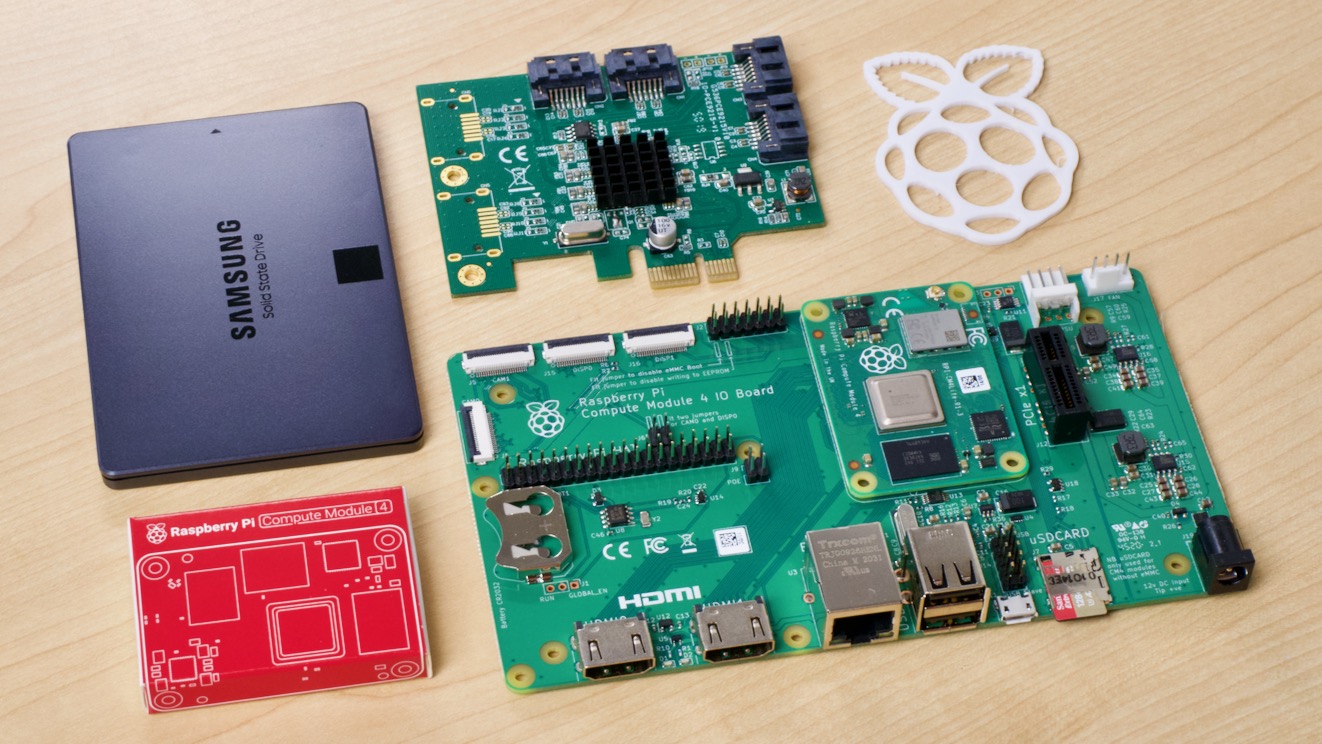
But as someone with way too many storage devices (from testing, mostly), I find myself in the position of trying to use a spare drive in some place where it expects a brand new drive, but winds up failing because the drive had a partition, or had valid boot files from an SBC or something.

I wanted to document the easiest way in Linux to completely reset a hard drive—at least from Linux's perspective.

The impetus was when I was trying to get some hard drives added to a Ceph OSD, and the process that tried adding them ran into an error stating RuntimeError: Device /dev/sda has partitions.

Raspberry Pi OS now has SATA support built-in

After months of testing various SATA cards on the Raspberry Pi Compute Module 4, the default Raspberry Pi OS kernel now includes SATA support out of the box.

SATA card and Samsung SSD with Raspberry Pi Compute Module 4 IO Board

In the past, if you wanted to use SATA hard drives or SSDs and get native SATA speeds, and be able to RAID them together for redundancy or performance, you'd have to recompile the Linux kernel with SATA and AHCI.

Sure you could always use hard drives and SSDs with SATA to USB adapters, but you sacrifice 10-20% of the performance, and can't RAID them together, at least not without some hacks.

There's a video version of this post: SATA support is now built into Raspberry Pi OS!

Trying KIOXIA CM6 and PM6 Enterprise SSDs on a Raspberry Pi

Late last year, an engineer at Broadcom sent me some hardware and offered some help getting Broadcom's MegaRAID card working on the Raspberry Pi. It took some time, but eventually we were able to get the card and a demonstrator 'UBM' backplane working on the Pi, and it culminated in my posting about Hardware RAID on the Pi, and on a livestream, getting 16 hard drives working on a Pi.

The one thing I couldn't test in those earlier videos was the backplane and storage card's 'Tri-mode' support, allowing PCI Express NVMe drives—like KIOXIA's CM6—to work in the same slot as the SATA and SAS drives I was used to testing.

So after some conversation with reps at KIOXIA, I was able to get a PM6 and three CM6 drives on loan to test them:

KIOXIA CM6 and PM6 SSD with Raspberry Pi Compute Module 4

Pi Day 2021 - Livestream of 16 drives on a Raspberry Pi (2nd attempt)

For Pi Day, I'm going to livestream my second attempt at getting 16 hard drives (well, 12 hard drives and 4 SSDs) recognized by a Raspberry Pi.

The first attempt went decently well... but I wound up running into power supply issues.

.embed-container { position: relative; padding-bottom: 56.25%; height: 0; overflow: hidden; max-width: 100%; } .embed-container iframe, .embed-container object, .embed-container embed { position: absolute; top: 0; left: 0; width: 100%; height: 100%; }

This time around, I will hopefully have those issues solved, and also we may have a little fun building a software-RAID-on-hardware-RAID (depending on how crazy we want to get). It probably won't work like I expect, but that's what makes it fun!.

Building the fastest Raspberry Pi NAS, with SATA RAID

Since the day I received a pre-production Raspberry Pi Compute Module 4 and IO Board, I've been testing a variety of PCI Express cards with the Pi, and documenting everything I've learned.

The first card I tested after completing my initial review was the IO Crest 4-port SATA card pictured with my homegrown Pi NAS setup below:

Raspberry Pi Compute Module 4 with IOCrest 4-port SATA card and four Kingston SSDs

But it's been a long time testing, as I wanted to get a feel for how the Raspberry Pi handled a variety of storage situations, including single hard drives and SSD and RAID arrays built with mdadm.

I also wanted to measure thermal performance and energy efficiency, since the end goal is to build a compact Raspberry-Pi based NAS that is competitive with any other budget NAS on the market.

I'm booting my Raspberry Pi 4 from a USB SSD

September 2020 Update: USB boot is out of beta! Check out this video for simplified instructions. All you need to do now is run sudo apt-get dist-upgrade -y, then reboot, then your firmware should be up to date. Now, flash any USB drive with the latest Raspberry Pi OS, plug it into your Pi (unplugging any microSD card), and you're off to the races!

Recently, the Raspberry Pi Foundation announced a USB boot beta for the Raspberry Pi 4. For a very long time, the top complaint I've had with the Raspberry Pi is limited I/O speed (especially for the main boot volume). And on older Pis, with the maximum external disk speed limited especially by the USB 2.0 bus—which was shared with the network adapter, limiting its bandwidth further—even USB booting didn't make things amazing.

Rescue photos and other files from an SD or microSD card with PhotoRec

Edit: There's an even easier way to install PhotoRec now, assuming you have installed Homebrew, and you're comfortable in the command line:

brew install testdisk
sudo photorec

Then follow the prompts to start recovering files.

As a photographer who's taken and processed at least 200,000 photos in the past couple decades, you'd think I have a solid workflow that results in zero lost files... but you'd be wrong. 99% of the time, I follow the workflow:

  1. Import photos from memory card.
  2. Make sure backup of imported photos completes (so I have two local copies—I also have one copy back up to a cloud storage provider, so two local and one cloud backup).
  3. Format the memory card.

A lot of photographers shoot with two memory cards, and have photos written to both—that way the 2nd card would be a double-failsafe. But for most jobs, I don't do that. And one of my digital cameras doesn't even have two memory card slots, so this isn't an option!

Anyways, more often than I'd like to admit, I do something dumb, like:

How to upgrade the SSD hard drive in a Dell XPS 13 (9360)

June 6, 2018 Update: I've also posted a video of the SSD replacement process, embedded below:

.embed-container { position: relative; padding-bottom: 56.25%; height: 0; overflow: hidden; max-width: 100%; } .embed-container iframe, .embed-container object, .embed-container embed { position: absolute; top: 0; left: 0; width: 100%; height: 100%; }

I recently purchased a used Dell XPS 13 (model 9360), and I chose to purchase the base option (with 128 GB SSD) since it was cheaper to do that and upgrade the SSD to a larger model (500 GB) aftermarket than to buy a higher model XPS (I bought this model: WD Blue 3D NAND 500GB PC SSD).

Figuring out why an external USB hard drive won't spin down on my Mac

I am using a 2011 Mac mini as a backup server for all the data I store on iCloud, and for the first few days while I was setting up the Mac, I noticed the 4 TB and 2 TB external USB drives I had plugged in would spin down after a few minutes, and I would have blissful silence as long as there wasn't an active operation on that Mac (which should be fairly rare; just hourly Time Machine backups and periodic SSD activity since the iCloud libraries are all on SSD).

However, after a few weeks, I noticed that at least one of the two hard drives runs continuously, 24x7. Something on the Mac mini must keep hitting the drive and preventing it from spinning down.

To see what was happening, I used sudo fs_usage | grep VOLUME (in my case, VOLUME is 4\ TB\ Utility) to monitor what processes were accessing the drive, and what files they were accessing. After a few minutes watching (and doing nothing else on the computer, to make sure I wasn't causing any extra filesystem seeks), there were a couple regular culprits: