benchmarking

Quick NVMe performance testing with fio

I've recently been debugging some NVMe / PCIe bus errors on a Raspberry Pi, and I wanted a quick way to test NVMe devices without needing to create a filesystem and use a tool like iozone. I don't care about benchmarks, I just want to quickly push the drive and read and write some data to it.

fio is the tool for the job, and after a quick install sudo apt install -y fio, I create a configuration file named nvme-read.fio:

[global]
name=nvme-seq-read
time_based
ramp_time=5
runtime=30
readwrite=read
bs=256k
ioengine=libaio
direct=1
numjobs=1
iodepth=32
group_reporting=1
[nvme0]
filename=/dev/nvme0n1

Then run it with:

sudo fio nvme-read.fio

Easy way to put some stress on the drive, and test your PCIe setup and the drive itself.

Testing iperf through an SSH tunnel

I recently had a server with some bandwidth limitations (tested using scp and rsync -P), where I was wondering if the problem was the data being transferred, or the server's link speed.

The simplest way to debug and verify TCP performance is to install iperf3 and run an iperf speed test between the server and my computer.

On the server, you run iperf3 -s, and on my computer, iperf3 -c [server ip].

But iperf3 requires port 5201 (by default) to be open on the server, and in many cases—especially if the server is inside a restricted environment and only accessible through SSH (e.g. through a bastion or limited to SSH connectivity only)—you won't be able to get that port accessible.

So in my case, I wanted to run iperf through an SSH tunnel. This isn't ideal, because you're testing the TCP performance through an encrypted connection. But in this case both the server and my computer are extremely new/fast, so I'm not too worried about the overhead lost to the connection encryption, and my main goal was to get a performance baseline.

Using PiBenchmarks.com for SBC disk performance testing

For many years, I've maintained some scripts to do basic disk benchmarking for SBCs, to test 1M and 4K sequential and random access speeds, since those are the two most relevant tests for the Linux workloads I run on my Pis.

I've been using this script for years, and it uses fio and iozone to get the metrics I need.

And from time to time, I would test a number of microSD cards on the Pi, or run tests on NVMe SSDs on the Pi, Rock 5 model B, or other SBCs. But my results were usually geared towards a single blog post or a video project.

In 2021 James Chambers set up PiBenchmarks to move to a more community-driven testing dataset.

You can run the following command on your SBC to test the boot storage and upload results directly to PiBenchmarks.com:

Ubuntu's settings won't open after setting CPU to 'performance'

Recently I was doing some benchmarking on my Ubuntu 22.04 PC, and as part of that benchmarking, I tried setting the CPU performance profile to performance. In the old days, this was not an issue, but it seems that modern Ubuntu only 'knows' about balanced and power-saver. Apparently performance is forbidden these days!

$ powerprofilesctl list
* balanced:
    Driver:     placeholder

  power-saver:
    Driver:     placeholder

The problem was, I had set the profile to performance:

$ powerprofilesctl set performance

But suddenly the 'Settings' GUI app would no longer open (at least not after I had opened it and clicked into the 'power' section). A reboot didn't work, and even reinstalling control center (sudo apt-get install --reinstall gnome-control-center) didn't help!

When I tried opening the settings GUI from the command line, I got the following critical error:

Benchmarking DNS on my Mac with Pi-Hole

After watching Level1Techs' THE FORBIDDEN ROUTER II - DIAL-UP BY DAWN video, I wanted to do some DNS benchmarking on my local network.

Since I run Pi-hole locally, and rely on it for local DNS resolution, I wanted to have a baseline so I could compare performance over time.

In the video, Wendell mentioned the use of Gibson's Windows-only DNS Benchmark tool. But that's Windows-only. Or maybe Linux under WINE, but definitely not a native / open source tool that's easily used across different platforms.

I looked around and settled on bulldohzer—for now, at least—as it's easy to install anywhere Node.js runs. I have Node.js installed via Homebrew on my Mac, so I just ran:

npm install --location=global bulldohzer

Then I could run a benchmark against Google and my own local DNS resolver (Pi-Hole):

How to run glmark2-drm to benchmark an external GPU on a Raspberry Pi

Recently I wanted to see whether I could get glmark2 (an OpenGL 2.0 and ES 2.0 benchmark tool) to run on a Raspberry Pi with an external graphics card (see this thread).

But glmark2 isn't available in any Pi repositories, so you have to build it from source:

sudo apt install -y meson libjpeg-dev libdrm-dev libgbm-dev libudev-dev
git clone https://github.com/glmark2/glmark2.git
cd glmark2
meson setup build -Dflavors=drm-gl,drm-glesv2
ninja -C build
sudo ninja -C build install

I built this for drm only, so it can run fullscreen without any X/Wayland environment. To run the full suite:

glmark2-drm

Or you can run a specific benchmark like glmark2-drm -b jellyfish.

Network interface routing priority on a Raspberry Pi

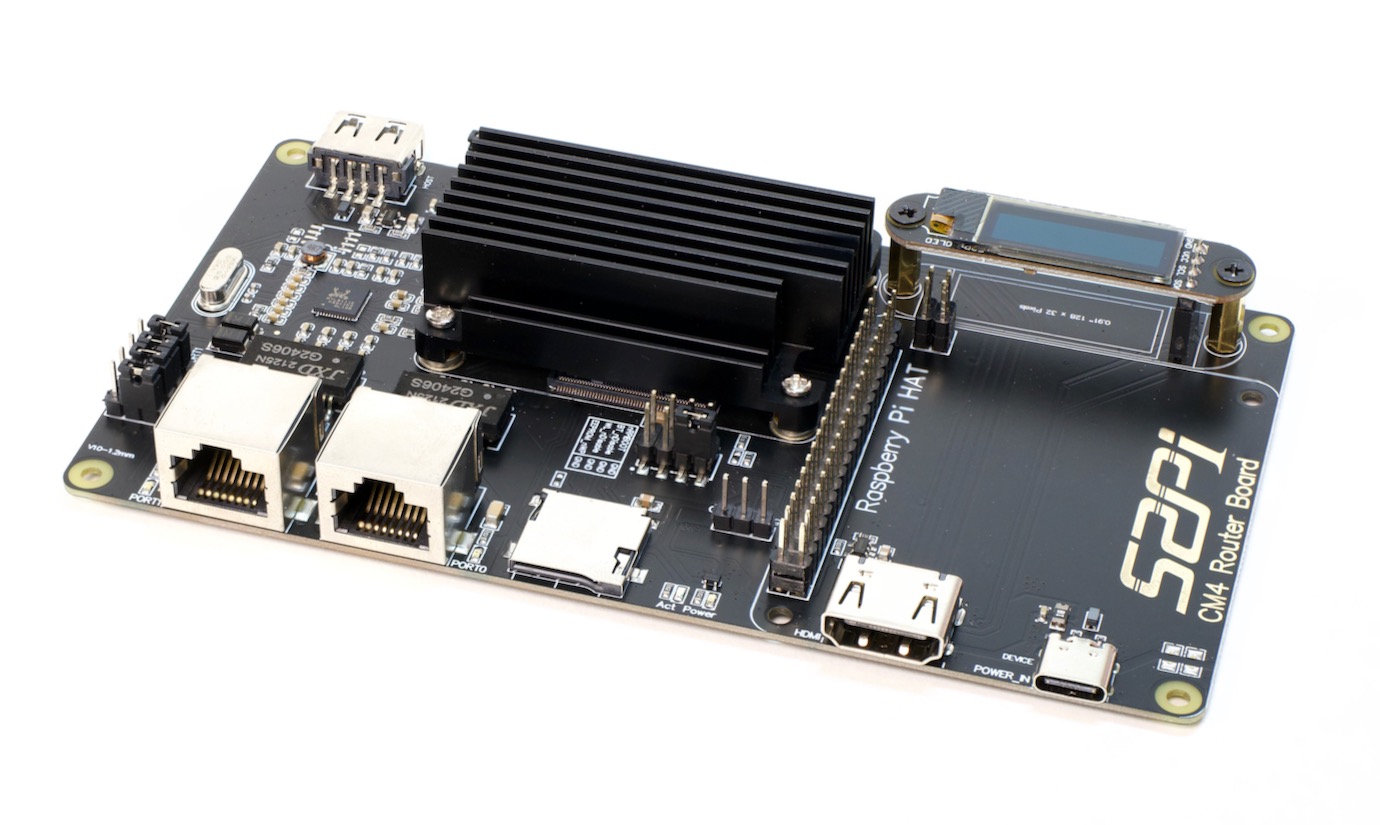
52Pi Raspberry Pi Compute Module 4 Router Board

As I start using Raspberry Pis for more and more network routing activities—especially as the Compute Module 4 routers based on Debian, OpenWRT, and VyOS have started appearing—I've been struggling with one particular problem: how can I set routing priorities for network interfaces?

Now, this is a bit of a loaded question. You could dive right into routing tables and start adding and deleting routes from the kernel. You could mess with subnets, modify firewalls, and futz with iptables.

But in my case, my need was simple: I wanted to test the speed of a specific interface, either from one computer to another, or over the Internet (e.g. via speedtest-cli).

The problem is, even if you try limiting an application to a specific IP address (each network interface has its own), the Linux kernel will choose whatever network route it deems the best.

Check your driver! Faster Linux 2.5G Networking with Realtek RTL8125B

Since the Raspberry Pi Compute Module 4 was introduced last year, I've been testing a variety of PCI Express NICs with it. One of the main types of NIC I'm interested in is cheap 2.5 Gigabit Ethernet adapters.

2.5 Gigabits is about the highest reasonable bandwidth you can get through the PCI Express Gen 2.0 x1 lane on the Raspberry Pi, and it's also a lot more accessible than 10 Gigabit networking, especially for home users who might already have Cat5e runs that they are loathe to swap out for Cat6 or better cabling.

In my testing, besides discovering that not all 10 Gbps SFP+ transceivers are created equal, I found out that when it comes to performance, the Linux driver you're using matters—a lot.

WiFi 6 is not faster than Ethernet on the Raspberry Pi

I didn't know it at the time, but my results testing the EDUP WiFi 6 card (which uses the Intel AX200 chipset) on the Raspberry Pi in December weren't accurate.

It doesn't get 1.34 gigabits of bandwidth with the Raspberry Pi Compute Module 4 like I stated in my December video, WiFi 6 on the Raspberry Pi CM4 makes it Fly!.

I'm very thorough in my benchmarking, and if there's ever a weird anomaly, I try everything I can to prove or disprove the result before sharing it with anyone.

In this case, since I was chomping at the bit to move on to testing a Rosewill 2.5 gigabit Ethernet card, I didn't spend as much time as I should have re-verifying my results.

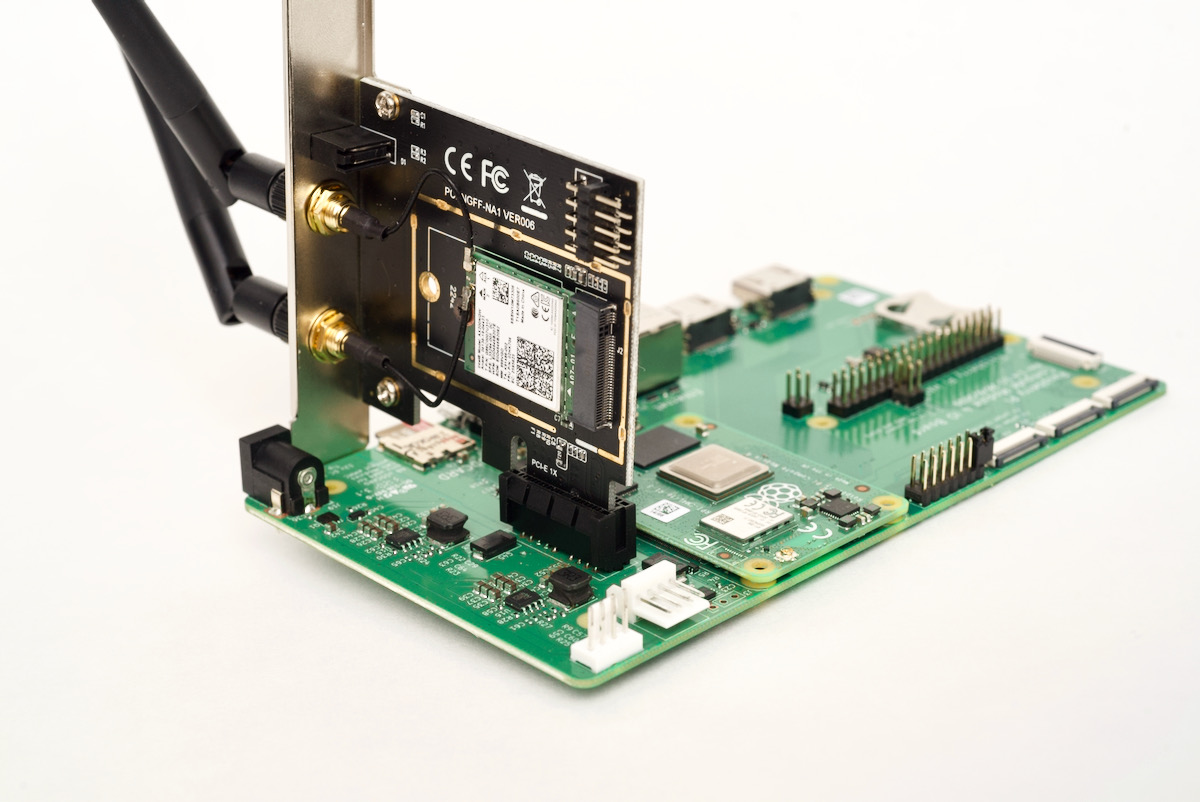
MZHOU WiFi Bluetooth M.2 NGFF Adapter Card for PCIe Raspberry Pi Compute Module 4 AX200 Intel 6

Testing 2.5 Gbps Ethernet on the Raspberry Pi CM4

Rosewill 2.5 Gbps Ethernet adapter PCIe 1x card

I got this Rosewill RC-20001 PCIe 2.5 Gbps Network Adapter working on the Raspberry Pi Compute Module 4.

Right after I got the card working, though, I tested it in an external powered PCI Express riser, and that test released the card's magic smoke. Oops.

Here's a dramatic re-enactment that's actually pretty accurate to what it looked like in real life:

PCIe card lets out magic smoke

Luckily, buying a replacment wasn't too bad, since the card is less than $20. But to get it to work on my spiffy new ten gigabit network, I also had to buy a new SFP+ transceiver that was compatible with 1, 2.5, 5, and 10 Gbps data rates, and that cost $60!