poe

Resetting and upgrading old Hikvision IP Cameras

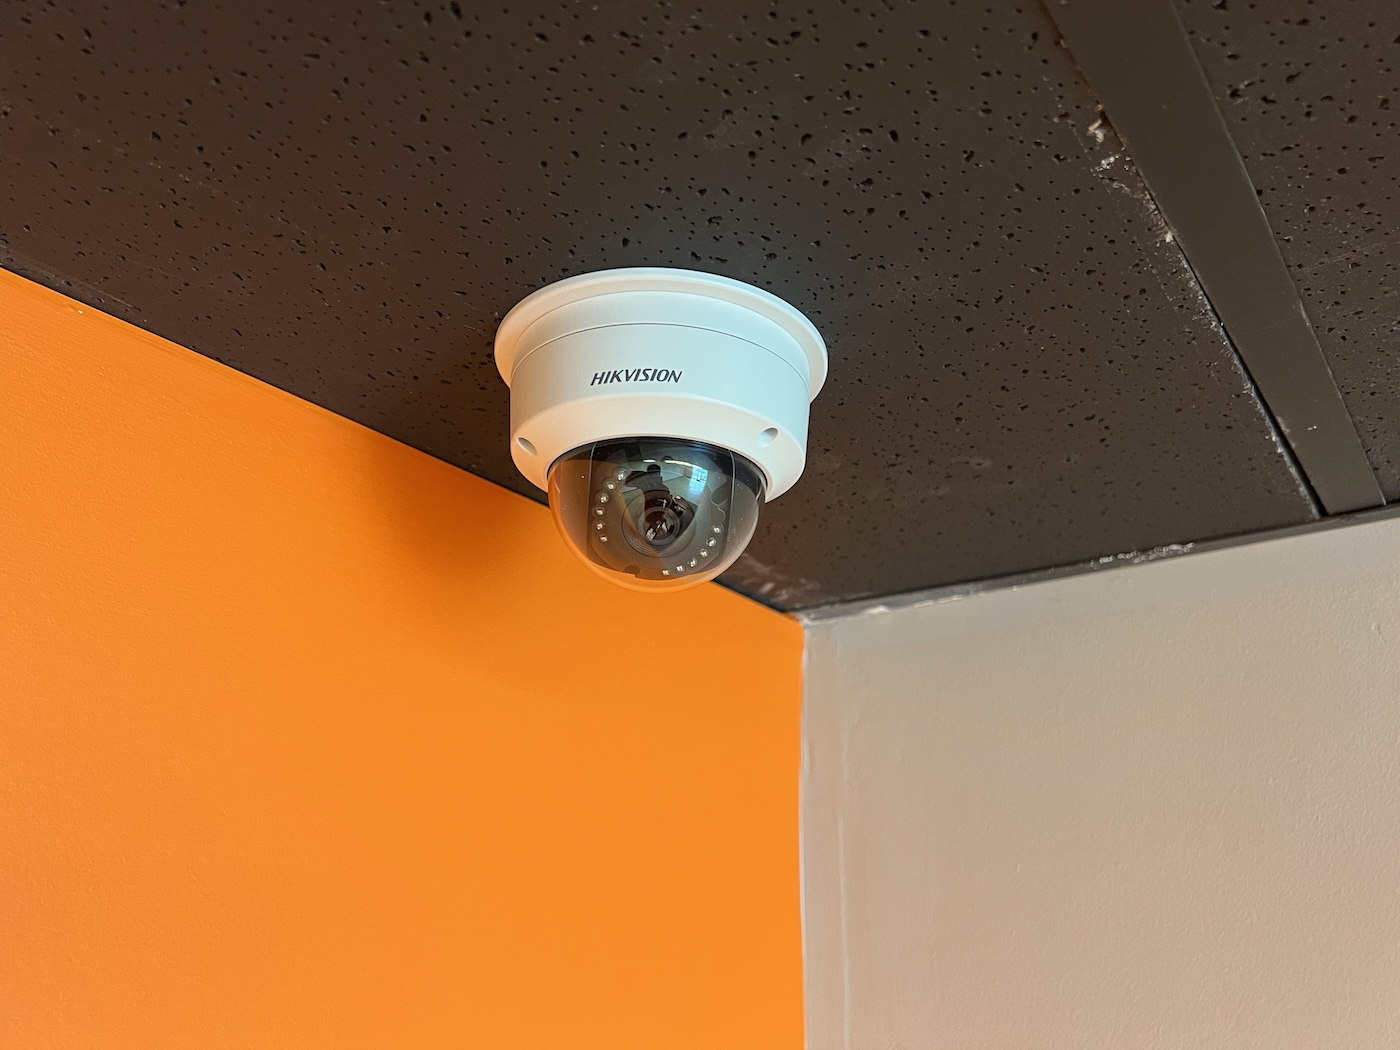
Hikvision security camera installed in drop ceiling

This guide isn't definitive, but it is a good reference point as I am wiping out some Hikvision IP cameras I inherited in my new office space. They were all paired with an annoying proprietary Hikvision NVR, and I wanted to wipe them and use them on a new isolated VLAN with my new Raspberry Pi Frigate-based NVR setup.

The cameras I have are Hikvision model number DS-2CD2122FWD-IS, but this guide should apply to many of the cameras from that era.

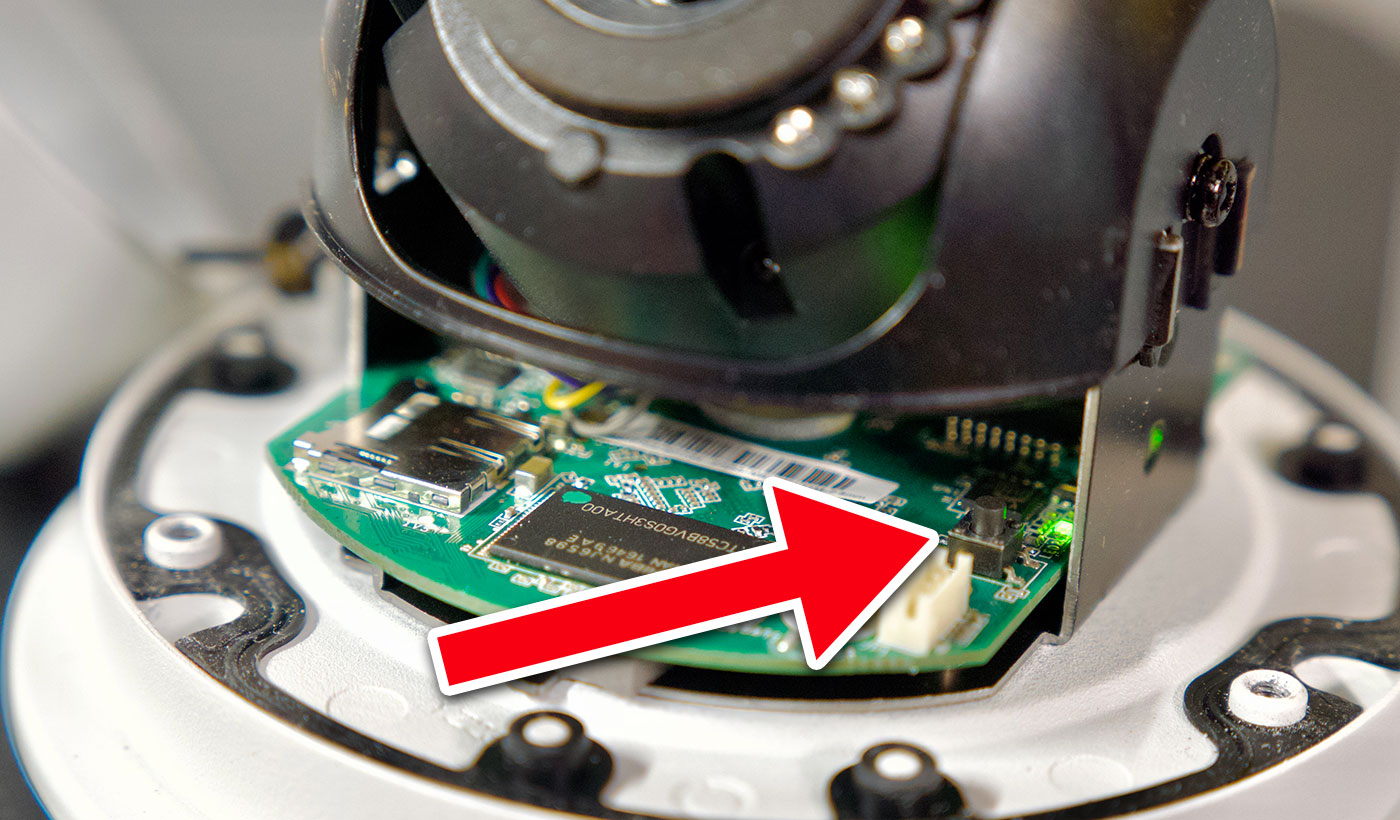
Hikvision security camera reset button location

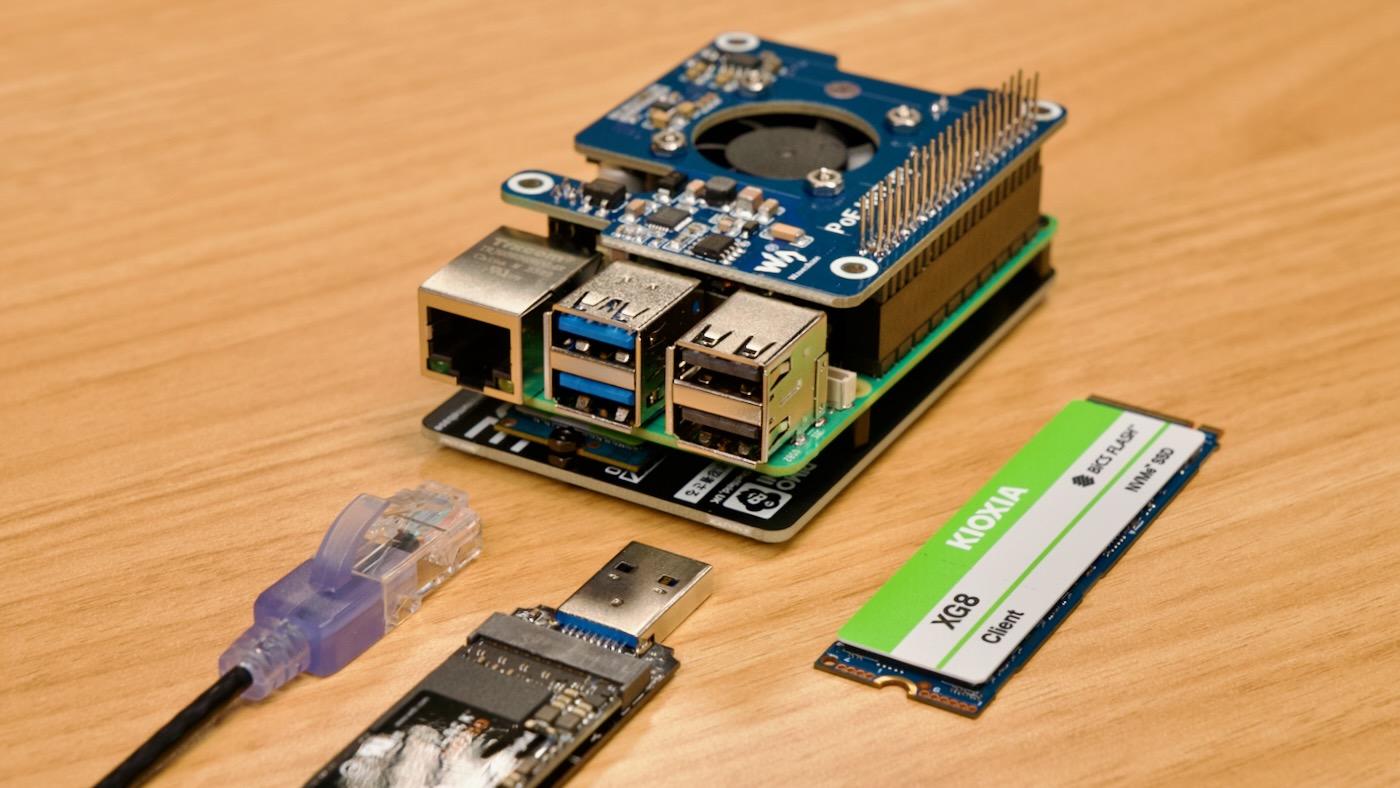
Waveshare's PoE HAT is the first for Raspberry Pi 5

Pi 5 PoE HAT Waveshare F

Power over Ethernet lets you run both power and networking to certain devices through one Ethernet cable. It's extremely convenient, especially if you have a managed PoE switch, because you get the following benefits:

  • A single cable for power + Ethernet (no need for separate power adapters)
  • No need to have electrical service near every device
  • Simple remote power on/off capability (assuming you have a managed switch)
  • Centralized power management (e.g. one UPS in a rack room covering all powered devices)

I have used the Raspberry Pi PoE and PoE+ HATs for years now, allowing me to have 4 or 5 Raspberry Pi per 1U of rack space, with all wiring on the front side. I also use PoE for cameras around my house, though there are dozens of use cases where PoE makes sense.

The Raspberry Pi, since it only requires 3-10W of power, is an ideal candidate for PoE, assuming you can find a HAT for it.

Highly-condensed time-lapse footage with Frigate

Frigate's 0.13.0 release included a feature near and dear to my heart: easy exporting of timelapses, straight from the Frigate UI.

I'm a little bit nutty about timelapses, and have made them with dashcams, GoPros, full DSLRs, webcams, and even Raspberry Pi.

But one thing I haven't done (until now) is make easy timelapses from IP cameras like the Annke 4K PoE cameras I use for security around my house.

Eventually I'm planning on automating things further, but for now, here's my process for building up a timelapse that's relatively small in file size, preserving only frames where there's motion from frame to frame.

For something like clouds/sky, or natural environments, it's better to do a straight timelapse export and maybe recompress it if you want, but for indoor or outdoor security footage, it's nice to condense it down.

Review of Raspberry Pi's PoE+ HAT (June 2021)

The PoE+ HAT powers a Raspberry Pi 3 B+ or 4 model B over a single Ethernet cable, allowing you to skip the USB-C power adapter, assuming you have a PoE capable switch or injector.

Unfortunately, I would recommend the original PoE HAT over the newer PoE+ HAT for most users—though Raspberry Pi have redesigned the HAT slightly and it's more on par with the original, though hard to distinguish which model you're getting. (Updated mid-2023)

For more background on PoE in general, and a bit more detail about the board itself and my tests, please watch my video on the PoE+ HAT—otherwise scroll past it and read on for all the testing results:

Taking control of the Pi PoE HAT's overly-aggressive fan

I am starting to rack up more Pis (quite literally) using the official Pi PoE HAT to save on cabling.

The one thing I hate most about those little HATs is the fact the fans spin up around 40°C, and then turn off a few seconds later, once the temperature is back down to 39 or so, all day long.

I'd be happy to let my Pis idle around 50-60°C, and only have the little whiny fans come on beyond those temperatures. Even under moderate load, the Pi rarely goes above 55°C in my basement, where there's adequate natural convection, so the fans would only really be necessary under heavy load.