uart

Testing Raspberry Pi's new Debug Probe

Raspberry Pi Debug Probe Pi 4 model B and Pico W

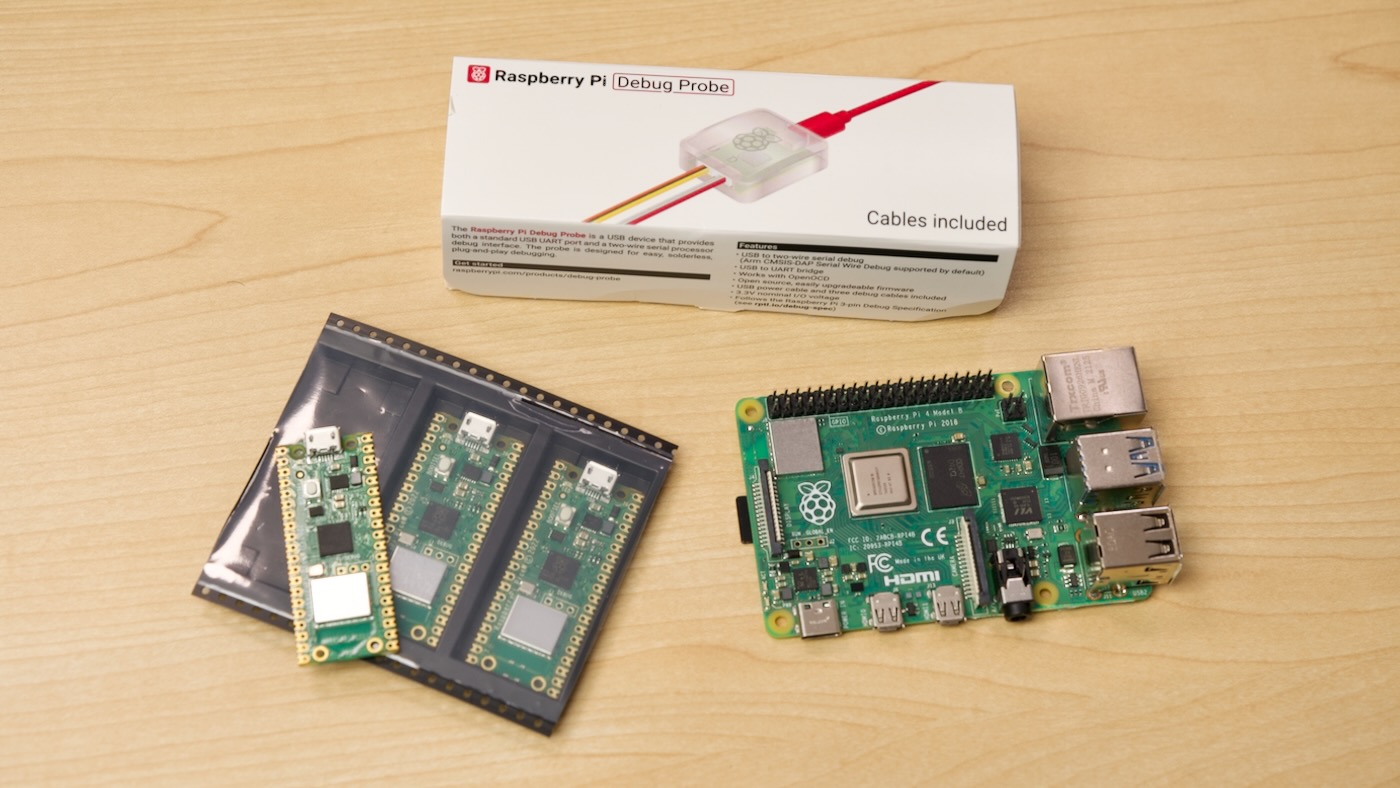
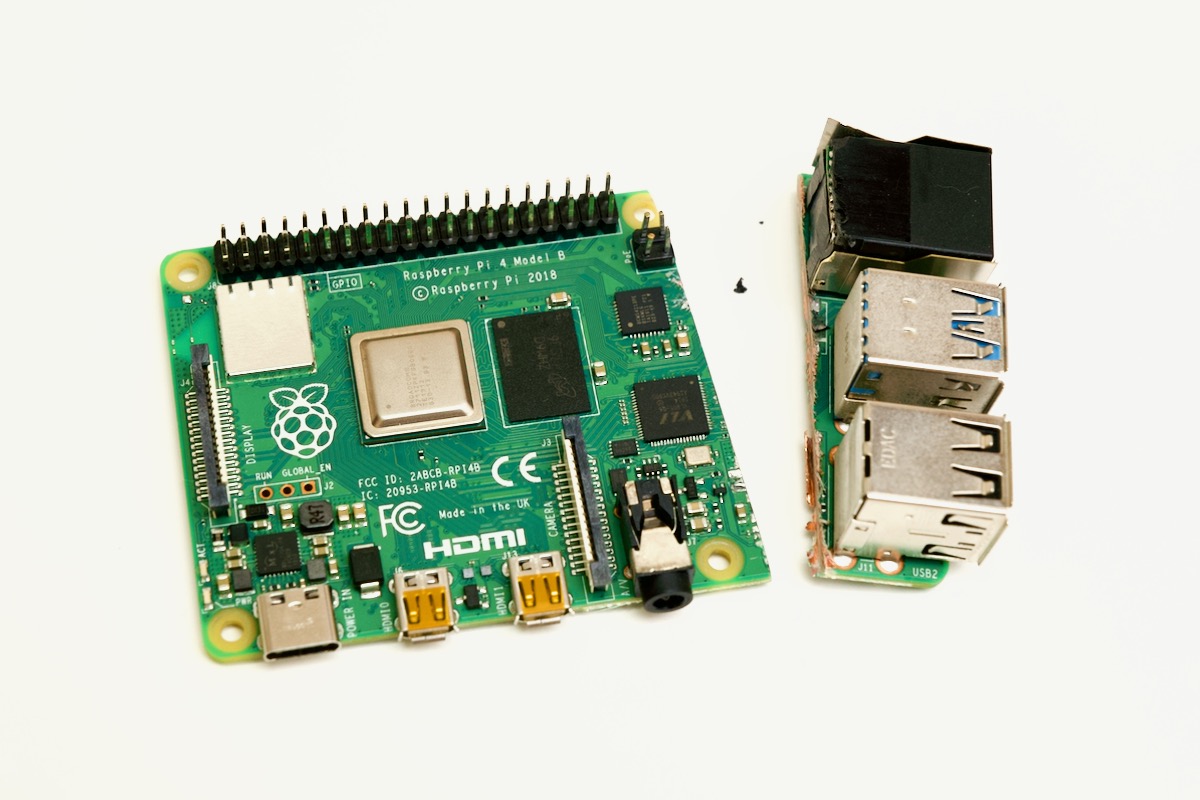
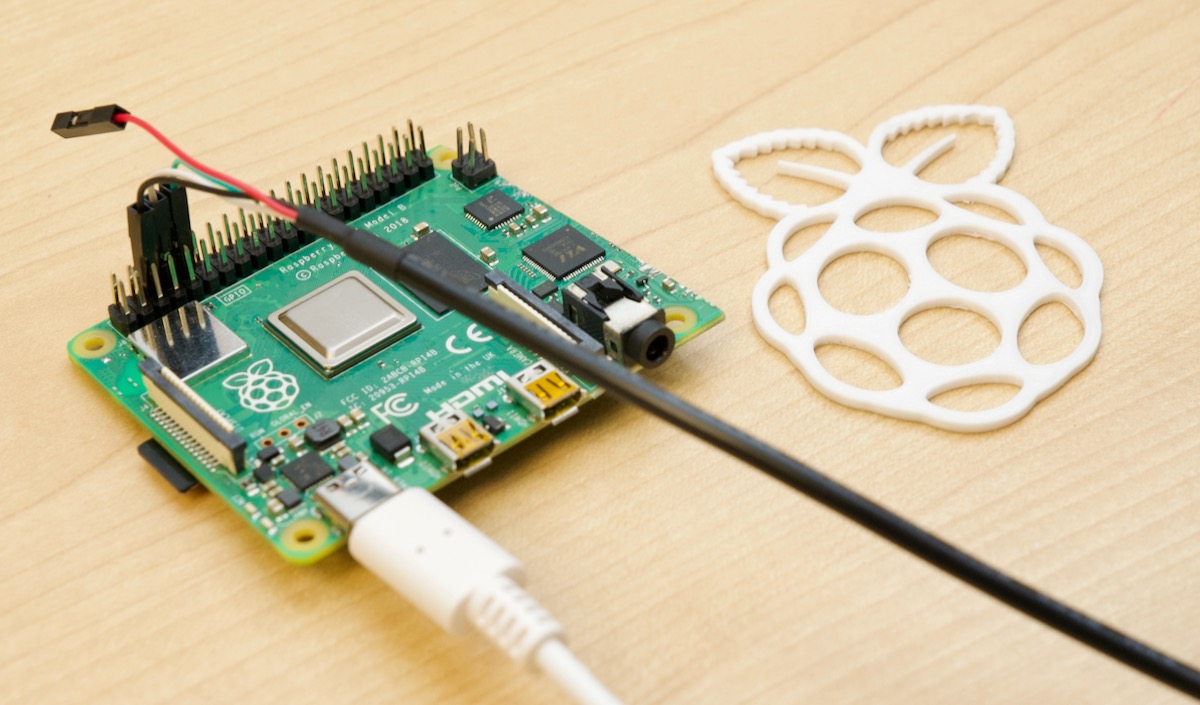
Yesterday, in tandem with Raspberry Pi's announcement of their new $12 Debug Probe, I received one in the mail (pictured above).

The Debug Probe is powered by an RP2040, and lets you connect from USB to UART (serial) or SWD (Serial Wire Debug), perfect for debugging most embedded devices.

UART is useful to connect to a device's console when you don't have a display or other means of controlling it, and you can find UART/serial/console ports on almost any device with a processor or microcontroller.

Getting a Raspberry Pi to boot after cutting it in half

This blog post starts with the question: If I cut the ports off a Raspberry Pi 4 model B, will it still work?

Cut Raspberry Pi 4 model B

My early conclusion? Sorta.

With most Raspberry Pi generations, there is a full-featured model B, and a smaller, trimmed-down model A. The Pi 4 never had a model A, so I thought it would be interesting to see if I could make one. I looked at the Pi 4 with this really cool X-ray tool, as well as using this album of X-ray images from reddit user u/xCP23x:

Xray image of Raspberry Pi 4 model B

The cut was calculated to try to avoid anything important, though as we'll find later it may not have been measured carefully enough.

Attaching to a Raspberry Pi's Serial Console (UART) for debugging

Sometimes a Pi just won't boot. Or it'll boot, but it'll do weird things. Or you don't have an HDMI display, and you can't log into your Pi via SSH. Or maybe you're like me, and someone 'accidentally' cut your Raspberry Pi in half, and you want to see what it's doing since it won't boot anymore.

Raspberry Pi with UART Serial Console Debug cable connected

The Raspberry Pi can output information over a 'serial console', technically known as a UART (Universal Asynchronous Receiver/Transmitter). Many devices—including things like storage controller cards, which in a sense run their own internal operating system on an SoC—have a 'UART header', which is typically three or four pins that can connect over the RS-232 standard (though many do not operate at 12v like a traditional serial port! Use a USB-to-TTL adapter like the one I mention below).

Simply Embedded has a great overview of UART if you want to learn more.