config

Forcing PCI Express Gen 3.0 speeds on the Pi 5

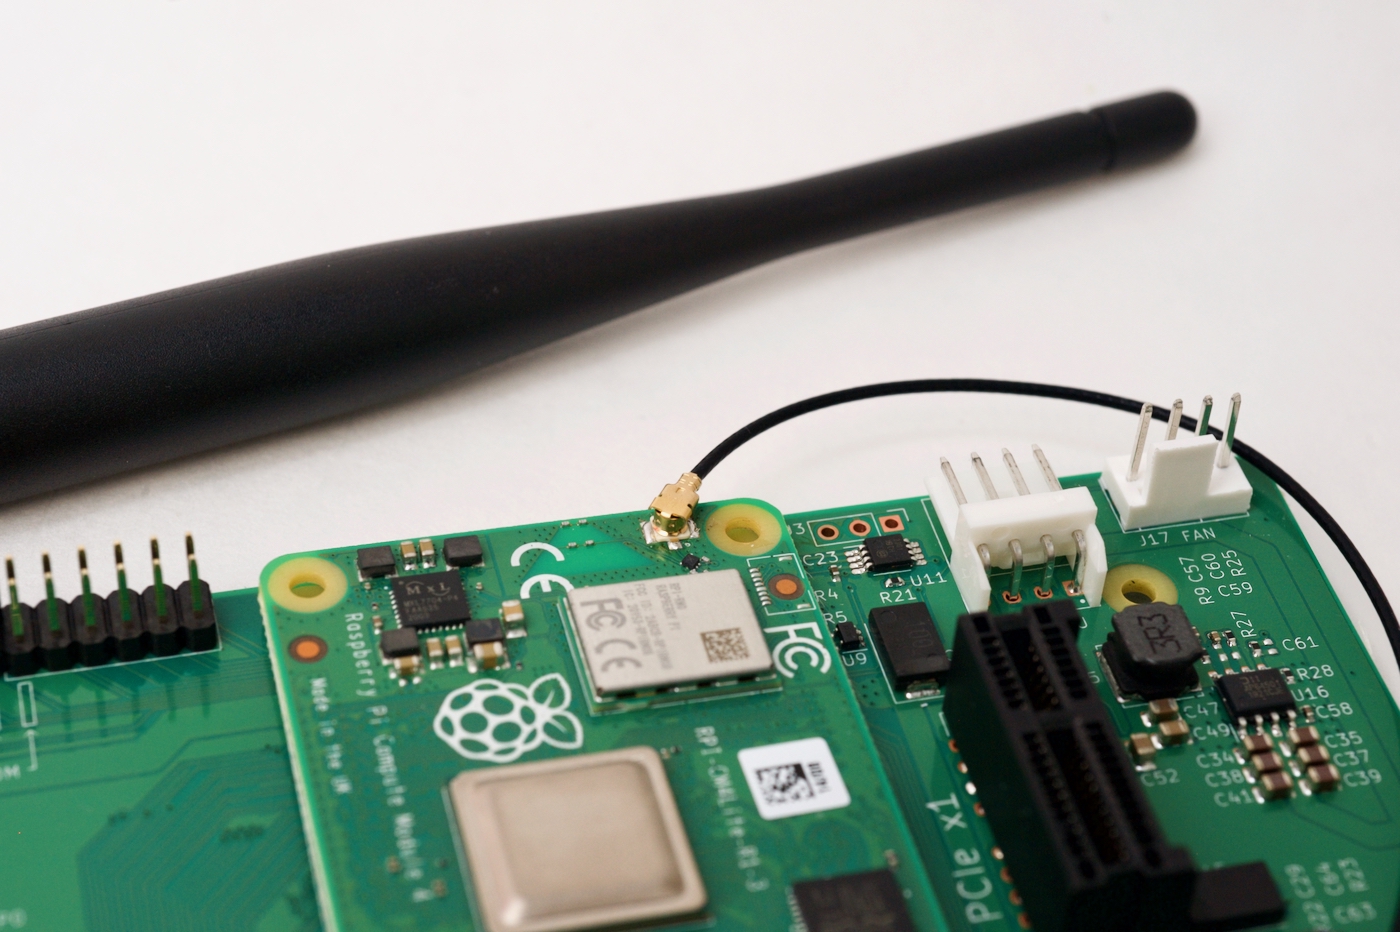
The Raspberry Pi 5 includes 5 active PCI Express lanes—4 go to the new RP1 chip for I/O like USB, Ethernet, MIPI Camera and Display, and GPIO, and 1 goes to a new external PCIe connector:

Raspberry Pi 5 PCIe connector

By default, all PCIe lanes operate at Gen 2.0 speeds, or about 5 GT/sec per lane. Currently there's no way to change that default for the RP1 chip's 'internal' lanes, but on the external connector, you can add the following lines inside /boot/firmware/config.txt (and reboot) to upgrade the connection to Gen 3.0 (8 GT/sec, almost double the speed):

Enable the external antenna connector on the Raspberry Pi Compute Module 4

Raspberry Pi Compute Module 4 external U.FL antenna

The internal WiFi module on the Compute Module 4 (that's the bit under the metal shield in the picture above) routes its antenna signal via software. You can route the signal to either:

  1. The built-in PCB triangle antenna (this is the default).
  2. The external U.FL connector (which has an external antenna plugged into it in the picture above)

To switch the signal to the U.FL connector (for example, if you're installing your CM4 in a metal box where the PCB antenna would be useless), you need to edit the boot config file (sudo nano /boot/firmware/config.txt, and add the following at the bottom:

# Switch to external antenna.
dtparam=ant2

Then reboot the Pi.

USB 2.0 ports not working on the Compute Module 4? Check your overlays!

Out of the box, to conserve power, the new Raspberry Pi Compute Module 4 doesn't enable its built-in USB 2.0 ports.

Compute Module 4 IO Board USB 2.0 ports are disabled by default

You might notice that if you plug something into one of the USB 2 ports on the IO Board and don't see it using lsusb -t. In fact, you see nothing, by default, if you run lsusb -t.

To enable the USB 2.0 ports on the Compute Module 4, you need to edit the boot config file (/boot/config.txt) and add:

dtoverlay=dwc2,dr_mode=host

Then reboot the Pi. Now you should be able to use the built-in USB 2.0 ports!

Adding Configuration Split to a Drupal site using BLT and Acquia Cloud

Note: As of Config Split beta4, you no longer need to use drush csex/csim to export and import config accounting for splits. You instead install both Config Filter and Config Split, then use the normal Drush commands (drush cex/cim). There are also a few other tweaks to the guide below; I may update it when I get more time.

I've been looking at a ton of different solutions to using Drupal 8's Configuration Management in a way that meets the following criteria:

Setting up the Edimax EW-7811Un or Tenda W311Mi 802.11b/g/n WiFi Adapter on a Raspberry Pi

Note: On Raspberry Pi models with built-in WiFi (e.g. the Raspberry Pi 3 model B), USB WiFi interfaces will use wlan1 (wlan0 is reserved for the first interface, in this case the internal one).

Since this is maybe the fourth time I've done this process on my Raspberry Pis, I decided to document the process of setting up cheap mini WiFi adapters on a Raspberry Pi A+/B+/2.

This process works great with any USB WiFi adapter that's supported out of the box. My three favorites (due to their inexpensive price and decent connection speed/reliability) are:

Apache Kerberos Authentication and basic authentication fallback

Many businesses and organizations use Active Directory or other LDAP-based authentication systems, and many web applications (like Drupal) can easily integrate with them for authentication and user account provisioning.

The Kerberos Module for Apache allows users to be automatically logged into your web application, by passing through their credentials behind the scenes. This makes for a seamless user experience—the user never needs to log into your web application if the user is authenticated on his local machine.

A standard configuration for Kerberos authentication inside your Apache configuration file looks like:

Setting a max_execution_time limit for PHP CLI

PHP's command line interface doesn't respect the max_execution_time limit within your php.ini settings. This can be both a blessing and a curse (but more often the latter). There are some drush scripts that I run concurrently for batch operations that I want to make sure don't run away from me, because they perform database operations and network calls, and can sometimes slow down and block other operations.

Memory usage - PHP and MySQL locked from runaway threads
Can you tell when the batch got backlogged? CPU usage spiked to 20, and threads went from 100 to 400.

I found that some large batch operations (where there are hundreds of thousands of items to work on) would hold the server hostage and cause a major slowdown, and when I went to the command line and ran:

$ drush @site-alias ev "print ini_get('max_execution_time');"

Checklist for Setting up a CentOS 6 LAMP Server

I have to set up a new LAMP server for different clients here and there, but not with enough frequency to warrant using a particular scripted solution or 'stack' from a particular hosting company. Plus, I like to have a portable solution that is flexible to the needs (and constraints) of a client's website.

Note on hosting providers: For hosting, I've used a very wide variety of hosts. I typically use and recommend Hot Drupal VPSes or Linode VPSes [affiliate link] running CentOS for a good LAMP server. Shared servers are only good for nonessential or low-traffic sites, but they are a bit cheaper and easier to use for simpler needs!

So, here's a typical step-by-step process for how I set up a CentOS 6 (similar process for CentOS 5) server for LAMP (Linux, Apache, MySQL, and PHP), often for low-to-moderate Drupal sites (one or many):