Soundproofing is... kind of an art. It's not as simple as buying something and slapping on your walls. And the word 'soundproofing' is a bit of a loaded term.
You could mean deadening sound, so you can record podcasts with that signature radio sound. Or you could mean isolating a room from outside noise, which is an entirely different process. Or you could work on reducing resonance, echo, or just certain frequencies.
In my case, I wanted to build kind of a 'sound cocoon' in the middle of this space, so I could record any time, day or night, even if my AC is running.
This blog post is the companion piece to my video on the same topic—you can watch the video below.
There are so many different sources of sound in our world. Whether it's a river, a highway, a giant HVAC system, or maybe just the neighbor next door playing drums!
And every sound has it's own characteristics. Like the train tracks that run outside my office: they transmit sound through the earth, meaning if I wanted to soundproof my room from that, I'd need to spend thousands of dollars isolating the floor entirely.
Gamers Nexus actually did that in their new hemi-anachoic chamber, but I'm sure the price for that thing was astronomical.
For me, I'll just stop recording when a train rolls by, or live with a little rumble, and maybe roll off the low-end in post.
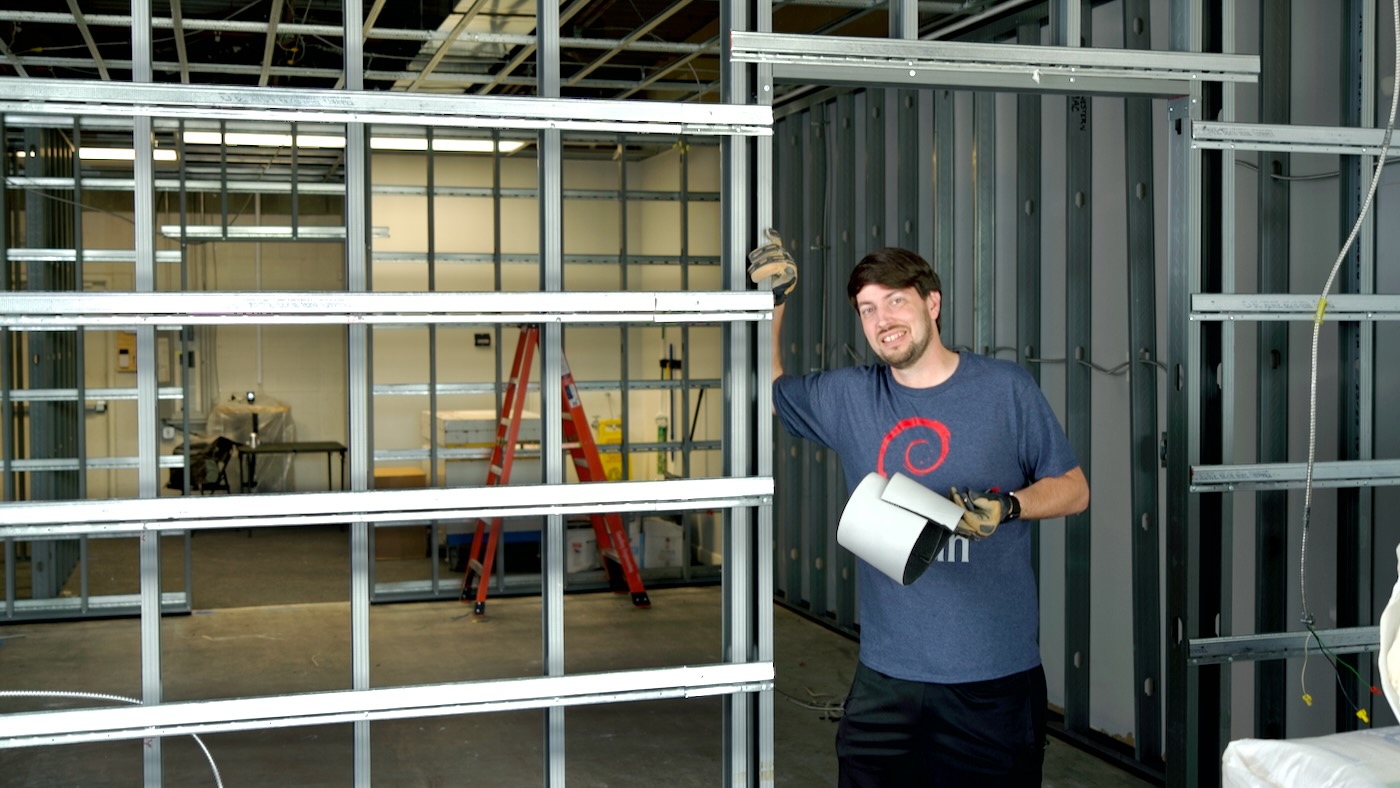
But framing is (more or less) complete in my new studio space, so I'll talk about some of the things we did to make the room as sound-isolating as possible, on a bit of a budget.
I should note most of these things are only possible when you're building a new wall. If you already have a space built out, you have to get a lot more creative to get the same level of sound isolation.
Current Progress
The front welcoming space and server room are normal rooms—both have metal stud walls, with no insulation inside, and drywall will be installed directly on both sides. Here's a shot of the server room behind the studio space:
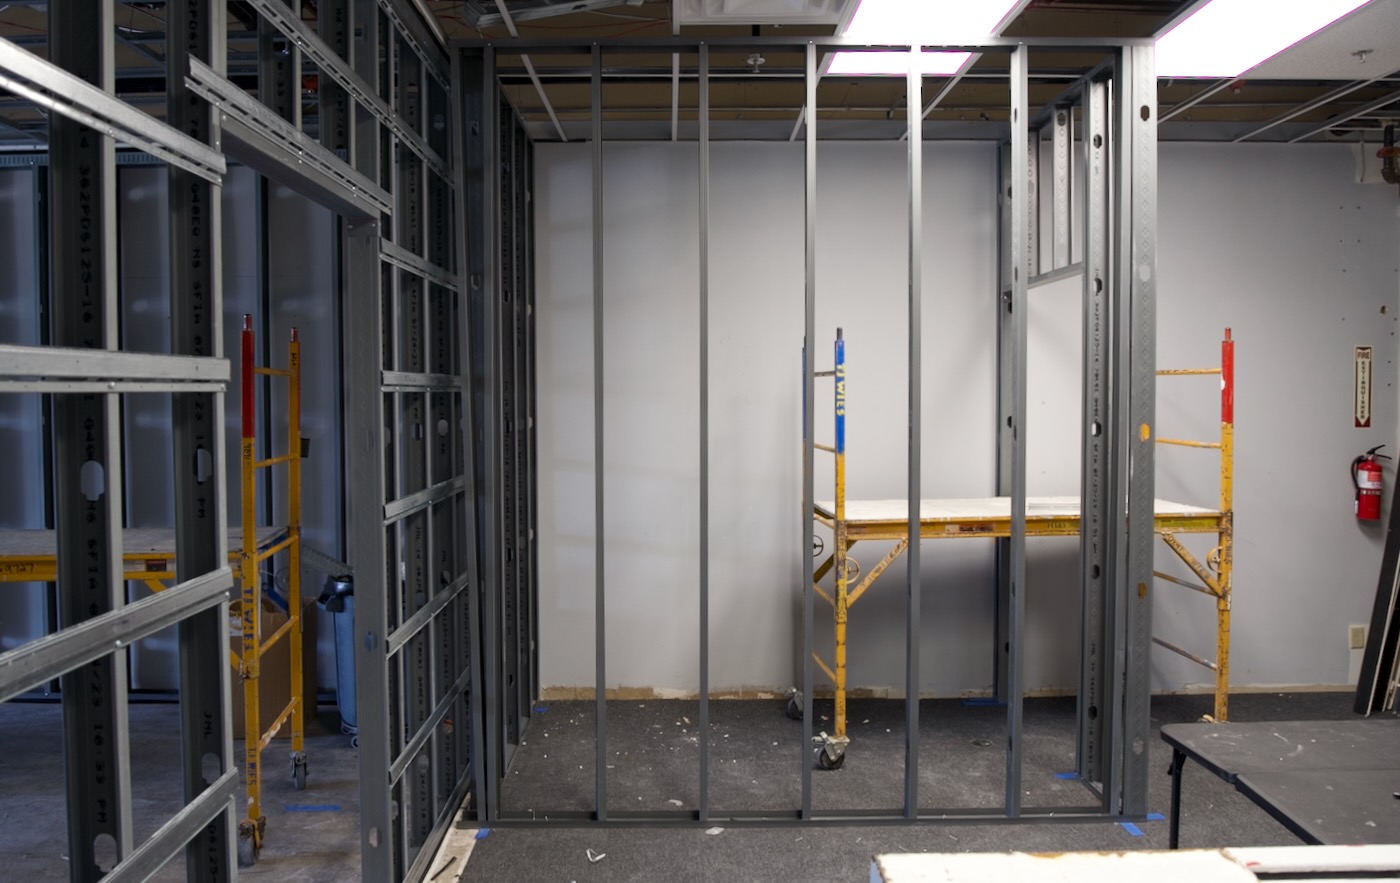
You can see the wall is just bolted down to the floor and tied right into the ceiling.
The server room will have some rockwool insulation over the top, but will otherwise be the same as any standard office room.
These walls do deaden sound a little, but only a little.
STC ratings aren't everything when it comes to soundproofing, but they're a handy guide, and a standard wall like this one should have an STC rating in the 30s.
A really good studio wall would give you a rating in the 60s, so about double a standard wall.
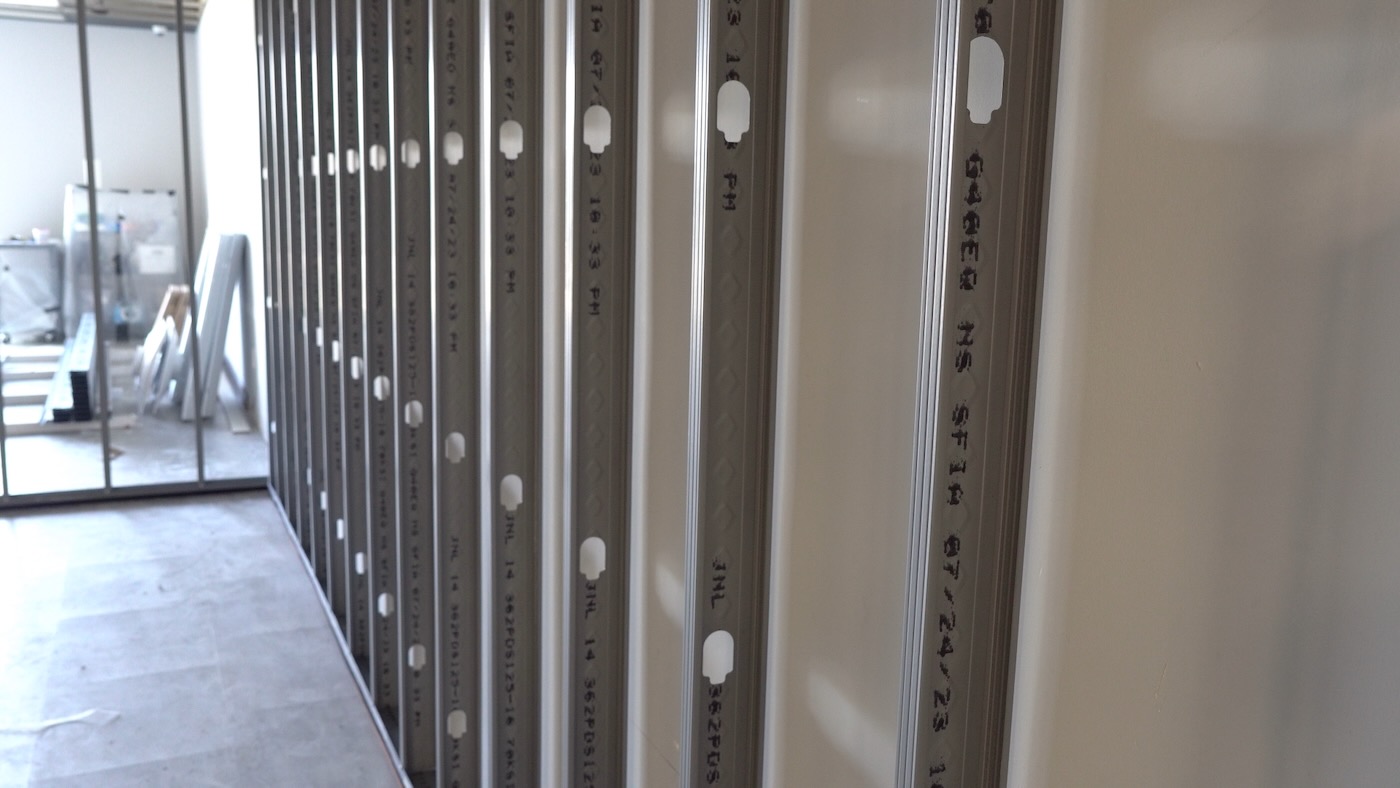
But we were aiming for a rating in the 50s (or 60s if we're lucky). We have metal studs and simple fiberglass insulation will be stuffed between them.
On the front and back of the studio, there's also resilient channel. This metal track screws in this way so the drywall is actually 'floating' just in front of the studs.
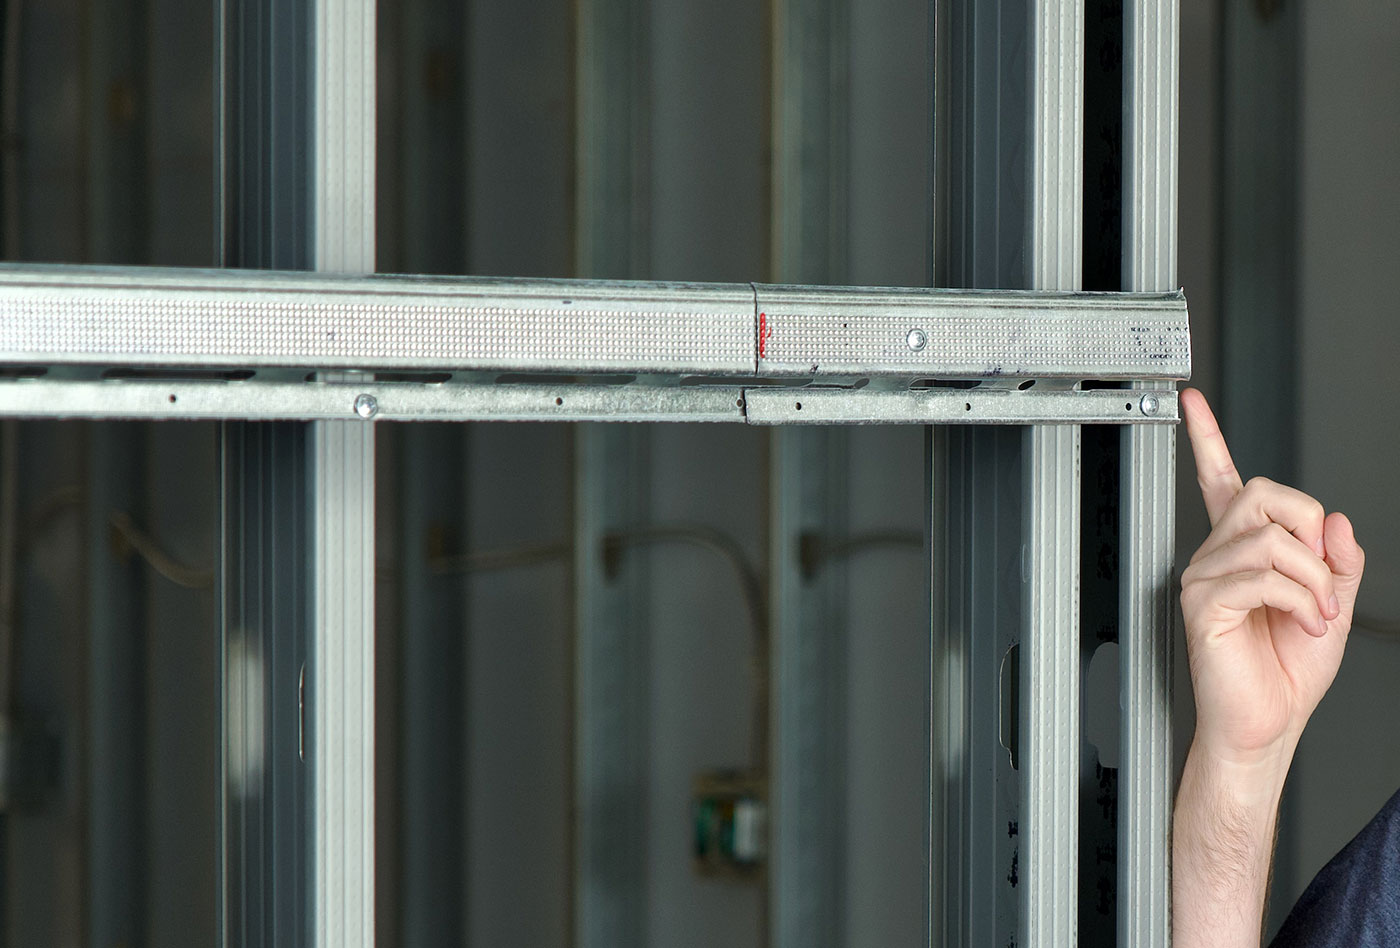
But it's really important you install everything right. You have to make sure to install it so it hangs 'upward', like above. That way the drywall pulls down on the channel to create that gap between the drywall and the metal studs.
The inner wall will just be drywall on the studs, but even here, the drywall won't touch any other surface besides the wall. The top and bottom will have a small gap, and this detail is really important. That gap will get some acoustic caulk, to isolate the drywall itself from the floor and the ceiling.
And to isolate the wall structure, there's this other fancy trick:
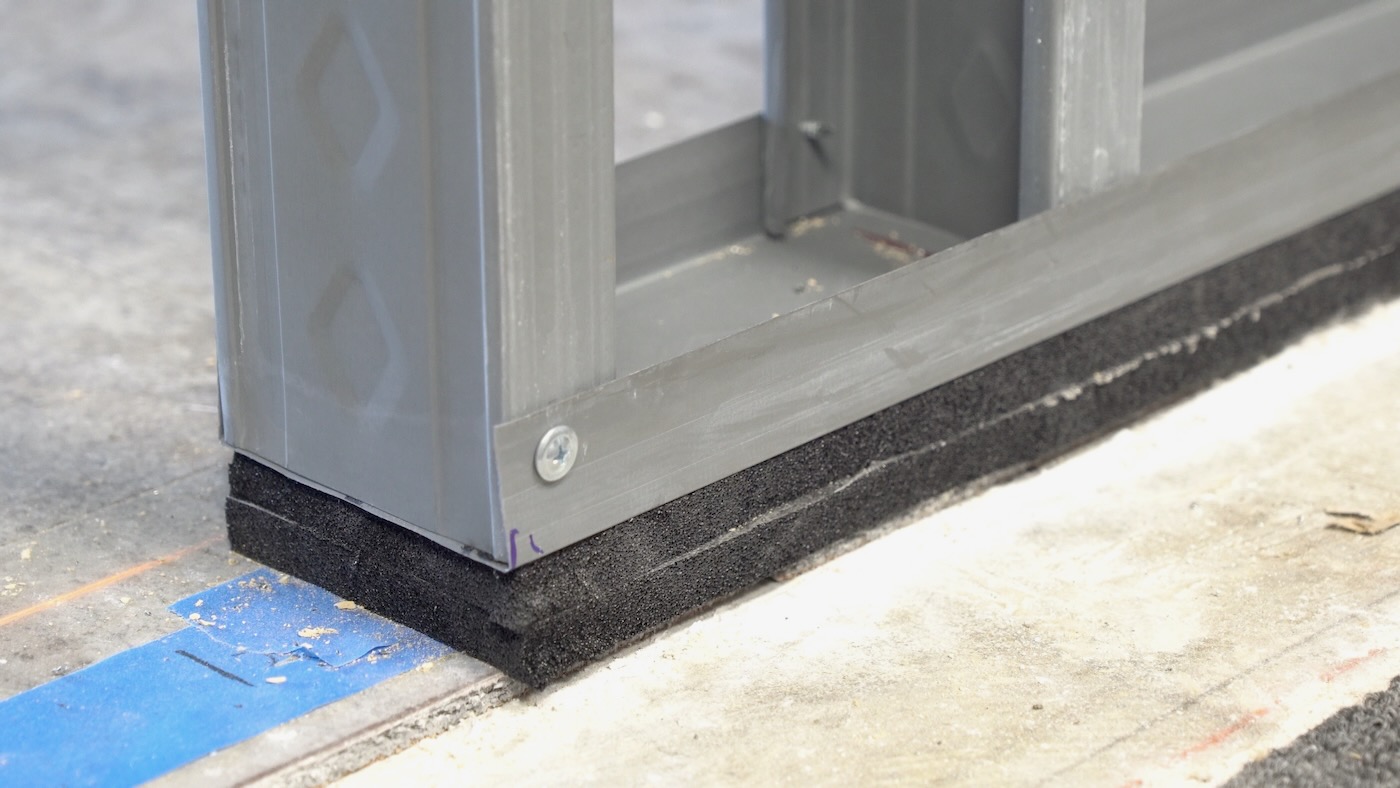
This rubber is compressed closed-cell neoprene, and it isolates the wall itself from the floor and the ceiling. It makes it so the entire wall is, in a sense, 'floating'. Only very low frequency vibration can get into the wall, like the rumble from a train or a huge truck rolling by.
I really wanted to show you these things before everything's covered up, because the best way to get effective sound isolation is to do it in the structure itself. If you already have a finished room, it's a LOT harder to isolate certain sounds.
Like I remember Linus over on LTT had to do all kinds of crazy things to get server room noise down in their new Lab. In this build, my server room's walls won't actually be touching the studio. You can see this gap here, where the walls are decoupled. That makes a huge difference, along with the extra treatment we'll have up in the ceiling, and hopefully I'll never hear the server room from the studio, at all.
Ceiling
And speaking of that ceiling, it doesn't look too impressive right now. There's just T-bar.
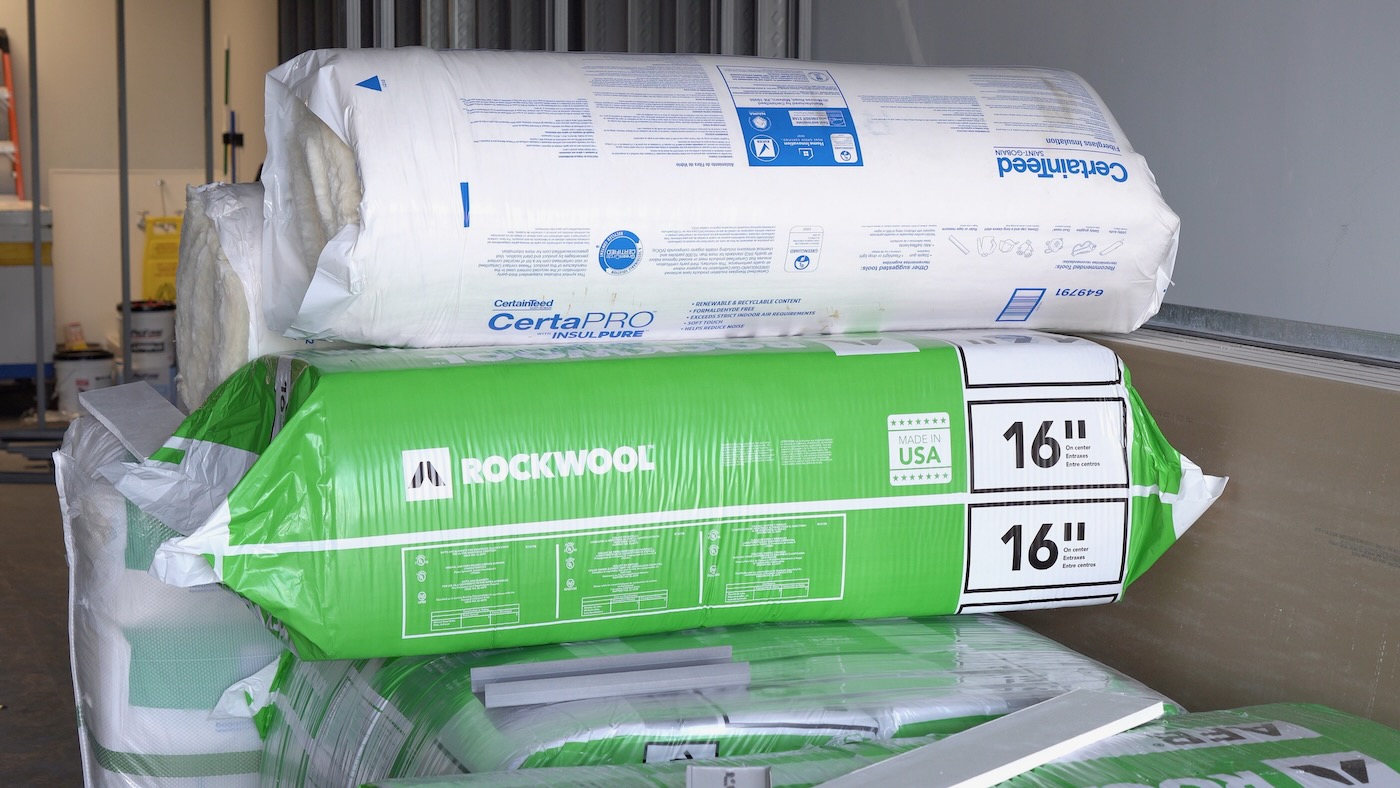
Well, the t-bar is actually going to hold a drywall ceiling. Above that, we'll put this R-16 Rockwool insulation, which provides extra fire, water, and most importantly, sound protection.
So the ceiling will have rockwool on top of drywall hanging in the new ceiling grid, and then under that, there will be a new drop ceiling, where the lights will go.
That detail's a little tricky, but I'll show you more of that when we get to it.
The main goal is to isolate the big HVAC unit on my roof from the studio space. Hopefully—and we're not 100% sure on this—but hopefully there won't be much sound that gets through when the unit kicks on. At least not enough to be picked up on a mic in the studio!
And if that works, it should also work for things like heavy rain and hail, we'll see.
Holes - Doors, Electrical, HVAC
One thing to keep in mind, too, is every hole you make has to consider sound isolation.
Like door frames—they're giant holes, and there's no practical way to build a door as good as the wall for sound isolation.
But we did consider the doors, and I'll hopefully get to show you how that framing works once it's time to install doors and trim!
And electrical and HVAC? For electrical, we're limiting the penetrations especially in the front and back walls. And we'll be sealing up each outlet so sound can't leak through the cracks.
For HVAC, the plan right now is to put flex duct in the front wall, and more duct from the back wall into the plenum space above. The key there will be getting the right bends to prevent sound from leaking in through the ductwork.
We'll also try to prevent hard 90-degree bends, or any obstructions, because that creates turbulence, and turbulence generates more sound!
Conclusion
But the funny thing is, all this work, all the rubber, the resilient channel, the spacing, the ducts. That's all meant to isolate my studio from the outside world.
The goal is to get the room as quiet as possible.
But that doesn't even begin to help treat the room and make it a good recording space. Once we have drywall up and some doors on the room, it'll be an echo chamber, with four hard walls and a hard floor!
I'll be installing some spare 705-series Owens Corning fiberglass panels from my home office, as well as spare panels I picked up from an old radio studio. There's that, sound treatment blankets, carpet, ceiling tiles... there are a lot of different things you can do to treat a space, and I'll definitely be working on that over time.
But it's a lot easier to treat the inside of a space once you're already built a good structure that prevents outside sounds from getting in.
That's why I spent a bit of extra time and money up front, working with an architect and a builder, to make sure the structure itself is part of the studio space.
Comments
Sandbags. Fill the wall with sandbags to create a massive "deadwall". It will swallow most of the sound at low cost.
Jeff,
Sounds like you did your homework on the design (or hired a good consultant to help). I'm an Institute of Noise Control Engineering board certified noise control engineer and commend your design. And I think you did a great job explaining what you are doing and why you are doing it.
Thank you! And yes, I specifically hired a great local architect who has helped with radio studio design before, and was leaning on her expertise to make sure the walls were designed to be as good as possible while keeping within my stated budget.
We could've gone a lot more complex to get even better isolation, but my pockets are only so deep :D
This reminds me of a letter they read on Car Talk once, the listener wrote “A few weeks ago you mentioned there was heavy construction in your studio to install additional soundproofing material. I’m writing to report it didn’t work — I can still hear your show”
In the 80s I was peripherally involved in a building project where there was big concern about sounds from a bathroom, like a flushing a toilet or even worse, interrupting services in an adjacent church sanctuary. I still remember the approach the architect took. In addition to using sound absorbing materials, the framing of the shared wall was special. It was almost like normal, with vertical 2x4 studs to hold the sheet rock. The wall was a little thicker than normal, say 125%, and the studs were interlocked like fingers, but each side’s studs didn’t touch the other. The concept being, vibrations on one side of the wall, in theory, aren’t replicated on the other side. I don’t remember how the attachments to the slab and ceiling were handled, clearly that plays an important role as well. The wall you feature in the video seems to be just a modern improvement to that interlocking stud walls, made with steel “2x4s”instead of wood.
Yes, and in fact those walls (basically two separate walls 'woven together') are still used many times today. You want mass (multiple layers of drywall sometimes) plus separation (multiple layers with materials that don't transmit sound from one to the other). The best walls have multiple of both, but are impractically large or expensive if you want to get beyond STC 70 or so :D
Nice tee-shirt :-)