I was sent a Zega Mame Gear kit by John Maddison, of Zarcade, in April this year. I bought a Game Gear shell off eBay for $15, some extra buttons, switches, screws, and a new glass screen cover from Handheld Legend, and I could finally find a Raspberry Pi Compute Module 4 for sale last month.
So I put all that together into a modern RetroPie handheld emulation build, and now I can play through games I only wish I could've played in my childhood. Being the third child, I was typically relegated to 'trying to cram in some time on the console before the game rental was due back' status.
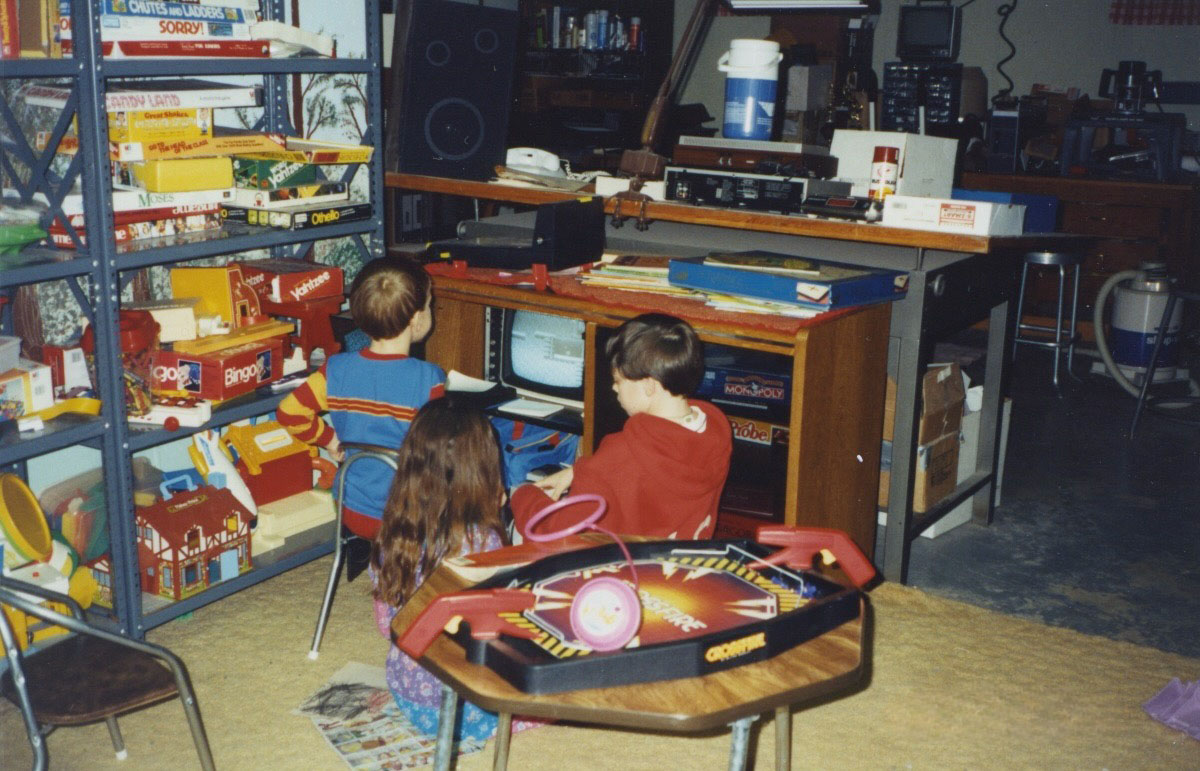
Back in the 90s, when the Game Gear was released, the concept of saving game state was still pretty new, so my brother would put game on pause (sometimes for days at a time) and he would get the first play-through. My sister thankfully didn't always want to play every game, but that left me getting much less time to fully appreciate NES and Genesis games on our family's consoles.
We did own Mega Man 2, Super Mario Bros, Sonic the Hedgehog 2, and NBA Jam, so I played the heck out of those, any time my brother didn't have a rental stuffed in the console. But even then, I was usually stuck on the NES on our 10" black and white TV while my brother got to run the Sega on the 13" color TV—or a rare treat, my Dad would let him hook it up to the giant 24" Magnavox in the family room!
Regardless, 6-year-old Jeff really wanted to play a game the first time without anyone else playing through first. And this was right around the time Nintendo introduced the Game Boy, and Sega introduced the Game Gear.
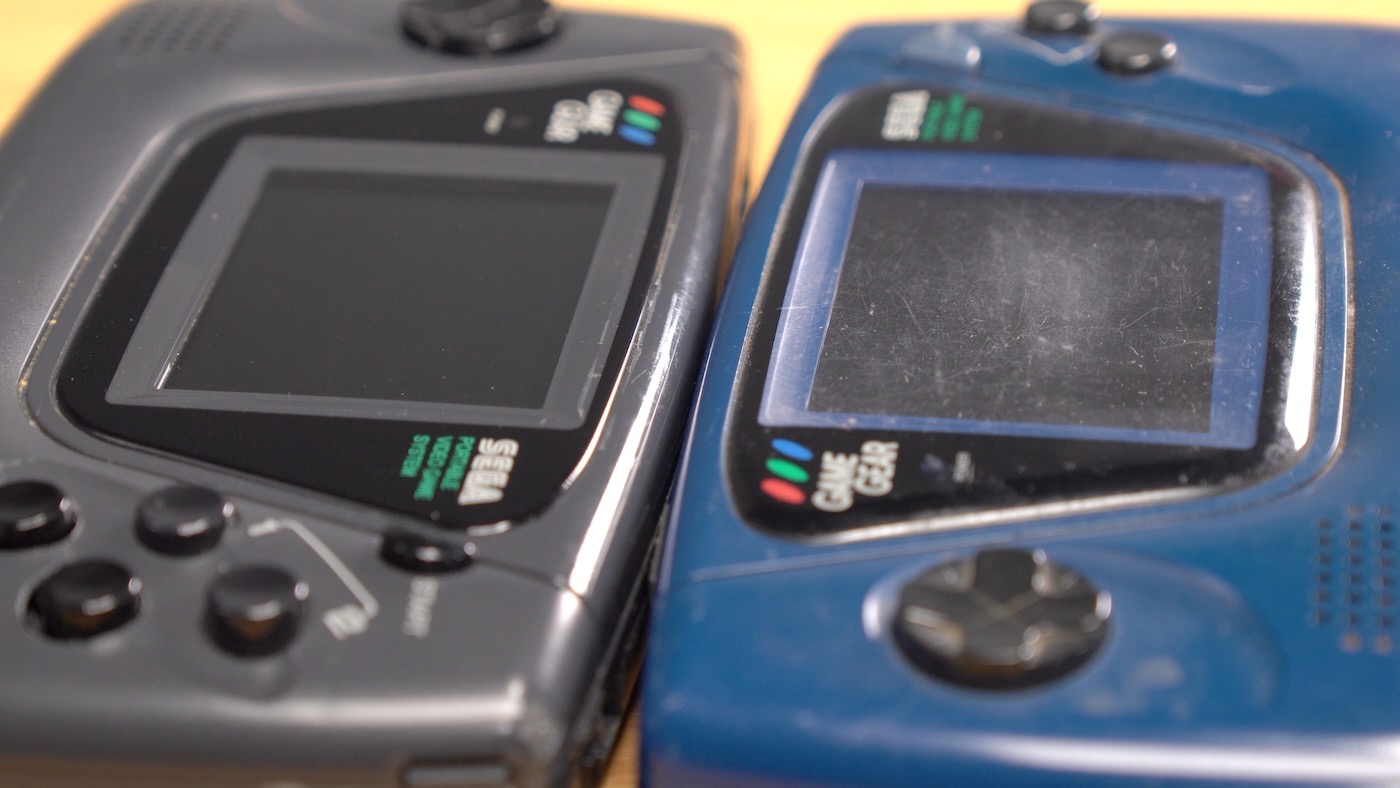
The Game Gear was a bit of a brick, and the fluorescent tube consumed AA batteries at an alarming rate (6 at a time!). But it would've opened up the opportunity to play a game all on my own!
Alas, it was not meant to be. The Game Gear slowly faded into irrelevance (as the Game Boy meanwhile saw iteration after iteration leading to the modern day Switch), and I got into Mac and PC gaming for a long time before finally trying out an Xbox 360 in college.
Zega Mame Gear
But today, you can get into retro gaming pretty easily, running thousands of games (if you legally acquire them, of course) through a variety of emulators.
A couple years ago I built a DIY handheld gaming kit, the Null 2, using the then-new Raspberry Pi Zero 2 W.
The Compute Module 4 had much more computing power, but I really hadn't had a chance to test it in a handheld gaming rig yet, until now. Besides, outside of the few individuals (like me) who had bought a supply of CM4s before the Pi shortage, CM4 was nearly impossible to buy.
The assembly process was pretty straightforward—and outside of having to manually drill two 1/2" holes in precise locations on the Game Gear shell, it was mostly a matter of screws and plugs, putting new guts inside.
![]()
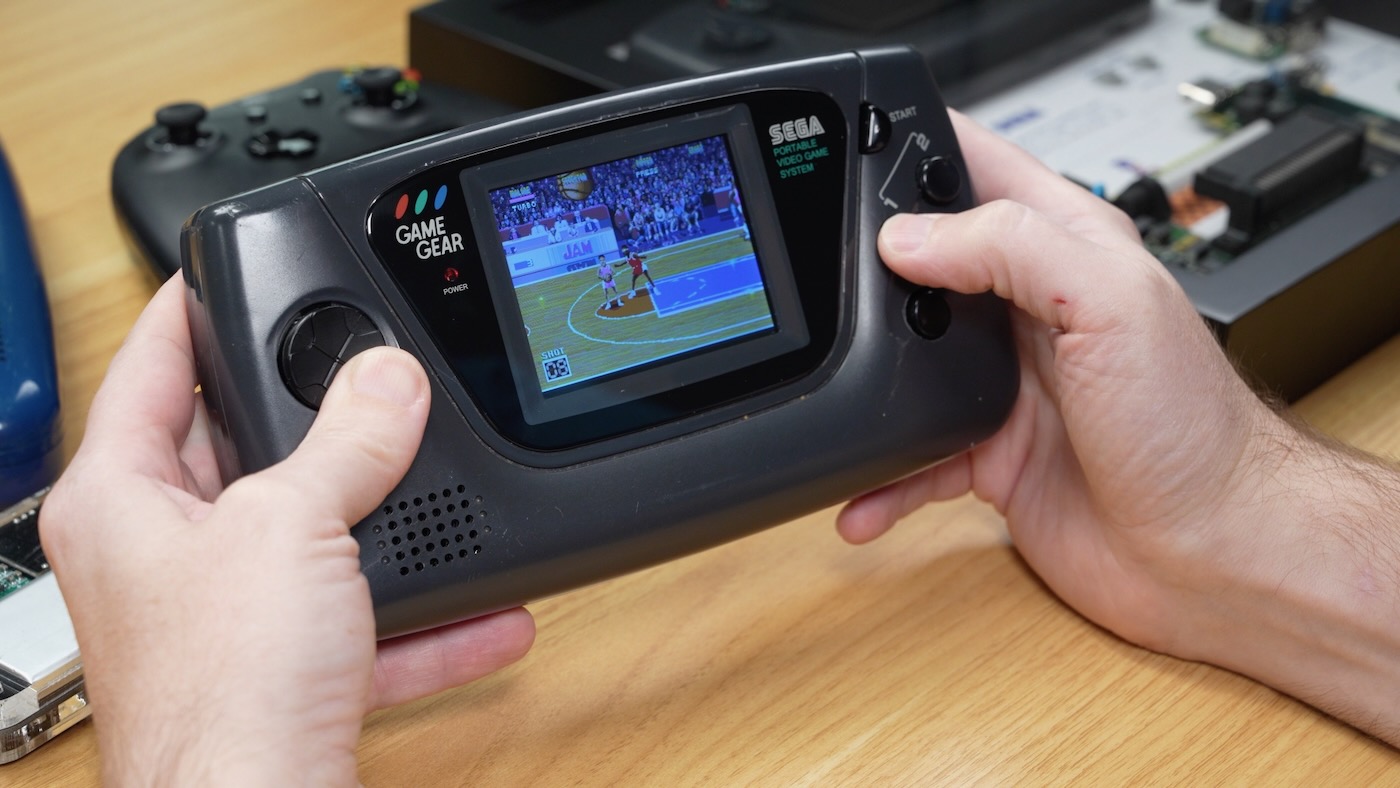
And with the new glass cover I bought from Handheld Legends, the final result looked great. I have an entire video going through the build, so I won't recount that process here, but after the video embed, I'll run through a few notes from my build, and my recommendation to anyone wishing to follow my footsteps.
The Mame Gear kit isn't flawless; there are some caveats (and I don't think it's for everyone):
- The software support was a little lacking, especially the fact the official 'Dos and Donts' guide recommends not updating RetroPie once it's running. Text documentation is a little thin, and the project seems a bit more hardware-centric, so if you're not used to debugging a few software issues yourself (or if you're not always happy with someone else's RetroPie configuration), you may want to go more custom.
- The battery status indicators are buried a bit inside the device—you have to peer in behind the USB-C port to see the LEDs, so it's hard to tell how much battery is left, or whether the battery is fully charged.
- Power supply is meant more for the Pi 3A+ or Zero 2 W. The CM4 would give undervolt warnings in use sometimes, and I even had a couple 'eMMC read errors' after prolonged use. A couple times this even resulted in a corrupted microSD card, requiring re-imaging the device.
- The expansion board which exposes a USB 2.0 port and microSD slot through the Game Gear cartridge slot can be a bit tight in terms of access; but I appreciate not having to dissemble the entire thing just to get to the microSD card!
That said, I'm happy with my build, the controls and built-in speaker and headphone jack work perfectly, and on the whole, it's been stable and fun to game on. The button setup is certainly a little nicer than the one on the Null 2, and the generous size of the Game Gear is easy to hold for extended periods without my fingers getting cramped.
Comments
Love your content, and love console modding. Even like the full Internal replacements. But.... The title seems a bit misleading. Nothing was kept out of a landfill except a shell and some buttons, no? You got a used shell second hand from a parted out system. Everything else was brand new including the display lense. So you effectively built a new system and only reused a shell. While it's cool, it's really riding the line considering this project a restoration or preservation in any sense.
Thank