You can use a Nikon D750 as a webcam or for live streaming, assuming you have a mini HDMI to HDMI cable and an HDMI interface for your computer.
While it's forte is stills photography, the D750 isn't bad at video; it can output up to 1080p at 60 frames per second, and has full-time autofocus, but the live view autofocus isn't that great, so I recommend manual focus if you don't have to move around much.
Why would you use a D750? Well, for the same reason you'd use most any other DSLR or mirrorless camera for video instead of a cheaper webcam or built-in camera on your laptop: the video quality is amazing!
Video for this blog post
This blog post has a video to go along with it from my YouTube channel:
Quality Differences

For example, pictured above is a frame captured by my MacBook Pro's built-in webcam. It's not great. You can see me well enough, but it's not a very pleasing image and there's a lot of noise that's even more apparent when you see the live video.
And above is another frame captured with my Logitech C920. It's better, and having the camera external to the computer also allows me to position the camera somewhere different. But it's still not amazing.
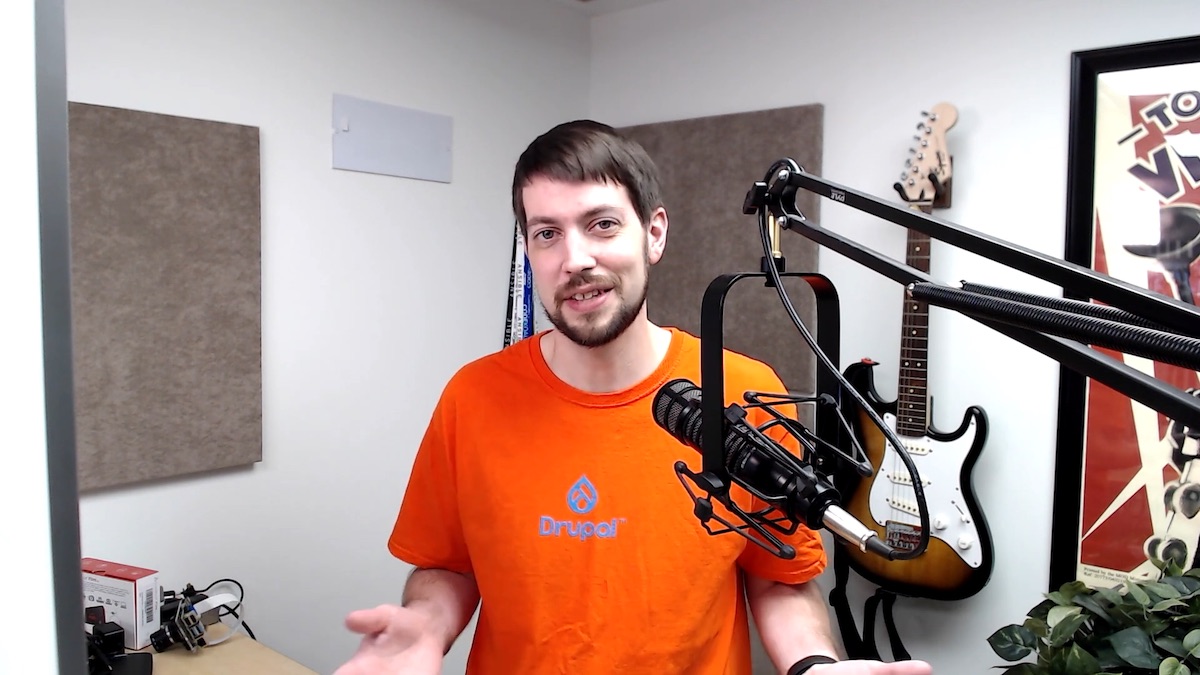
Finally, this is what it looks like on the D750:

In fact, if you watch the video earlier in this post, the whole thing was recorded on my D750.
In addition to more more control over out of focus areas and the type of lens and focal length you want to use, Nikon's image processing engine also results in better color and cleaner output.
D750 settings for clean HDMI with no time limits
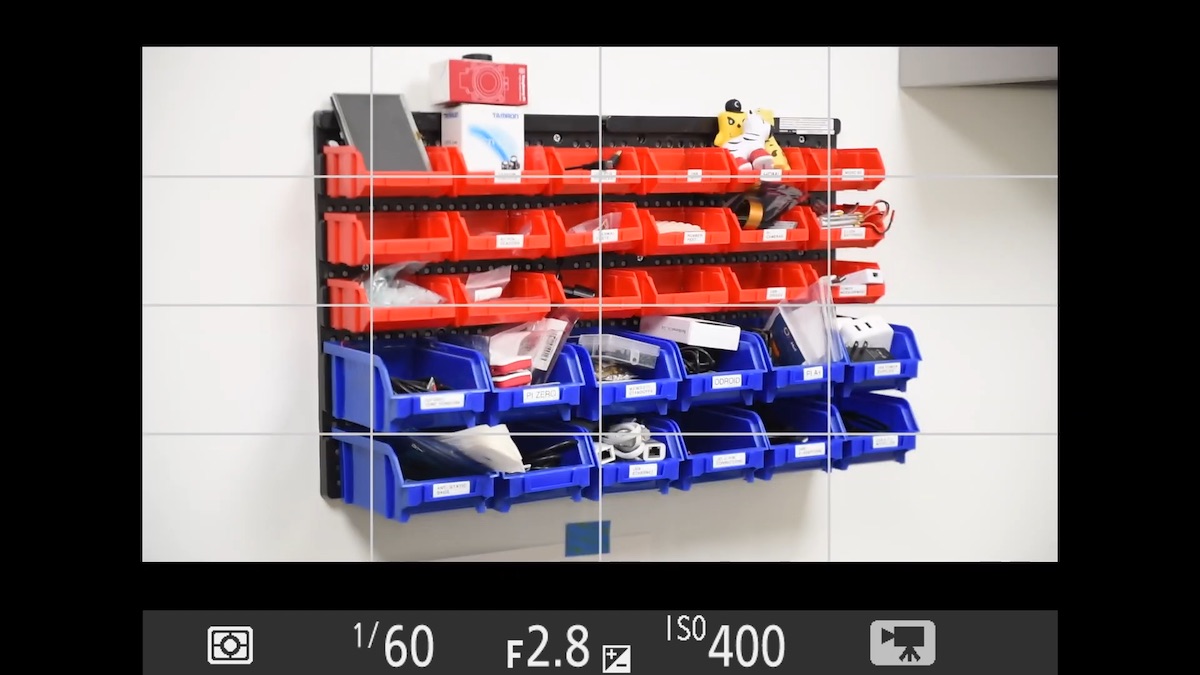
First things first, I set my D750 to 1080p resolution at 60 frames per second (fps). You can use a lower resolution or frame rate if you choose, but I like this frame rate for my YouTube videos and streaming, and my computer can handle it pretty well.
To set the size and frame rate, open the menu, then go to:
Menu > Movie Shooting > Frame size and frame rate
Choose your preferred size and frame rate. Note that some computers might not have the processing power to handle 1080p @ 60 fps. You might need to try lower settings until you find what your computer can handle.
After setting the size and frame rate, you need to set up the D750 for 'Clean HDMI output'; that means setting the D750 so its HDMI output doesn't show camera settings or informational displays, just the pure video output from the camera sensor.
If you don't disable the Live view on-screen display, you'll see all the live view info output on your computer, which is not what you want:
To get rid of the info display, turn on Live view by pressing the Lv button, and set the live view switch to 'Movie' mode.
Then go to Menu, and choose:
Menu > Setup > HDMI > Advanced > Live view on-screen display
Turn that option Off, then go out of the menu.
Plug the mini HDMI output on the D750 into your video capture device—in my case I've tested it with an Elgato Cam Link 4K and a ClonerAlliance Flint LX, and both worked great.
The last thing you'll need to do is tell the camera to remain in Live View for more than 10 minutes. By default, Live View will shut off after 10 minutes.
To do that, go to Menu, and select:
Menu > Custom Setting Menu > 'c' - Timers/AE lock > 'c4' - Monitor off delay > Live view
Choose No limit to turn off the automatic shutoff.
Use QuickTime Player on your Mac (see how I use QuickTime to record multiple cameras at once), or whatever other video capture software you'd like, and start a new recording or streaming session, and the camera should show up nice and clear... or maybe a little blurry at first.
Live view autofocus
If you have a very blurry image, that's because Nikon has live view set to single shot AF, where it only focuses when you half-press the shutter button.
And the reason for this default is apparent the first time you try focusing in live view!
When you use the D750 to take pictures with the viewfinder, you can use the very good Multi-CAM autofocus module to get a good focus lock, quickly, even when using advanced 3D autofocus modes.

But when you use the D750 with live view, and the mirror flips up, that autofocus module can't be used since it's not part of the image sensor, so the camera uses on-sensor 'contrast-detect' autofocus, which is pretty slow and results in a lot of back-and-forth as the camera tries to lock focus.
Generally, if you can set focus manually, you'll get better battery life and a lot less noise, especially for older lenses with loud focus motors.
But if you need to have autofocus throughout the video, and can live with the limitations, you can turn on 'Full-time servo AF'. To do that, make sure the focus switch on the side of the lens mount is set to 'AF', then hold the focus mode button and use the back control wheel to set the focus mode to AF-F:
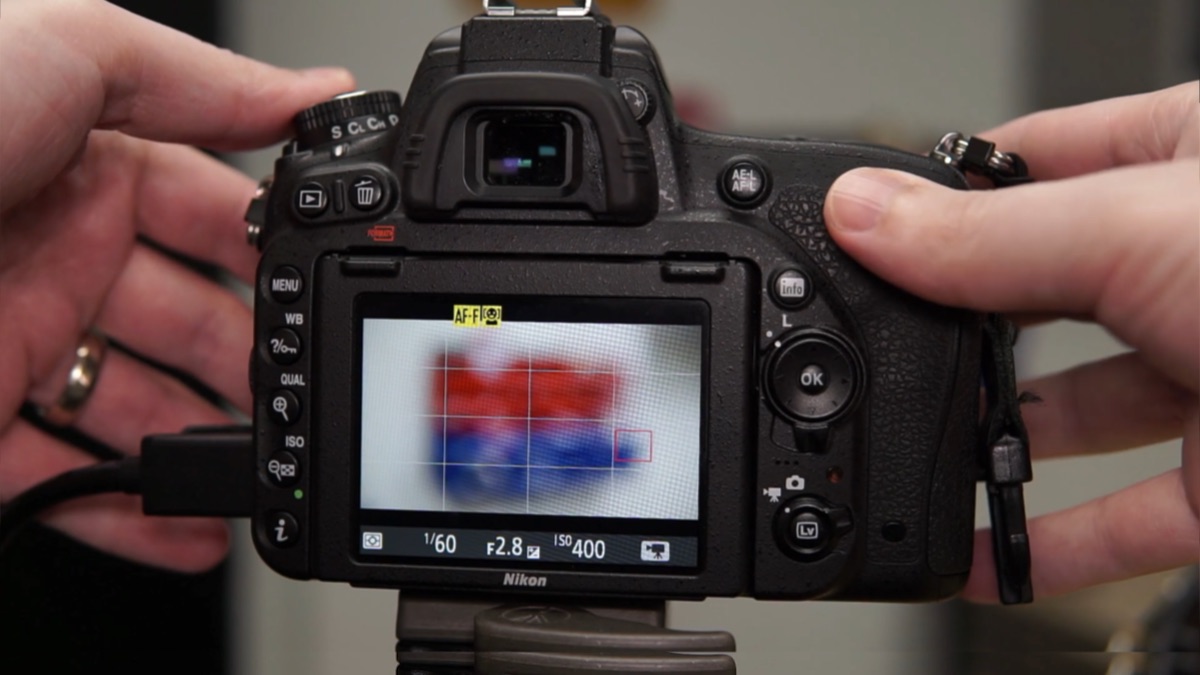
At this point, the camera will begin hunting for focus the entire time live view is engaged. For an older lens like my 60mm f/2.8 macro, focusing is an exercise in futility—and it's loud when it's focusing. For newer AF-S or AF-P lenses, the motor is a bit quieter, but it will still be picked up by the on-camera mic, so I recommend using a separate microphone when you're recording with the D750.
You can either plug a microphone into the D750's mic jack, or plug in a separate sound source on your computer. In my case, I use an EV RE320 microphone plugged into a Behringer USB audio interface for studio-quality sound.
Battery life and overheating
So we've gotten a good image out of the camera, but how long will that last? On battery, I got about 20 to 30 minutes of run time. But you can buy an external power supply for the D750, like the generic EP-5B power adapter I use.
Remove the battery and replace it with the battery connector on the power supply, and the camera stays powered indefinitely.
But what about overheating? As long as you're not recording to the internal memory card and you're using a power supply, you can stream or record pretty much forever. I didn't run into any time limitations. It's probably best if you keep the LCD out from the body, though, just to let more air flow against the back side of the camera where the sensor is located.
Note: The sensor does get noticeably warm after 30+ minutes of continuous live view mode. I haven't experienced any hot or dead pixels, or any other anomalies even after using my D750 for streaming a few times for over an hour. But your mileage may vary—if you need a camera for tons of streaming video, the D750 might not be the best option!
Conclusion
As long as you don't need 4K and full-time autofocus, the D750 works well for occasional live streaming or recording to your computer. It has a clean HDMI signal, a crisp output resolution and outputs up to 60 fps.
But there's a reason most people who use their photo gear for video choose cameras like the Nikon Z6 or a Sony mirrorless camera (I usually use my Sony a6000)—those cameras have much better on-sensor autofocus and have lenses built with much quieter autofocus motors. Plus, many of these cameras are built with video in mind.
I don't have a D780, but seeing as most people say it's like a D750 (for viewfinder shooting) mixed with a Z6 (for live view shooting), maybe that camera has the best of both worlds!
Comments
Hi Jeff. Good article. What would you recommend on a budget if the goal is recording videos where the background can be replaced by the sceen output?
The most important thing to making a good video for background replacement is a flat green screen in the back, as well as good lighting to make sure the background is evenly lit (usually a light on each side on the background that doesn't light the subject is good for this), along with a good sharp subject will help the computer with the background replacement.
Thank you! This is very helpful! I got all set up, but the video has quite a lag and it out of sync with the audio. Any suggestions? I changed the frame size to 1280x720 at 60p, but it didnt' seem to help. Any suggestions?
What USB HDMI interface are you using, and what kind of computer are you using?
Jeff, great tutorial. Thank you. I am wondering if I can use a 4K HDMI to USB-C adapter from the HDMI end of the cable coming out of the camera. This would allow me to plug the camera directly into my MAC. Any guidance?
No, that will only transport a video signal (like for a monitor or TV), it won't re-encode it in a way that allows the video signal to be seen as a camera source on the Mac.
Any recommendation on the HDMI interface for a mac?
The two I use and would recommend are:
Jeff, thank you for your help. I got the Elgato Cam Link as recommended. Easy to setup and use. Thank you.
Wonderful! Glad it worked for you.
Jeff, how can I "tip" you for your help without a monthly subscription? If possible I would like to make a small payment for the time you saved me.
That would be greatly appreciated, thanks! I have a page on my site with links to Bitcoin, Venmo, or PayPal if people want to donate through those avenues: https://www.jeffgeerling.com/affiliates. Thanks again, and glad I could help you!
Jeff:
I baught a blackmagic Invinity shuttle to use with Zoom but it doesn't work with Zoom. I also have a Hauppauge HD PVR 2 i bought for capturing older video cameras. Would the Hauppauge work with my Nikon 750
Thank you
I am trying out this approach of using DSLR with USB and a separate mic over USB. The USB capture should work the same way as HDMI right? They both capture the live view pixels. Question however is, if the live view itself is as good as direct recorded media on card from lenses. Meaning lens to sensor to live view vs lens to sensor to image processing engine to card. Is the live view going to be as good in quality as that?
If you go live view through HDMI output, it will be the same quality as what is recorded to card. But if you use a capture card that's lower quality, the quality of the video can be much worse. The Elgato puts through a very high quality, low-latency stream, and I usually rely on it because of that.
Great article. FYI: The latest update of Nikon's Webcam Utility now supports the D750, so no need for an HDMI adapter any more, it will work over USB.
True, though the USB connection doesn't give nearly the same detail (e.g. no uncompressed 1080p at 60fps like I can get through HDMI to the Elgato). But especially for things like conferencing via Zoom/Hangouts/Meet/Teams/etc., that's not really a concern.
How did you get your d750 to work? Mine does not work with the new utility over USB.
Same issue...I’ve tried the elgato 60s and won’t work.
I just tried it with both 1.13 and 1.15 firmware (C). In both cases it worked.
I downloaded the installed from Nikon's site, then ran it. There will be no menu entries, it's pretty much just a library file and some registry keys. For sanity, I rebooted. Then, turned the camera on, and toggled the video vs still switch over to video. Started Zoom, and found that in the Video portion of Settings, there was a new option under Camera - "Nikon Webcam Utility". Selected this, and closed settings, then started a new meeting. At this point, with the camera off/disconnected, the Zoom self view shows a Webcam Utility 1.0.1 black screen.
Turned the camera on, and the mirror slaps up out of the way, and the preview changes to show what the camera is pointed at - no overlays of camera detail.
Drawbacks: The driver does not appear to be pulling a proper 1080p feed from the camera; you get a massive black box around the image. The image quality is also not great - it's absolutely better than most (all?) webcams, including my C920 which is considered one of the better 1080p webcams - but it's got no anti-aliasing, and is a low enough resolution that I can see the jagged edges on things like my glasses.
To fix the black border, you can instead run OBS, and select the Webcam Utility as a Video Capture Device. You'll get the same black boundaries. These can then be removed with a Transform on the scene source, lopping off about 200 pixels from left, right, top, bottom. OBS will also show you that this device source is providing a 1024x768 signal, and that *includes* the black bounding box, so the actual image is .. hrum.. 640x360? That'd make sense actually, because that would make it a 16:9 aspect ratio image, which can be upscaled to 1280x720 or 1920x1080 (note that the ratio is always 1.78:1 - 1080p is 360p * 2.5).
The problem is in the word upscale. So yes, this works with the latest library from Nikon, and you get that lovely background blur when you use a good lens wide open (in my case I'm testing with a 24-70 f/2.8), but the image is basically a postage stamp that you'll have to apply something like bicubic or whatever scaling to, and at that point it's going to look less good.
Hi Joern, did you use the usb connection because i did and i can't get a full screen image, maybe I missed a setting is full screen no option?
When I connect the HDMI video output to my computer via a "HDMI Video Capture" USB device, all I see is the color bar test pattern instead of live video. The camera is turned on, switched to video mode, and live view is on (and showing a live video image on the back of the camera). Any ideas what could be causing this?
Oddly, Nikon released a webcam utility, but it does not work on Windows 7! First time I've ever seen software released for Win10 only.
Is an AC adapter 9V - 4,5 A usable for continuus charging nikon d750?
Or what other battery solutions are there? for streaming. thanks
I am trying to use my Nikon D5300 as a webcam with Webcam Utility, hooked up to my Mac mini with Big Sur. I'm using the included USB cable rather than a capture card. But here's the problem I hope you can help me with - the video image is small. There is a big black frame around the image in Zoom, OBS, or Skype, and I cannot figure out how to get rid of it in the original! Right now I have to record, export the file to iMovie to crop it, then export it again. I've watched a lot of "DSLR/webcam" videos on YouTube, but no one addresses this particular problem. Any Suggestions?
Hi Jeff - this worked great for me, thank you for the tutorial. The one thing I can't figure out is that I still have the aperture, shutter speed, and ISO data showing up at the bottom of my screen when using in Zoom. They overlay with the bottom of the image. So close to being perfect, but super distracting now on a call - any idea how to get these to hide too?
Same problem, were you able to solve it?
I got our D750 5 years ago during one of Nikon's post-Xmas sales. Had an Magewell 1080p @ 60fps capture device. Created a streaming server with my other C920 cameras. Had the Nikon A/C battery. Had all of this for years! The only thing I was ever missing was how to turn off that annoying 10 minute shutoff. But wow, did they have hidden down. Found your post now for almost the exact setup via a search on how to remove the power savings. THANK YOU!
The video was helpful, but I was hoping to see the camera set up and in use. Also, I found the slide display was too fast to follow. Otherwise helpful.