So, I have amassed a pretty massive media library over the years—my goal has always been to maintain every single bit of digital media I own locally via iTunes (and/or other libraries which can be shared with devices in my home), and be able to play any of my DVDs, Blu-rays, digital purchases, etc. on any of my devices (mostly in the Apple kingdom, but there are a few Raspberry Pis and other devices floating about).
I also like the convenience of purchasing media on the iTunes Store, so I have also amassed a decent collection of movies and TV shows there. One problem: none of those files can be played outside the Apple ecosystem! In the past, I outlined how I put Blu-ray, HD-DVD, and DVD media onto my Mac. In this post, I'll run through my process for stripping the DRM from protected M4V videos I purchased and downloaded from the iTunes Store.
Aside: It's ironic that the International Day against DRM was a couple days ago—it has no bearing on my writing this post, it's just coincidental.
Note that I do not pirate nor share content I purchased with others... it's crazy the lengths I'll go through to get legally-acquired media onto my devices so I can watch it whenever and wherever I like. Most people aren't willing to put up with the insane barriers to user-friendliness that DRM demands—and that's a major reason the movie industry has a major piracy problem to begin with!
TunesKit for M4V DRM removal
A long time ago, something like Requiem was a decent-ish option (though kind of kludgy) for DRM removal. But as time has progressed, and the tricks it used no longer work in modern versions of iTunes, it has become necessary to use one of the paid options for DRM removal. Currently, there are two: TunesKit and M4VGear.
Both of these products have Mac and Windows versions (ostensibly), but after trying both on both platforms, I have found the Windows versions to be a lot more reliable. And TunesKit felt a little more polished (and often worked better in my testing) than M4VGear.
On the Mac, neither of them worked with High Sierra or Mojave (macOS 10.13 or 10.14) nor the latest version of iTunes that those OSes ship with. So you either have to keep a Mac held back to an older OS and iTunes version, or build a macOS VirtualBox VM, running older software, and try to get everything working inside there. Both options were unappealing—though not for lack of trying—so I decided to stick to running the Windows version on my Dell XPS 13 running Windows 10 and the latest version of iTunes from the Windows Store.
The Process
Since I don't have the space to keep my entire media library on my Dell laptop (I have a Mac mini set up for that!), I decided to sign into iTunes, download a set of 10 or so movies at a time, then process them. The process went something like this:
- Open iTunes (signed in to my iTunes Store account).
- Download a set of 10 movies from iCloud to my local library.
- Once the download finishes, quit iTunes.
- Open TunesKit M4V Converter
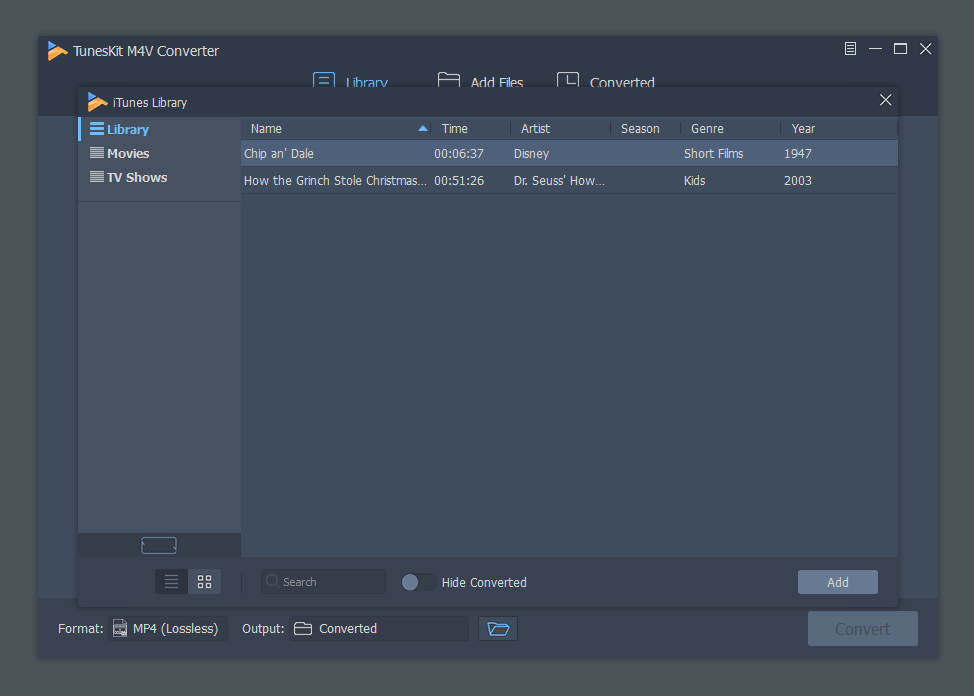
- Click 'Library' to open up the iTunes Library from within TunesKit M4V Converter.
- Select the movies I just downloaded.
- For each movie, deselect all audio tracks and subtitle tracks besides English/US (or whatever languages you prefer).
- Click Convert, and wait for all the movies to be converted.
- Once those movies are converted, quit TunesKit, open iTunes, and choose 'Remove Download' for the batch of movies you just converted.
- Repeat steps 2-9 for all your movies and TV shows until complete.
Notes
- If you want the 1080p version of HD movies (sorry, no 4K on the desktop/laptop version of iTunes yet!), make sure you have enabled high quality downloads in the iTunes preferences.
- If things seem to be stuck (e.g. TunesKit says converting, but the conversion is stuck at 0% for a loooong time), restart the computer and try again. For some reason, things just stop working every once in a while, and I never noticed why. But a restart always fixed it.
- The fastest way to copy a bunch of HD movies around is with an external USB 3.0 drive (or something faster). You can usually get copy speeds of over 200 MB/sec with a fast drive. Over the network, I could eke out about 111 MB/sec on my home's gigabit network. Note that I have all SSDs everywhere—spinning disc drives will be a bit slower.