This guide isn't definitive, but it is a good reference point as I am wiping out some Hikvision IP cameras I inherited in my new office space. They were all paired with an annoying proprietary Hikvision NVR, and I wanted to wipe them and use them on a new isolated VLAN with my new Raspberry Pi Frigate-based NVR setup.
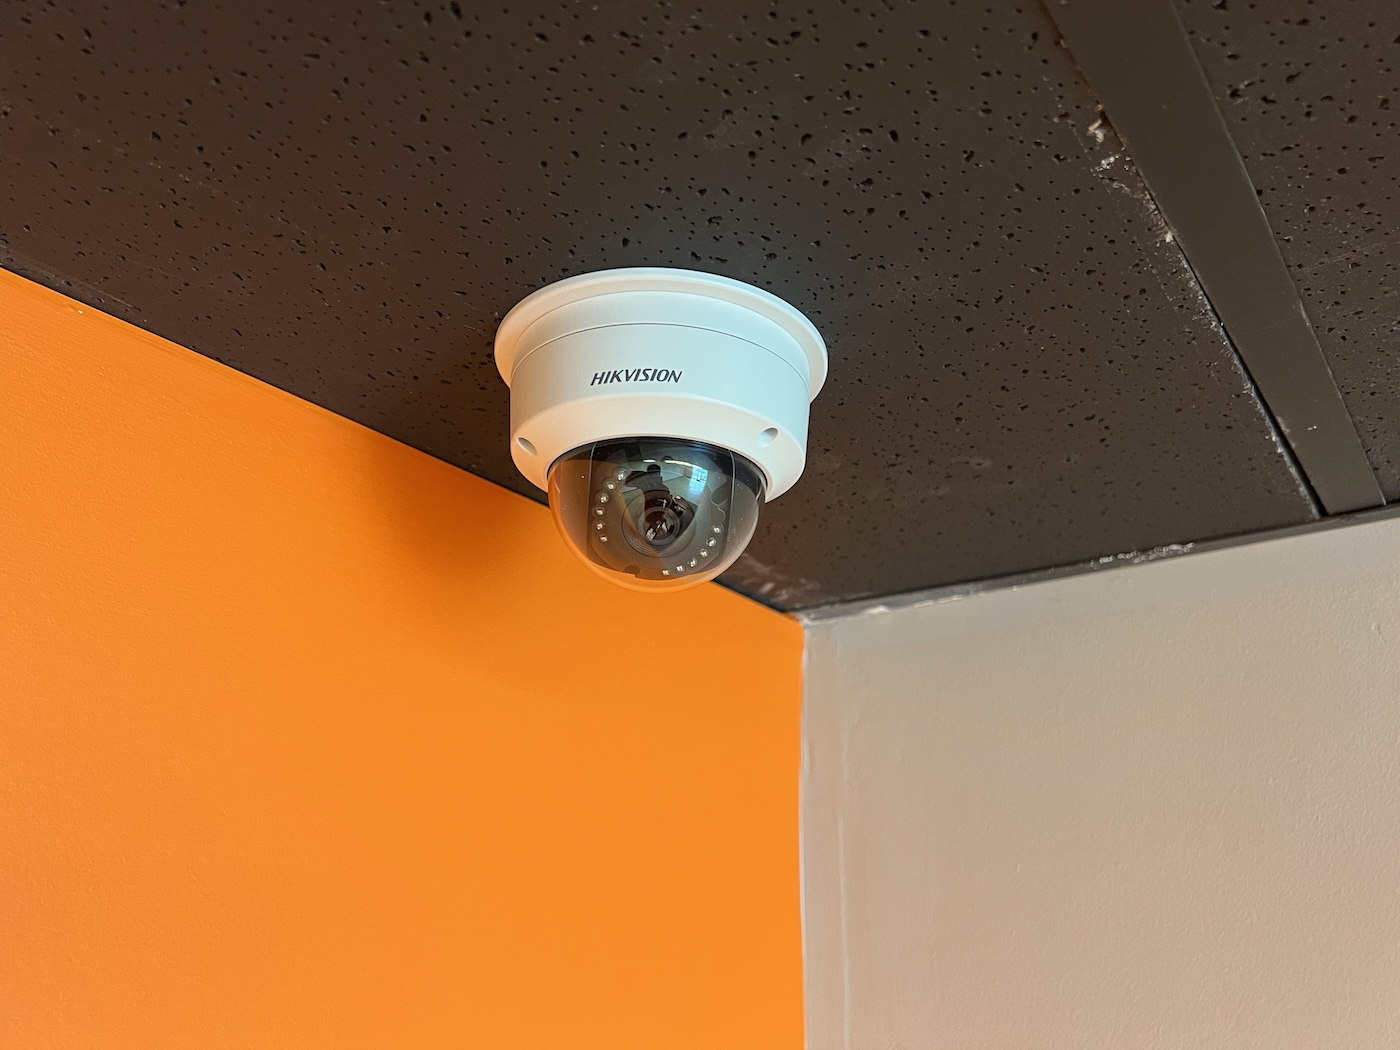
The cameras I have are Hikvision model number DS-2CD2122FWD-IS, but this guide should apply to many of the cameras from that era.
The process to reset a camera to factory defaults, update it to the latest firmware, and get it going on my network is as follows:
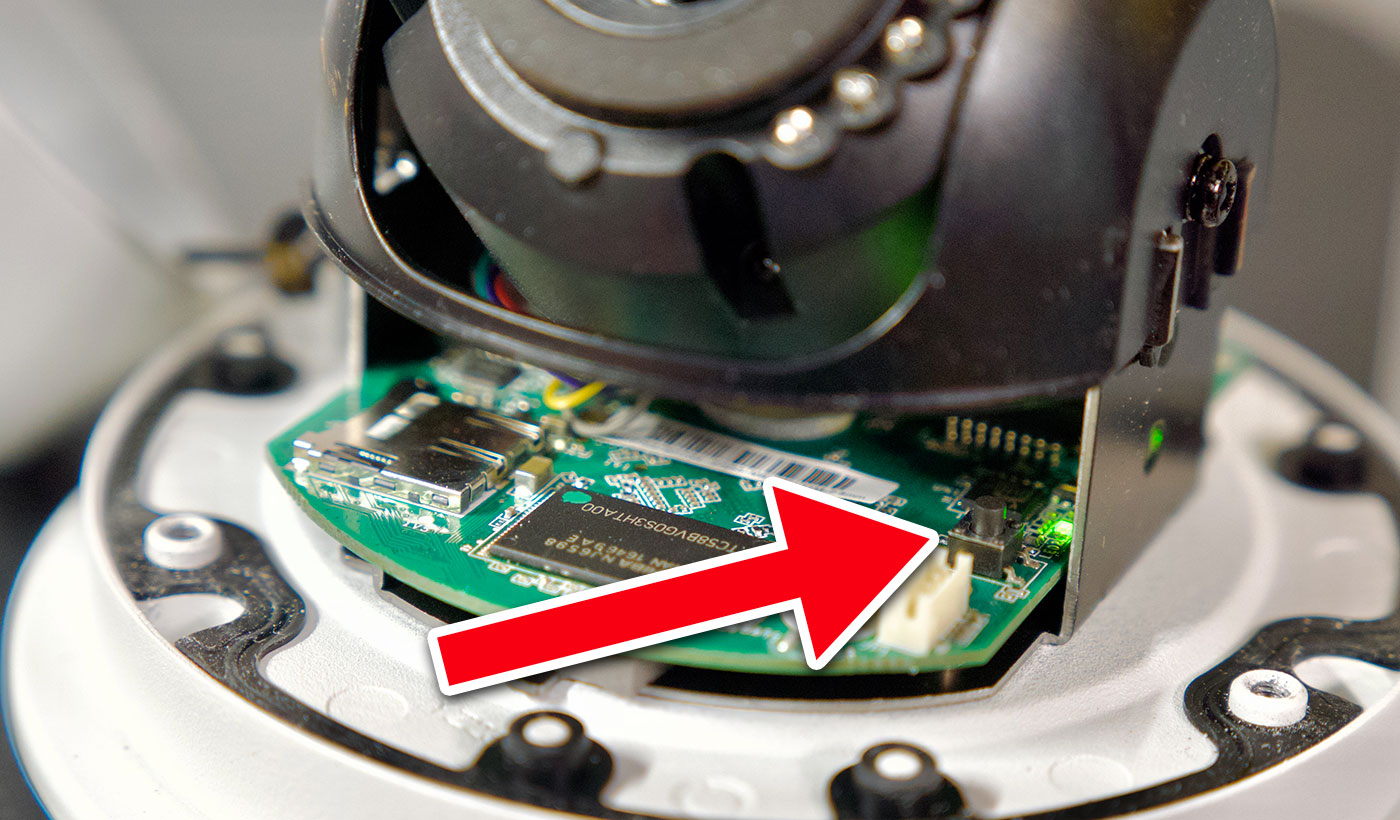
- Remove the dome cover (mine was held on with three torx T10 screws).
- Hold down reset button (see image above) while plugging in PoE cable, and keep it held for at least 10 seconds.
- Wait a minute or so for the camera to reset and boot up.
- Set your computer's network interface to 192.168.1.X subnet (I set mine to the manual IP
192.168.1.2). - Visit http://192.168.1.64/ in browser, and set an admin password (be sure to save this password somewhere!)
- Install Hikvision's iVMS-4200 software on your computer.
- Launch iVMS-4200 and add the camera in there (with IP address
192.168.1.64). - Select the camera from the device list, and click 'Remote Configuration'.
- In the 'System Maintenance' tab, under 'Remote Upgrade', select the
digicap.davfile from your device's firmware download (for my camera, 5.5.82), and upgrade the camera. (Note: the interface greys out, and then after a minute the progress bar will start filling up. Be patient.) - After the upgrade is complete, grab the camera's MAC address and configure DHCP and local DNS for it in your router (if that's your thing), or if not, skip to the next step.
- Log into the camera in the browser (at
http://192.168.1.64/), click on the Configuration tab, then go to Network > Basic Settings, check the 'DHCP' checkbox, and click 'Save'. - Reboot the unit when the prompt to reboot appears, then after it reboots, it should pick up an IP address from your router using DHCP.
Obviously, if you want to set a static IP for the camera separately, you can go ahead and do that too. I'm setting all my VLAN and IP configuration on the router, though. Especially as these cameras get older and more outdated (though they still work fine), it's best to separate them off on their own VLAN, since old firmware likely has exploits that could be hacked.
Comments
Careful to block connectivity - that vendor phones home to China under the hood....
You can also modify all the network parameters through the HikVision SADP tool. :)