Since I've done this four times now... and each time it's just a session of reading the docs, searching the forums, etc. until I get everything configured just so, I thought I'd document how I bring up a new MikroTik switch.
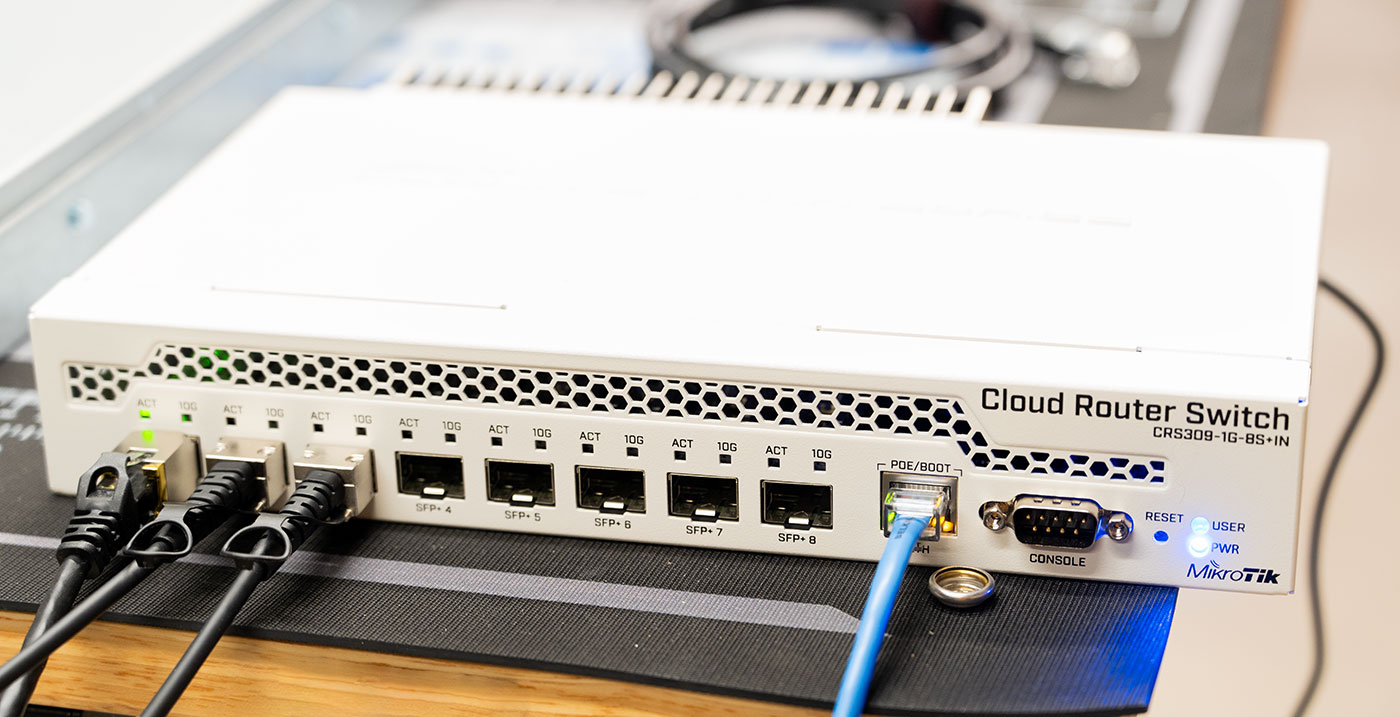
I personally love the CRS309-1G-8S+IN, and have three of them running in my homelab. They're less than $250, with 8 10 Gbps SFP+ ports, a 1 Gbps RJ45 port, and a serial console port.
But the best thing for my home use is they are fanless. Blissful silence, outside of a couple beeps the first time you plug it in.
But these 'Cloud Router Switch' models boot into RouterOS. RouterOS is fine and all, but if you just want a managed switch, and have a router elsewhere on the network, SwOS (short for SwitchOS) is where it's at.
First Time Setup
When you plug the CRS309 into power, it will boot, the blindingly-blue1 power LED will come on, the system will beep a few times, and it will be up.
I plug an Ethernet cable from the router into a computer directly, or into my network.
The router will boot up at the IP 192.168.88.1. So to access it's web UI, you need to switch your computer's network connection to Static IP, and set an IP in the same range (I usually do 192.168.88.2, and leave the 'router' blank).
Visit http://192.168.88.1/, and log in with username admin (no password).
Setting Passwords (for RouterOS and SwOS)
The first thing you should do in RouterOS (click on WebFig at the top to get to the normal UI) is set a secure password. Do that under System > Password.
Log out, and log back in with the new password. Now click on 'Terminal' to go into the RouterOS terminal interface, and enter /system swos password. Enter and confirm the password you'd like to use for the SwOS admin account.
Next I like to upgrade RouterOS to the latest version, since it's nice to not have the Switch end up booting to an old, insecure OS if it ever loses it's settings...
DHCP for RouterOS
But to do that, first you need to get DHCP running (assuming there's a router somewhere on your network that can give the Switch an IP). If you don't have DHCP running, you won't be able to use the GUI to run an update automatically, and that's just annoying.
Go to IP > DHCP Client, and click 'Add New'.
Check the 'Enabled' checkbox, choose 'bridge' for the Interface, and leave all the other settings at their defaults.
Click 'Apply', then 'OK', and wait for an IP address to be assigned.
Make note of this IP address. It's likely that later, when the router boots into SwOS, it will get that IP assigned to it, so that'll be the IP you access (instead of 192.168.88.1).
Updating RouterOS
Now that the box has an Internet connection on your network, go to System > Packages, then click 'Check For Updates'.
It should show an upgrade is available. Click Download & Install and wait for it to upgrade the system.
It should reboot once complete, and the next step is to switch over to SwOS and leave RouterOS in the dust.
Switch to SwOS
After the reboot, you may need to log back into the router, which will still be available at http://192.168.88.1/. Do so, then go to System > RouterBOARD.
Click on Settings, then choose 'SwOS' from the Boot OS menu. Click Apply, then OK.
Now click on System > Reboot, and confirm you'd like to reboot the Switch.
Getting started with SwOS
Now visit the IP address that was assigned to the Switch via DHCP (or if you set up a static IP yourself, visit the IP you configured). You should also switch your own computer back to DHCP if you had set it to be on the same IP range as the MikroTik was by default.
You can log in with the password you created in the Terminal.
From here, I usually upgrade SwOS now. Click on the 'Upgrade' tab, and it's likely there will be a newer version available.
Click 'Download & Upgrade' to run the upgrade, and wait.
After a short time, the Switch should be running the latest version.
Log back in, and if you want to set a static IP address, go to the System tab, and enter one. Make sure to select 'static' for 'Address Acquisition' if you want to force the static IP. Otherwise the Switch will make use of whatever address is assigned from your main router via DHCP.
Comments
Would love to see some video content on MikroTik devices and performance
The downside to SwOS is the complete lack of security. The max password length is 16 (depending on the device), there’s no HTTPS for the web front end, and there’s very little in the way of logging. ACLs for protecting the device’s configuration page are clunky and logging against them is usually only number of packets dropped. I love MikroTik devices and I have about 15u full of them in the lab, but even switches that are going to be doing basic layer 2 and some VLANs should run RouterOS for security’s sake. Unless your environment doesn’t need security, in which case SwOS *is* where it’s at.
Any cons of using routerOS in a basic VLAN setup?
No cons
RouterOS has EVERYTHING switchos has and more including basic and advanced vlans
I stopped using switchos completely and only routeros if need switch I configure it as one and turn off routing and firewall per project
I even have several doing both on network
Ps if you have HA or fail over needs to be RouterOS can't be swos
I think you ar emissing the RouterBOARD update after the packages update part
goto System -> RouterBOARD -> Upgrade and reboot after that.
I'd always go for RouterOS over SwOS personally - I've always found SwOS a nightmare to manage. But I do come from quite a few years of RouterOS experience, so that probably biases me!
For RouterOS itself, it's always worth looking at winbox instead of the web UI - it runs well under wine (and even under wine64 + rosetta on mac), and there's a new cross-platform version being worked on! It gives you the ability to have multiple configuration windows open at once, and can even be connected to via a custom L2-based protocol that can connect even when IP configuration isn't done!
Agree
Mac login is great never change network during set and once linked to RoMon set up can login securely though multiple networks and firewall to help clients using it's own tunnel