linux

Resetting IPMI and upgrading BIOS on a Supermicro motherboard under FreeBSD (or not)

That title is awfully specific.

ASPEED SoC on Supermicro Motherboard powering IPMI

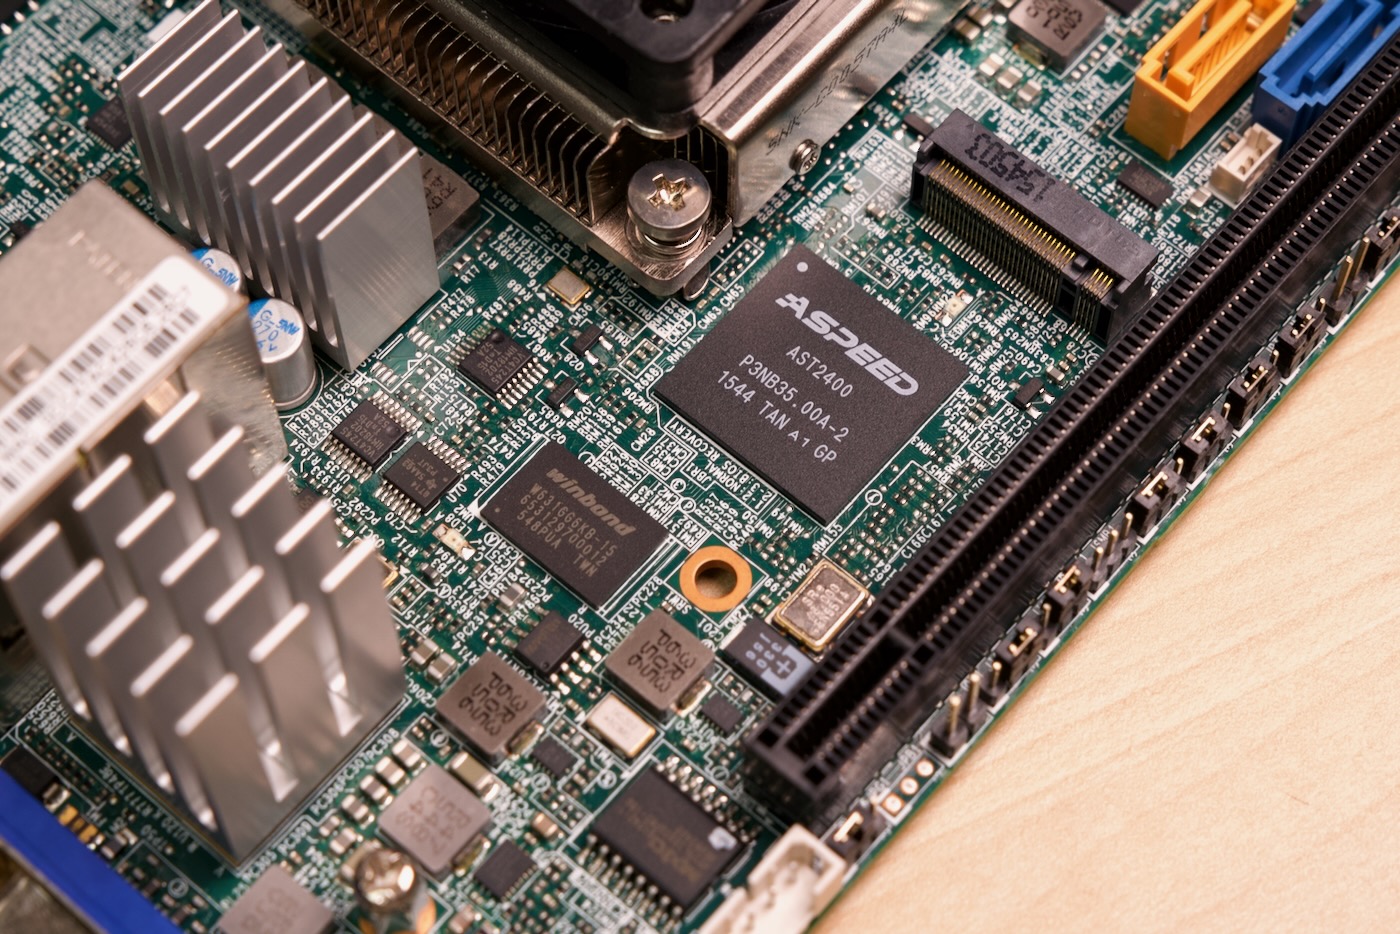
But I was building a new FreeBSD server with a used SuperMicro motherboard with IPMI. The default password was changed from ADMIN (or maybe it's a new enough board that it's a random password), and when I was booted into FreeBSD, I wanted to reset the IPMI settings so I could be sure I was starting fresh.

ipmitool that came with my FreeBSD install doesn't seem to be able to reset IPMI to factory defaults, so I tried running ipmicfg from Supermicro's website (which is annoying to download—you have to fill out a form and a Captcha for the privilege).

Using LibreELEC like a pro—management via SSH

For a recent project, I needed to install LibreELEC/Kodi on a Raspberry Pi Compute Module 4 with built-in eMMC storage.

Because it's inconvenient to be swapping the Pi around from the embedded display I was using it in to my preferred carrier board I use for flashing Pis and interacting with their filesystems, I wanted to manage my LibreELEC install over SSH.

It seems like whatever documentation the LibreELEC Wiki used to have for remote SSH access is missing, and all I could find were references to enabling SSH during a GUI setup wizard. If you didn't see that during initial setup, the easiest way is to add ssh to the end of the line in the system's cmdline.txt file, then reboot.

So I pulled the Pi, used usbboot to mount the fat32 volume on my Mac, and opened cmdline.txt and added ssh. Then I popped the Pi back in the embedded display, and started it up.

Sure enough, I could now SSH in:

External graphics cards work on the Raspberry Pi

AMD Radeon HD 7450 Graphics card with Raspberry Pi Compute Module 4

In October 2020, after Raspberry Pi introduced the Compute Module 4, I started out on a journey to get an external graphics card working on the Pi.

At the time, it'd been over a decade since the last time I'd built a PC, and I had a lot to learn about PCI Express, the state of graphics card drivers in Linux, and PCI Express support on various ARM SoCs.

How to run glmark2-drm to benchmark an external GPU on a Raspberry Pi

Recently I wanted to see whether I could get glmark2 (an OpenGL 2.0 and ES 2.0 benchmark tool) to run on a Raspberry Pi with an external graphics card (see this thread).

But glmark2 isn't available in any Pi repositories, so you have to build it from source:

sudo apt install -y meson libjpeg-dev libdrm-dev libgbm-dev libudev-dev
git clone https://github.com/glmark2/glmark2.git
cd glmark2
meson setup build -Dflavors=drm-gl,drm-glesv2
ninja -C build
sudo ninja -C build install

I built this for drm only, so it can run fullscreen without any X/Wayland environment. To run the full suite:

glmark2-drm

Or you can run a specific benchmark like glmark2-drm -b jellyfish.

Using a reverse-NFS mount to access Docker container's data from macOS

For years, Mac users have dealt with slow filesystem performance for Docker volumes when using Docker for Mac. This is because the virtualized filesystem, which used osxfs for a while and will soon be upgraded to use VirtioFS.

But if you need to do large operations on huge codebases inside a shared directory, even using NFS to share from the Mac into Docker is a lot slower than running a native Docker volume or just using files inside the container's own filesystem.

macOS Disk Utility APFS Case Insensitive filesystem

Installing the Asahi Linux Alpha on my M1 Mac mini

After upgrading my main workstation to a Mac Studio, I decided to break tradition.

Usually, I sell off my old workstation to offset the cost of the new one. But just last week, Asahi Linux announced their first alpha release.

Asahi Linux MacBook Pro

If you haven't heard of Asahi, it's a Linux distribution based on Arch Linux that aims to bring a polished Linux experience on Apple Silicon Macs (all the current M1 Macs, and any new Apple Silicon Macs that come in the future).

Mac Studio is 4x more efficient than my new AMD PC

Last month, I built an all-AMD PC to try out Linux Gaming with Steam and Proton, and so I'd have a faster native Linux build machine for my various compilation tasks.

This month, Apple introduced the Mac Studio, and as a now full-time video producer, it was a no-brainer for me to upgrade from an M1 Mac mini.

Mac Studio M1 Max Hero

My Mac Studio arrived Friday, and over the weekend, I spent some time benchmarking it against not only my M1 mini, but also my new AMD Ryzen 5 5600x PC build.

My Mac Studio's specs:

Livestream: I attempt to build a modern Linux gaming PC

Update: I was able to get everything to work—but I couldn't get the RX 6700 XT's drivers installed in Ubuntu. There are probably a few reasons for that... but it definitely wasn't as straightforward as I had hoped. I'll post an update soon.

Last year, in my work towards bringing up a graphics card on the Raspberry Pi, I was fortunate enough to acquire an AMD Radeon RX 6700 XT at near-retail price (thanks to a viewer who assisted my luck!).

This year, as part of a slightly-zany video building a Raspberry Pi into a standard desktop PC, I was able to gather enough parts to make up a halfway-decent gaming/creative PC centered around the RX 6700 XT, and instead of putting it together myself, I thought I'd share in the potential disaster in a live stream—tune in at 10 a.m. US Central time on March 3 (or watch below):

Gaming at 1080p and 120 Hz on a Raspberry Pi 4

I often like exploring what's possible on a Raspberry Pi (or other low-end hardware). One area I haven't explored much is GPU performance. I typically run my Pi's headless, and have only dabbled in embedded machine vision with Pi cameras, so most of my experience is on the programming / software side.

But seeing Apple's 120 Hz 'ProMotion', and ever-higher refresh rates in the enthusiast gaming realm (we may hit 480 Hz soon!), I wanted to see how a tiny Raspberry Pi could perform in this realm.

The Pi's VideoCore GPU can output 1080p at refresh rates up to 120 Hz—at least there's a setting for it. But I'd never tried it. The hardest I pushed a Pi was 4K at 60 Hz for my Pi 4 a Day challenge, and that didn't go as well as I'd hoped.