wifi

Configuring wifi headless with connmanctl on LibreELEC via SSH

Because I love doing things quite backwards, I found myself in a predicament: I had only a wired direct connection between my laptop and the Raspberry Pi where I was running LibreELEC. Using mDNS I could connect to it directly connected at LibreELEC.local, and that's great...

But I wanted to join it to a WiFi network, and I only had a not-great 6-button remote control to plug into the Pi, so entering in long passwords via the UI (if that's even possible without a keyboard?) was not something I wanted to attempt.

Since I could ssh [email protected], I figured I'd connect to the available WiFi network, so it would be more convenient to update the device and put more content on it. Not to mention it expands Kodi's capabilities if you give it an Internet connection!

Enter ConnMan

LibreELEC uses ConnMan to manage network interfaces, and setting WiFi is a little strange, but doable:

While logged into the LibreELEC machine, enter connmanctl to get into the ConnMan shell.

Then do the following:
nmcli for WiFi on Raspberry Pi OS 12 'Bookworm'

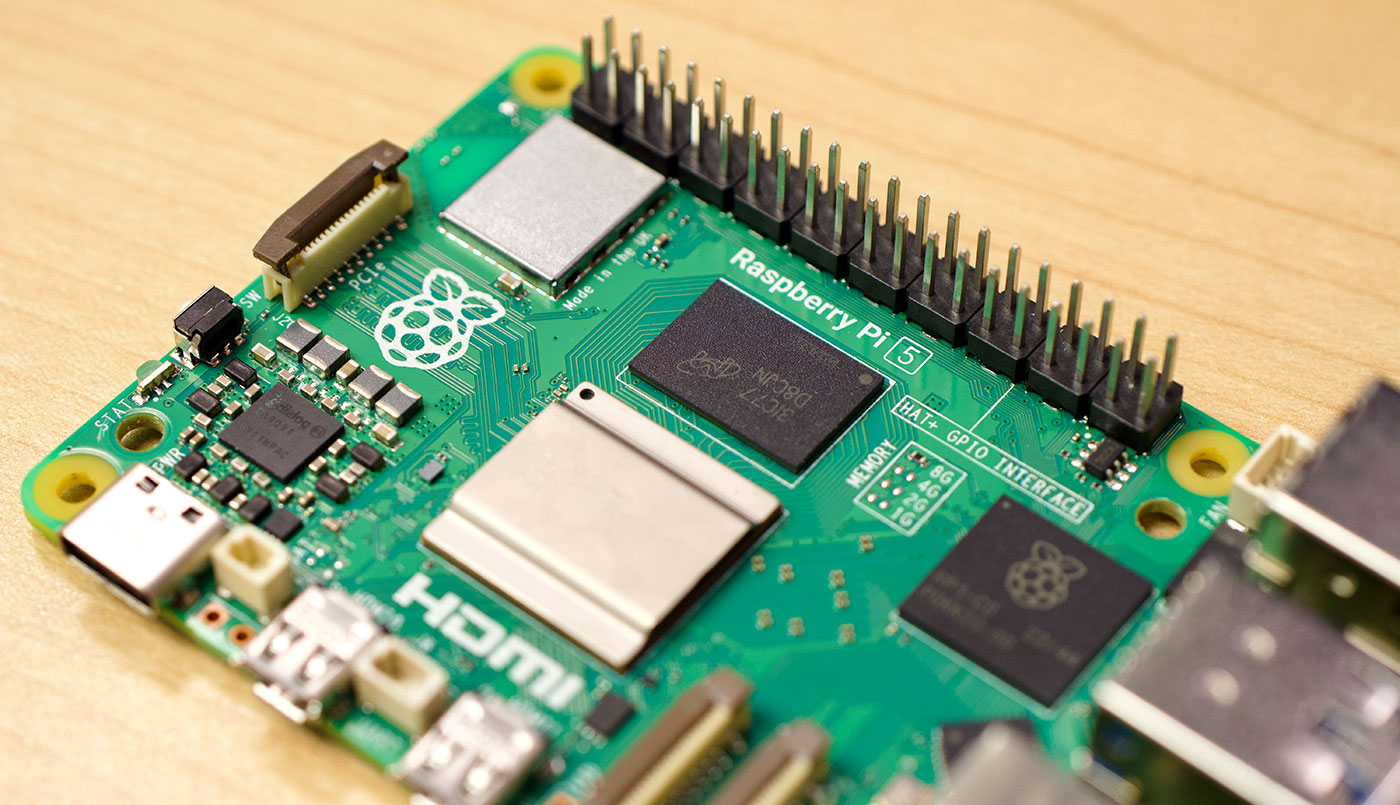
If you haven't already, check out my full video on the Raspberry Pi 5, which inspired this post.

Raspberry Pi 5 at an angle

Raspberry Pi OS 12 'Bookworm' is coming alongside the release of the Raspberry Pi 5, and with it comes a fairly drastic change from using wpa_supplicant for WiFi interface management to everything network-related running through nmcli, or NetworkManager.

nmcli is widely adopted in Linux these days, and it makes managing WiFi, LAN, and other network connections much simpler.

Getting to 1.5 Gbps WiFi 6E on the Raspberry Pi CM4

In the pursuit of doing crazy things on a Raspberry Pi, my latest endeavor was to see if I could consistently pipe more than a gigabit per second of traffic through WiFi using a Raspberry Pi.

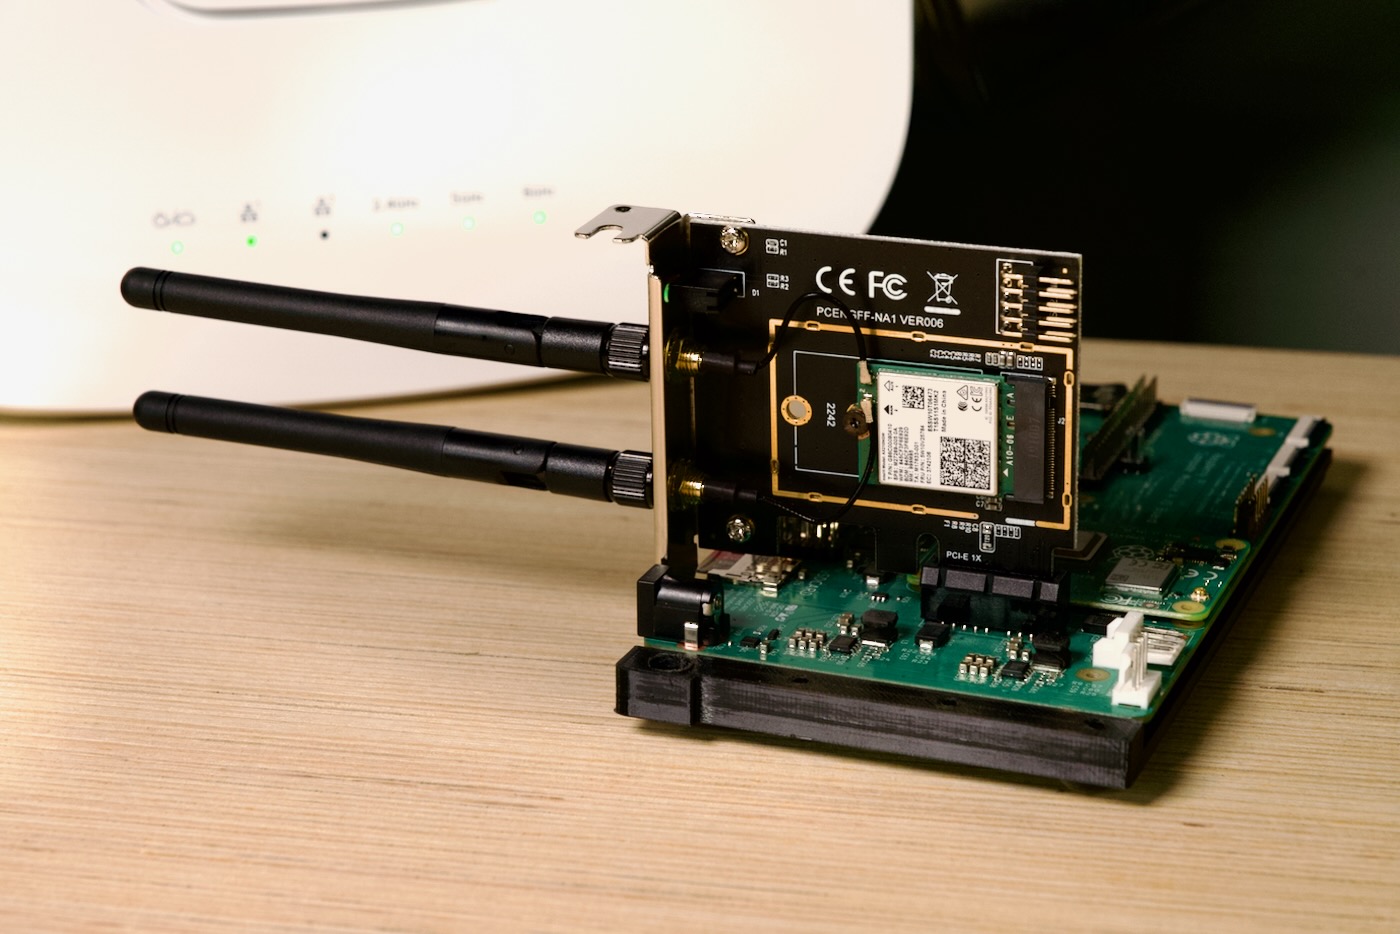
Raspberry Pi Compute Module 4 IO Board with Intel AX210 on M.2 adapter card

In the past, I had some faltering attempts where sometimes things would work—sort-of—using WiFi 6 (802.11ax, 40 MHz bandwidth, 2x2) using an Intel AX200 M.2 card on the Raspberry Pi Compute Module 4.

The Raspberry Pi Pico W brings WiFi for $6

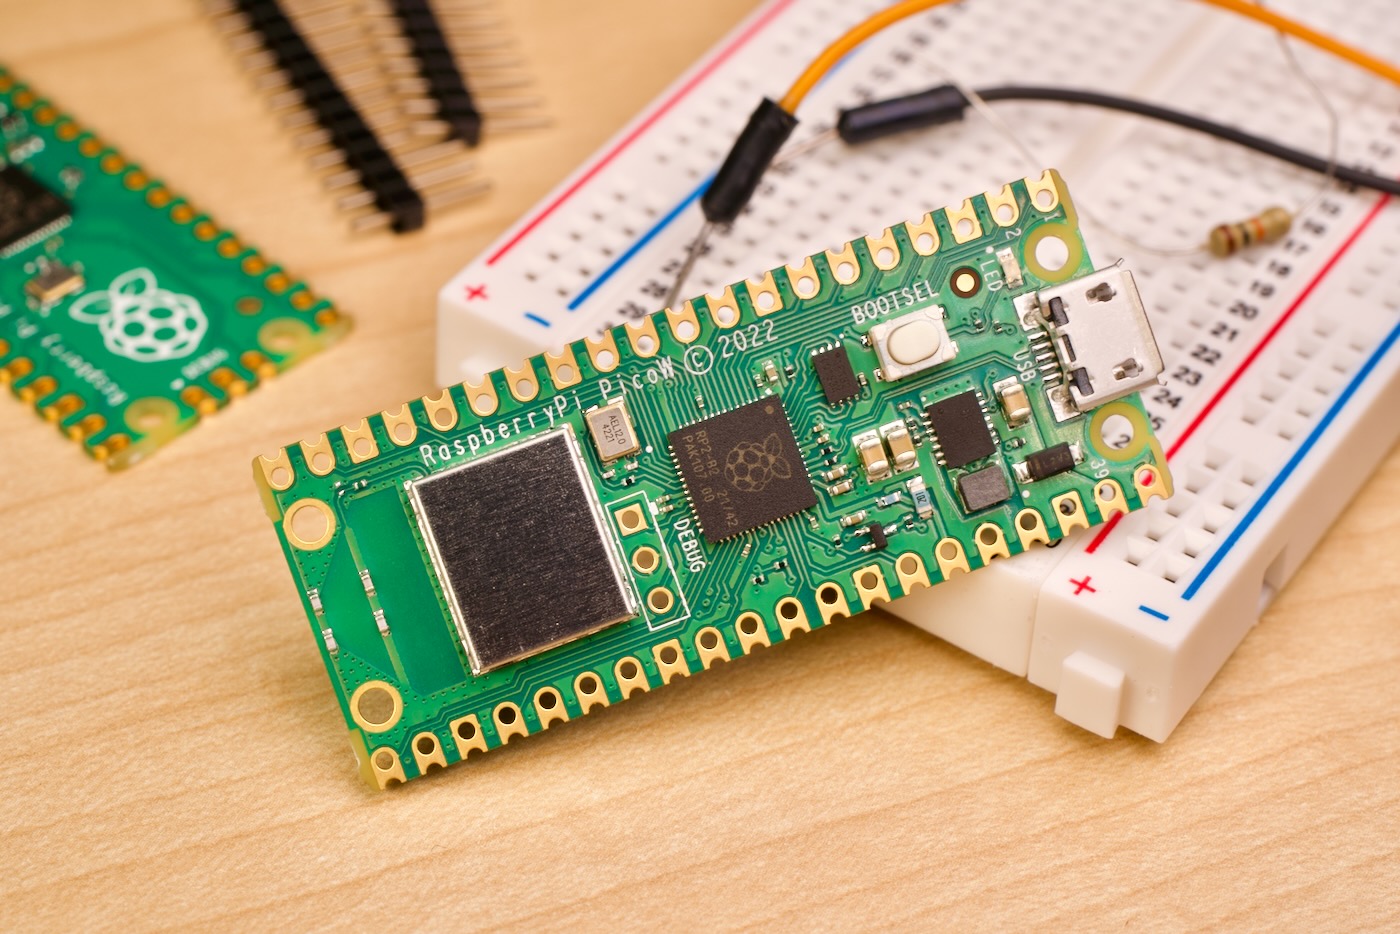
Today, Raspberry Pi announced the Pico W, a new $6 version of the Pico that includes WiFi.

Raspberry Pi Pico W on breadboard

No word yet on Bluetooth. The WiFi chip in the Pico W (Infineon CYW43439) supports it, but right now the RP2040 firmware lacks Bluetooth support.

The Pico W being available for just $6 is huge, because one of the chief complaints about the original Pico (powered by Raspberry Pi's own RP2040) was its lack of wireless support—a feature present on similarly-priced boards based on the ESP32 and ESP8266.

2.5 Gigabit homelab upgrade - with a PoE+ WiFi 6 AP

For the past year, I've slowly upgraded parts of my network to 10 Gigabit. But 10 Gigabit switches, NICs, and even cabling is a bit more expensive and sometimes annoying to deal with than the very-cheap 1 Gbps equipment most homelabbers are used to.

I dipped my toes into the 2.5 Gbps waters once I got a NAS with 2.5G ports—you can use standard USB NICs that cost less than $50, or PCIe cards for even less. And cabling is easier, since 2.5G works fine over Cat5e (which I already have run to most of my house).

So in order to install a new WiFi 6 Access Point upstairs—and get it's full bandwidth—I upgraded my main 1 Gbps PoE+ switch to a 2.5 Gbps PoE+ switch.

Looking around at options, most switches with more than 4 2.5 Gbps ports with PoE+ seem to cost upwards of $300. And knowing that I'd like to expand my network a bit in the future, I finally splurged a bit and bought this 20-port monstrosity:

Enable the external antenna connector on the Raspberry Pi Compute Module 4

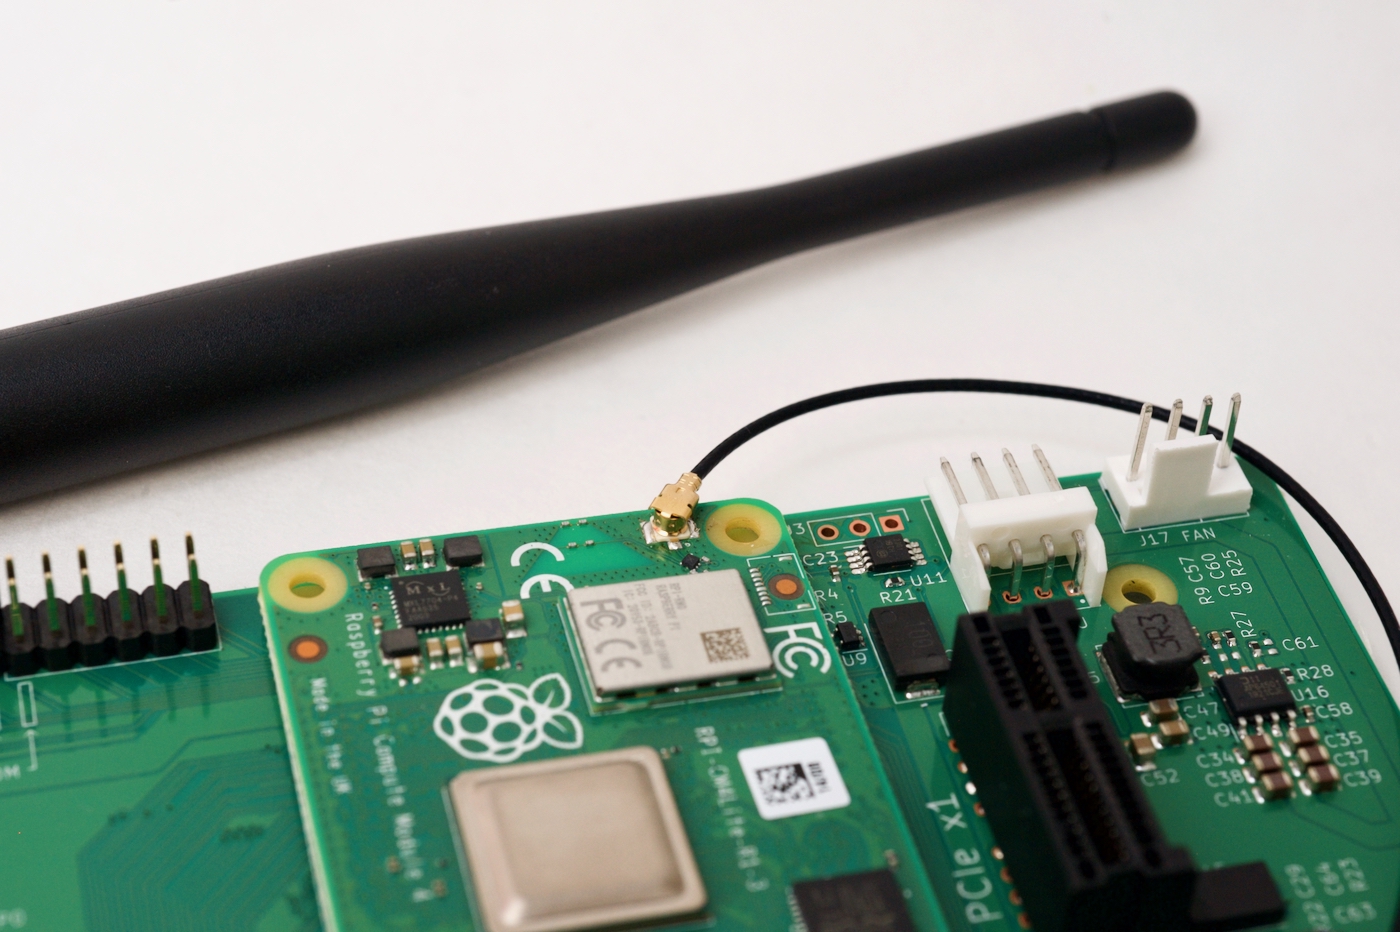
Raspberry Pi Compute Module 4 external U.FL antenna

The internal WiFi module on the Compute Module 4 (that's the bit under the metal shield in the picture above) routes its antenna signal via software. You can route the signal to either:

  1. The built-in PCB triangle antenna (this is the default).
  2. The external U.FL connector (which has an external antenna plugged into it in the picture above)

To switch the signal to the U.FL connector (for example, if you're installing your CM4 in a metal box where the PCB antenna would be useless), you need to edit the boot config file (sudo nano /boot/firmware/config.txt, and add the following at the bottom:

# Switch to external antenna.
dtparam=ant2

Then reboot the Pi.

Working with multiple WiFi interfaces on a Raspberry Pi

Sometimes I like to connect to multiple WiFi networks on my Pi for... reasons.

Other times I like being able to use a better wireless interface than the built-in WiFi module on the Pi 4 or CM4, but don't want to add dtoverlay=disable-wifi in my /boot/config.txt and reboot.

Since Pi OS uses wpa_supplicant, it's actually easy to do this.

First, see what interfaces you have available, e.g. with ip a:

$ ip a
...
3: wlan0: <BROADCAST,MULTICAST> mtu 1500 qdisc pfifo_fast state DOWN group default qlen 1000
    link/ether e4:5f:01:4e:f0:22 brd ff:ff:ff:ff:ff:ff
4: wlan1: <NO-CARRIER,BROADCAST,MULTICAST,UP> mtu 1500 qdisc noqueue state DOWN group default qlen 1000
    link/ether 84:5c:f3:f6:e9:29 brd ff:ff:ff:ff:ff:ff

If you want to specify a network configuration that only applies to wlan1, create a file named /etc/wpa_supplicant/wpa_supplicant-wlan1.conf, and put your network credentials inside:

WiFi 6 gets 1.34 Gbps on the Raspberry Pi CM4

January 1, 2021 Update: My 1.34 Gbps benchmark was flawed. See this GitHub issue and this updated blog post to learn more: WiFi 6 is not faster than Ethernet on the Raspberry Pi.

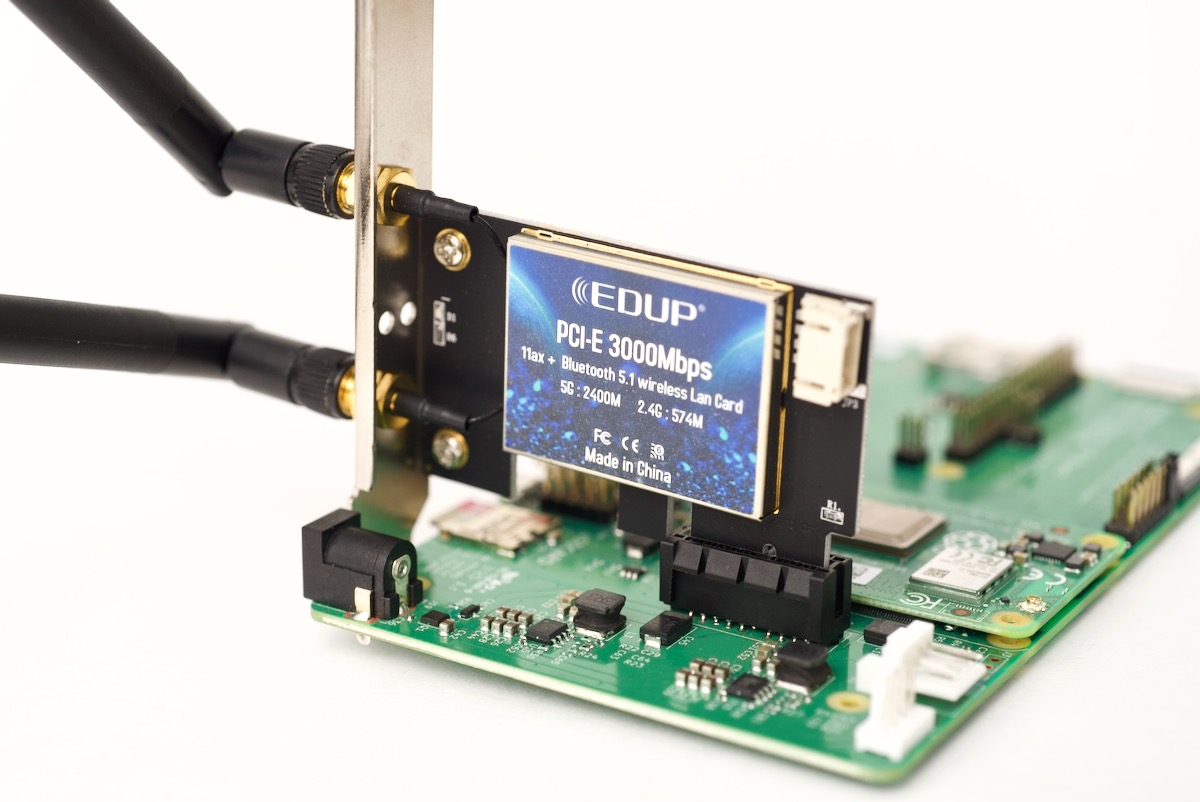
EDUP Intel AX200 WiFi 6 802.11ax PCIe card in Raspberry Pi Compute Module 4 IO Board

After buying three wireless cards, a new WiFi router, optimizing my process for cross-compiling the Linux kernel for the Raspberry Pi, installing Intel's WiFi firmware, and patching Intel's wireless driver to make it work on the Raspberry Pi, I benchmarked the EDUP Intel AX200 WiFi 6 PCIe card and got 1.34 Gbps of bandwidth between the Raspberry Pi and a new ASUS WiFi 6 router.

This is my story.

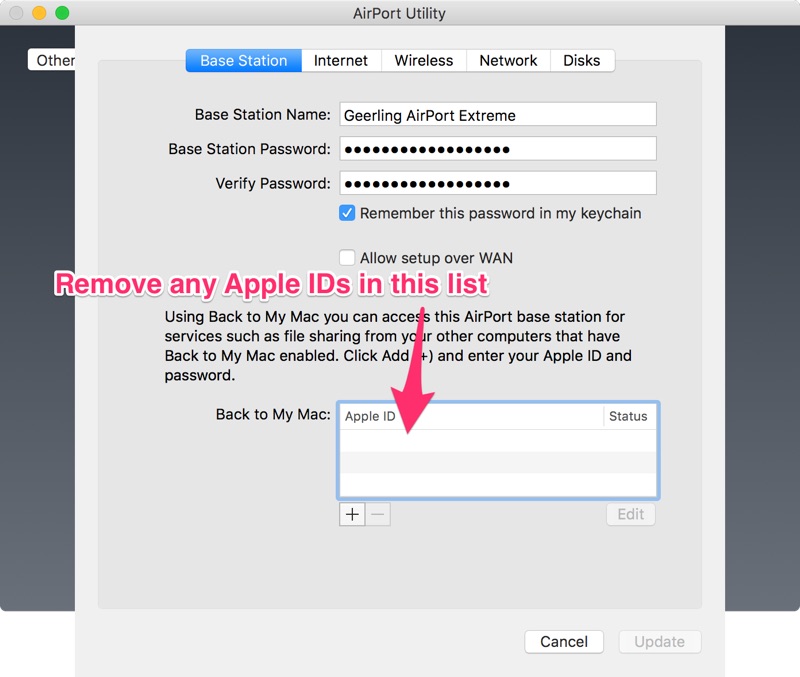
AirPort Extreme showing 'Device Not Found'? Here's a fix

If you've had an AirPort Extreme for a while, and recently (within the past year or two) had it go missing from your network (when you open AirPort Utility you get 'Device Not Found'), there's a good chance you ran into the same issue I did. Basically, everything was running great, then one day around August 2016, my Extreme disappeared from the network—even though it was routing Internet traffic for all the devices in my house just as good as ever!

The fix?

  1. Open AirPort utility (it will likely show "Device Not Found").
  2. Unplug your AirPort Extreme, and wait 10 seconds.
  3. Plug it back in, and connect to the WiFi network as soon as possible, then immediately go to the AirPort Utility.
  4. The AirPort should appear and be manageable (by clicking on it) for a brief period—quickly click on it, click Edit, then clear out any Apple IDs in the 'Back to My Mac' section.

AirPort Extreme Back to My Mac Apple ID listing

Setup a FOSCAM WiFi camera directly connected to a Mac via Ethernet

I have two FOSCAM WiFi IP cameras set up in my house (in addition to an outdoor Arlo I use for security purposes), and generally all three of these cameras give a reliable connection and work without much intervention.

Recently, however, one of the FOSCAM cameras decided to stop connecting to the wireless network. I needed to get access to the camera via the wired interface, but I didn't want to have to bring the camera all the way to where my wired networking drops were located, because it's in a bit of an inconvenient area of the basement in the midst of some cleanup we're doing.

So I plugged the FOSCAM directly into my Mac's USB 3.0 ethernet adapter, and got blinky lights... but couldn't connect to the camera because it's wired connection is configured to use DHCP by default, and there's no Bonjour/zeroconf configuration.

To get around this and directly connect to the camera, I did the following: