reviews

Review: Wosports Trail Camera for Hunting and Wildlife

For the past few years, I've been tweaking a few different camera rigs for wildlife and outdoor photography. I have set up a few different time-lapse rigs using my Raspberry Pis with Pi Cameras, and I've set up my Nikon D750 in a few different ways with its built-in intervalometer, or with a wireless remote.

This is great, but I've always wanted to set up the Pi with an infrared Pi Camera, as well as a motion sensor, so I could capture wildlife at night. I know there are some animals that peruse the seeds in our yard around the bird feeders, but it's well nigh impossible to capture them with my other non-infrared cameras... and they tend to come out when I'm asleep.

Wosports contacted me and asked if I'd like a discount on their 'Trail Camera' to give it a test, and I thought it was a great opportunity to check out the basic/low-end of trail cameras, so I took them up on the offer.

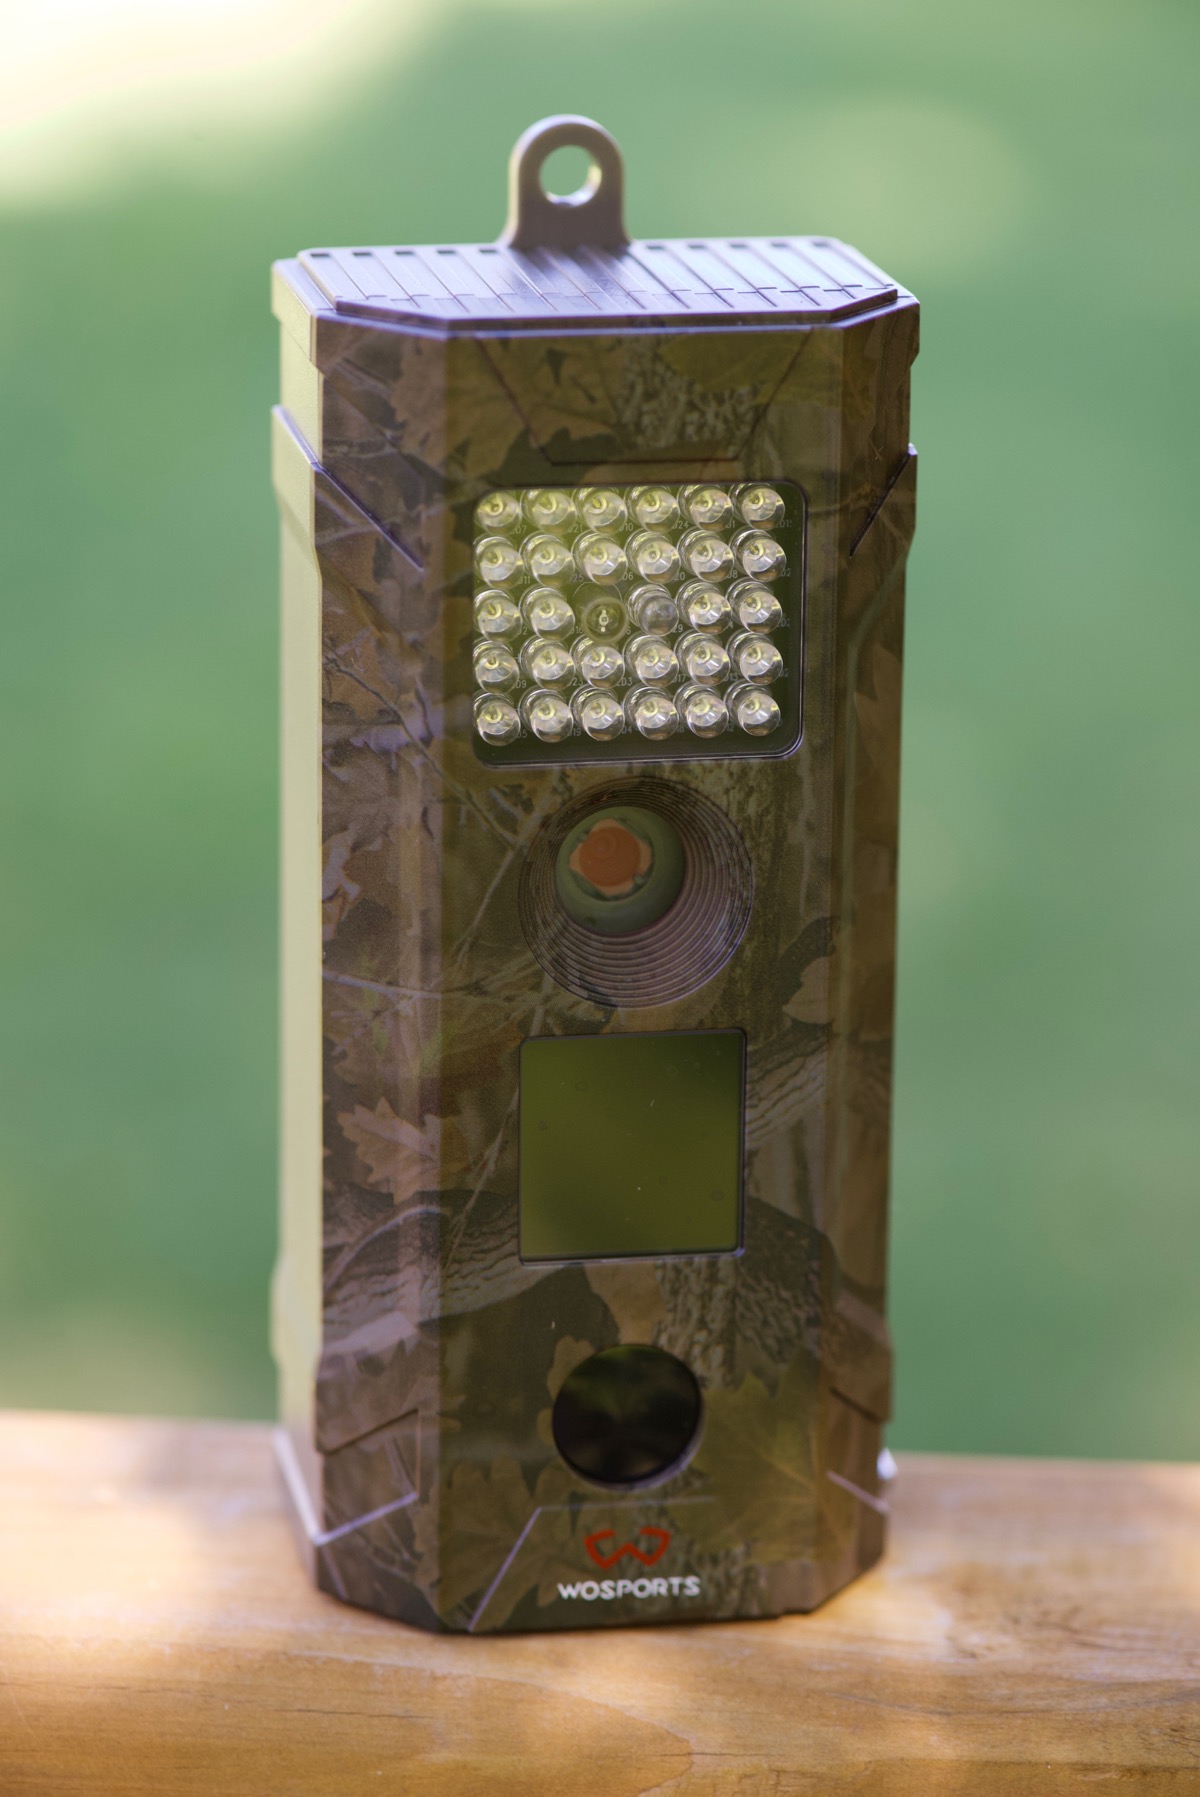
Wosports Trail Camera

Review: Sony 20mm f/2.8 E-mount pancake lens SEL20F28

I've been primarily a Nikon shooter for all my digital SLR life; I started on film with some compact cameras and a Minolta X-700, but switched to Nikon starting with a D40, working my way up through the years to a D750 today. I love Nikon glass, I love the ergonomics, and I am very used to SLR photography and all it entails.

But after witnessing the steady rise in mirrorless camera popularity, I decided to start testing the waters with a Sony a6000. And one of the major benefits (at least in my usage) is that if you choose an APS-C system like the Sony a6xxx series, you can (in theory) have a more compact camera system that performs as well as larger SLR brethren.

In practice, you get what you pay for in terms of weight. The physics of light dictate that fast, good lenses will be pretty much the same size on whatever mount you use, and there are always some 'sweet spots' for compactness vs. performance on any kind of camera lens mount.

Dell XPS 13 (9360) Review from a lifelong Mac user

I've used Macs as my primary computing devices my entire life. And though I continue to use a Mac for my primary workstation for both work and personal projects, my use of computers has evolved in the past few years quite a bit. With more of my stuff moving into the cloud and fewer software applications being exclusively tied to macOS or Windows, it's given me more freedom to do some amount of work from a tablet (currently iPad Air 2), Mac (currently 2015 (work) or 2016 (personal) MacBook Pro), and even my old PC laptop (a Lenovo T420 that I used mostly for testing).

After lugging the T420 with me to an open source conference a couple weeks ago, I decided I'd finally go ahead and acquire a modern, Ultrabook-style Windows laptop, and looking around at options for an open source developer more comfortable in Linux than Windows 10, I narrowed it down to:

The ASUS Tinker Board is a compelling upgrade from a Raspberry Pi 3 B+

I've had a long history playing around with Raspberry Pis and other Single Board Computers (SBCs); from building a cluster of Raspberry Pis to run Drupal, to building a distributed home temperature monitoring system with Raspberry Pis, I've spent a good deal of time testing the limits of an SBC, and also finding ways to use their strengths to my advantage.

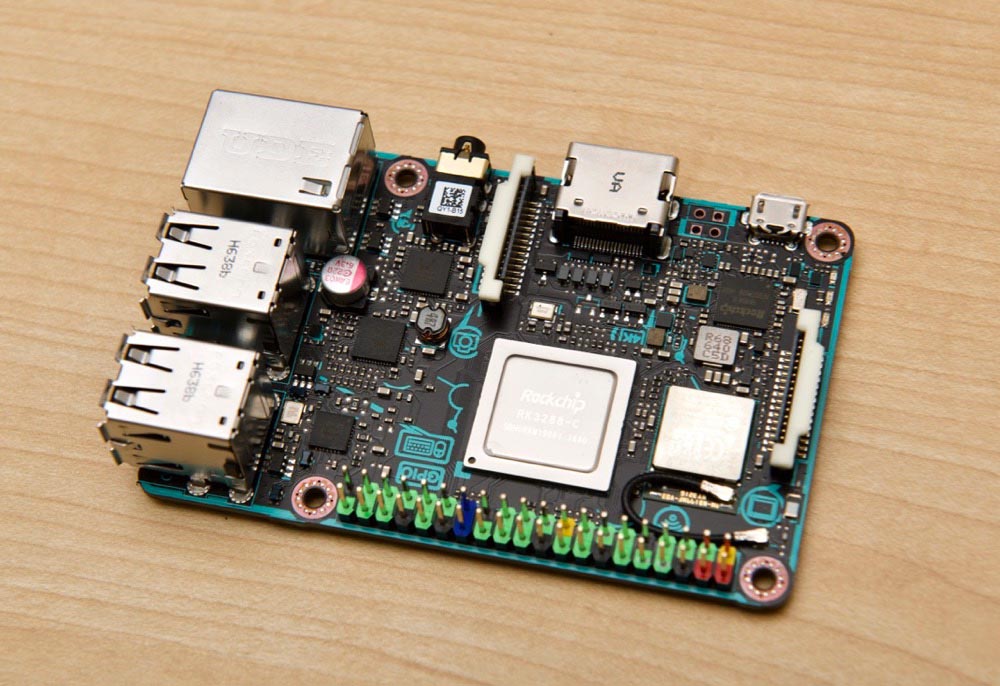
ASUS Tinker Board SBC

Raspberry Pi 3 B+ Review and Performance Comparison

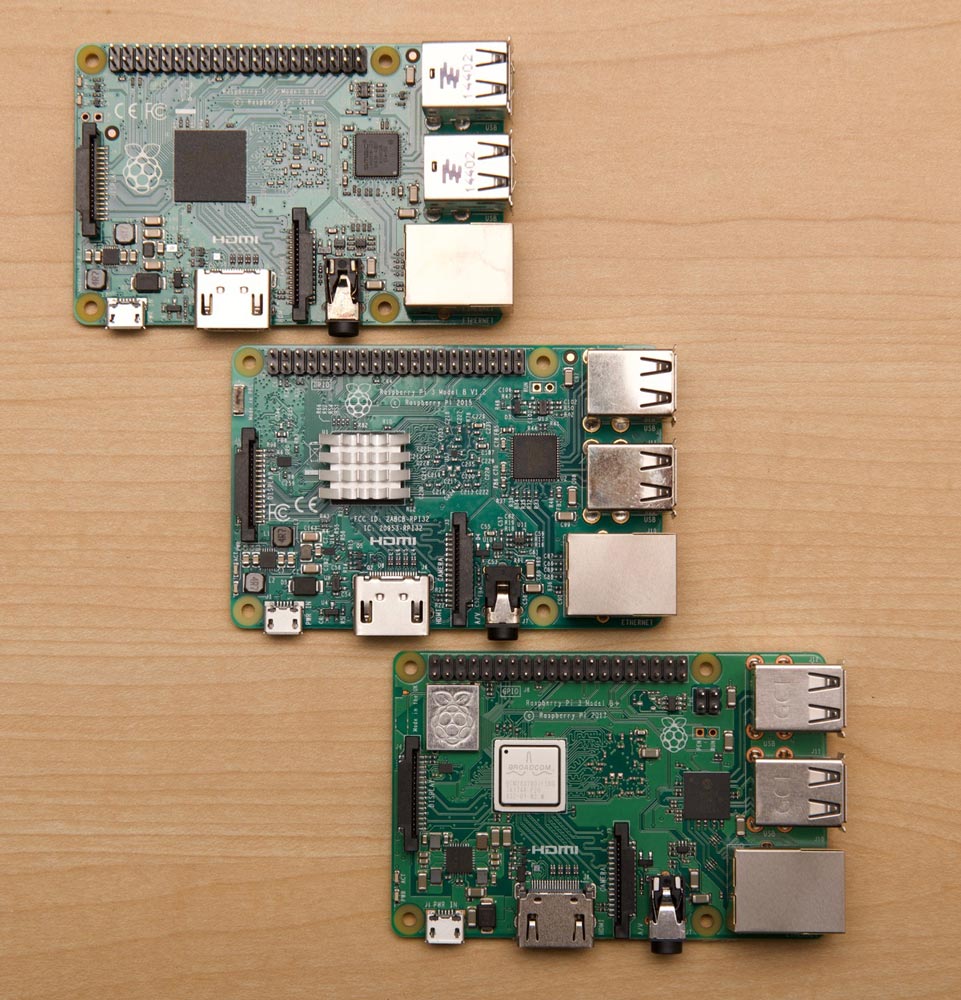
Three generations of Raspberry Pi - model 2 B, model 3 B, model 3 B+
Three generations of multi-core Pi: model 2 B, model 3 B, model 3 B+

Whether it's been a 6-node Raspberry Pi cluster running Drupal 8, or a distributed home temperature monitoring application, I use Raspberry Pis for a wide variety of fun projects. The Raspberry Pi model 3 B+ is the latest iteration of the 'top of the line' Pi, with all the bells and whistles, and it still comes in at just $35. This year's iteration improves the CPU frequency, wired LAN performance, and WiFi performance, among other smaller changes, and I ordered one and have taken it for a spin.

What follows are my benchmarks and impressions after a couple weeks poking and prodding the new model 3 B+.

Review: Arc Hub USB-C Adapter

August 2017 update: I just noticed the tech specs on the Arc Hub product page have changed to read: "Arc Hub comes with 1 x Mini Display Port 1.2. Capable resolutions are all HiDPI resolutions, 1080p@60hz, 2560 x 1440 @ 60hz, 3840×2160@30hz." The tech specs used to mention 4K at 60Hz ?.

I've since switched to a CalDigit TS3 Plus and couldn't be happier!

original tl;dr: A capable hub, with some slight design flaws. However, not yet recommended if you want to use it with a 4K monitor, due to compatibility issues with higher refresh rates.

Review: Innergie PowerJoy 30C USB-C Wall Charger

tl;dr: The Innergie PowerJoy USB-C charger is a solid power adapter for charging via USB-C and USB-A simultaneously. If you have a high-power-draw device like a MacBook Pro, then the adapter may have a little less utility, but if you use a smaller USB-C device and need to charge both it and a USB-A device, then this is one of the most compact and well-built adapters I've used.

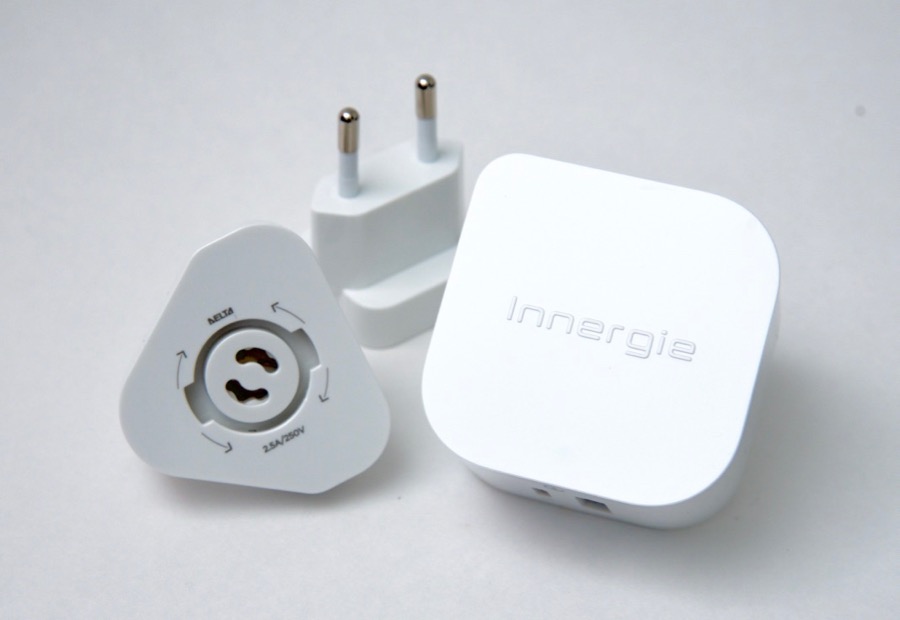
Innergie PowerJoy 30C USB-C wall power adapter

A month ago, I received an email from Innergie asking me if I'd like to review their new USB-C charger they were releasing. I had just returned from a business trip and was slightly regretting only having my MacBook Pro's included USB-C charger, which has one USB-C port. Charging my phone meant plugging my laptop into the AC adapter, then plugging a Lightning cable into my MacBook Pro.

I didn't want to have to bring along a separate USB-A power adapter, but it would've been more convenient, since I could charge the phone separate from the laptop.

Review: CHOETECH USB-C to DisplayPort cable

tl;dr: The cable is well-built and delivers 4K at 60 Hz without issue. And the DisplayPort end even uses the locking mechanism to ensure it's retained better—but it's also a tiny bit longer of a connector than most others, meaning it's not the best fit if your monitor needs to fit in a tight space!

When I upgraded my 2016 MacBook Pro, I decided to also replace my main external display (a 1080p 27" monitor) with a 4K UHD equivalent. Since I work on my computer all day, I find it's important to have as good a display (sharp, good color, etc.) as possible, to prevent eye strain.

4K displays are interesting beasts—there are so many pixels on these displays that even decent older laptops (like my former 2013 MacBook Air) couldn't drive a 4K display in native resolution, even if I had the proper mini DisplayPort cable.

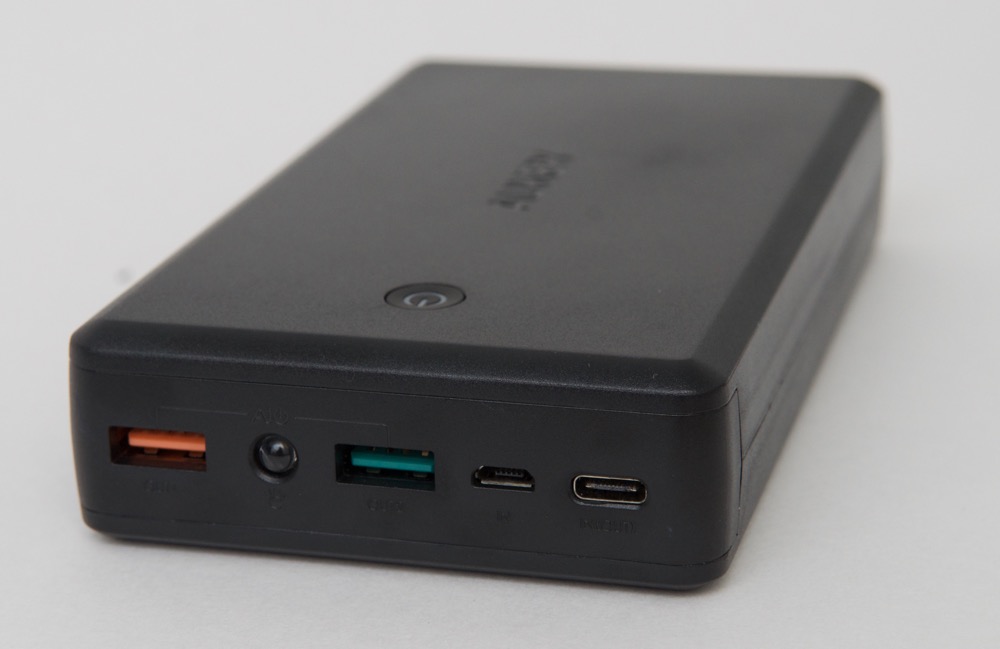
Review: AUKEY 30,000 mAh USB-C Portable Charger (with USB A, USB C, Micro USB)

Jeff's Rating: 3/5

tl;dr: Slightly pricey, could use a better interface for charge status, and holds 20% less than the advertised capacity, but the still-plentiful amount of stored energy and the ability to charge via USB-C or USB-A makes this a versatile and potent power pack for the price.

Ever since the mid 90s, when I was able to lug around 'power bricks' with my then-amazing PowerBook 190 and 180c (hand-me-downs from relatives), I've been hoping for a reasonably-priced power brick that would double my laptop's battery life, affording me the ability to work all day even when I'm doing a ton of crazy things, like building a ton of VMs and Docker images.

AUKEY 30000 mAh Portable Charger

Review: Satechi USB Type-C inline Power Meter (ST-TCPM)

tl;dr: It's a power meter, not a protection circuit. It works well and is worth the money if you need to monitor power consumption, but it's made of plastic and doesn't feel like it can take a beating, so handle with care.

For some time, I've used a PowerJive USB Power Meter to measure the charging rate of various USB power adapters, and even things like how much power a Rasbperry Pi uses under load.