partition

HTGWA: Create a RAID array in Linux with mdadm

This is a simple guide, part of a series I'll call 'How-To Guide Without Ads'. In it, I'm going to document how I create and mount a RAID array in Linux with mdadm.

In the guide, I'll create a RAID 0 array, but other types can be created by specifying the proper --level in the mdadm create command.

Prepare the disks

You should have at least two drives set up and ready to go. And make sure you don't care about anything on them. They're gonna get erased. And make sure you don't care about the integrity of the data you're going to store on the RAID 0 volume. RAID 0 is good for speed... and that's about it. Any drive fails, all your data's gone.

Note: Other guides, like this excellent one on the Unix StackExchange site, have a lot more detail. This is just a quick and dirty guide.

List all the devices on your system:
If you're having trouble formatting a new SSD in a Mac, it could be the cable

tl;dr: If you see weird errors when using or formatting a drive internally on a Mac (especially after upgrading to a newer and/or faster SATA hard drive), it could mean the SATA cable needs to be replaced.

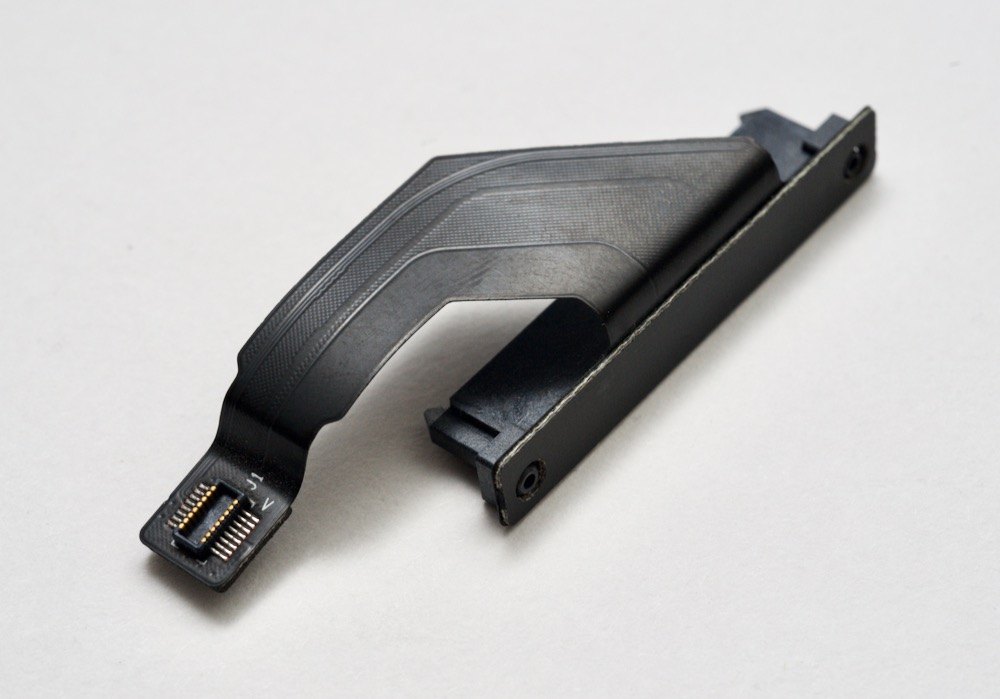
Mac mini mid-2011 lower SATA hard drive cable with connector
Who would've thought such a tiny cable could cause so many problems?

I have an older Mac mini (mid-2011 i5 model), and I use it as a general media server and network backup. It handles Time Machine backups for two other Macs, it has about 20 TB of external storage connected, and I also use it as a 'home base' to store all my Dropbox, iCloud, and Photos content locally, and store an extra Time Machine backup of all that. I'm a little nutty about backups... but I haven't lost a file in two decades and I don't want to start now ;-).

How to upgrade the SSD hard drive in a Dell XPS 13 (9360)

June 6, 2018 Update: I've also posted a video of the SSD replacement process, embedded below:

.embed-container { position: relative; padding-bottom: 56.25%; height: 0; overflow: hidden; max-width: 100%; } .embed-container iframe, .embed-container object, .embed-container embed { position: absolute; top: 0; left: 0; width: 100%; height: 100%; }

I recently purchased a used Dell XPS 13 (model 9360), and I chose to purchase the base option (with 128 GB SSD) since it was cheaper to do that and upgrade the SSD to a larger model (500 GB) aftermarket than to buy a higher model XPS (I bought this model: WD Blue 3D NAND 500GB PC SSD).

Re-partitioning and reinstalling a newer version of Fedora on my laptop

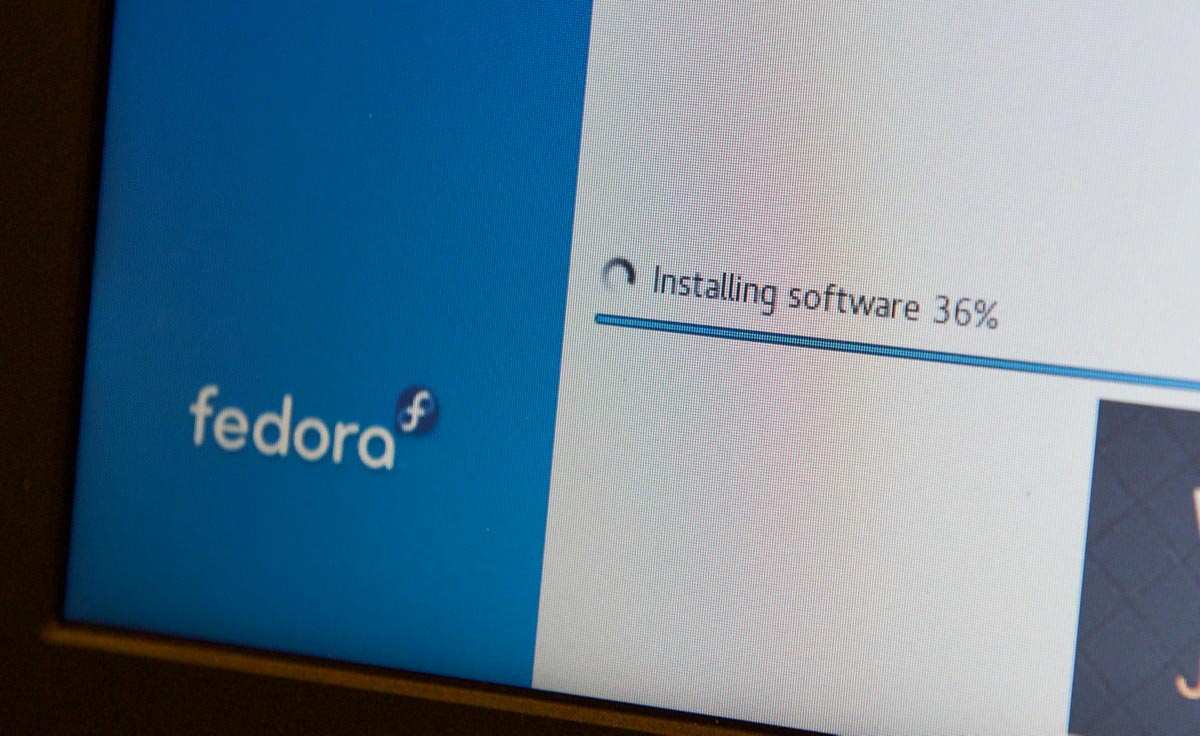
Fedora 26 Installer - Installing software progress bar

I wanted to document this process on my blog, since it's the second time I've had to do it, and it always takes me way longer to figure it out than it should... basically, here's how you can take a laptop with a hard disk that's running an older version of Fedora (in my case, Fedora 23), use the Fedora install media to re-partition the drive, then install a newer version of Fedora (in my case, Fedora 26):

Format the built-in eMMC storage on an Orange Pi Plus

To use the built-in 8GB of eMMC storage on the Orange Pi Plus as a writable volume in Linux, you need to delete the existing partitions (I think mine were formatted as FAT/WIN32), create a new partition, format the partition, then mount it:

  1. Delete the existing partitions:
    1. sudo fdisk /dev/mmcblk1
    2. p to list all partitions, then d and a number to delete all existing partitions, then w to write the changes.
  2. Create a new partition:
    1. sudo fdisk /dev/mmcblk1
    2. n to create a new partition, then use all the defaults, then w to write the changes.
  3. Format the partition: sudo mkfs.ext4 -L "emmc" /dev/mmcblk1p1
  4. Create a mount point: sudo mkdir /emmc
  5. Mount the disk: mount /dev/mmcblk1p1 /emmc