cm4

Uptime Lab's CM4 Blade adds NVMe, TPM 2.0 to Raspberry Pi

A few weeks ago, I received two early copies of Uptime.Lab's CM4 Blade.

Uptime Lab's Raspberry Pi CM4 Blade Computer with NVMe SSD

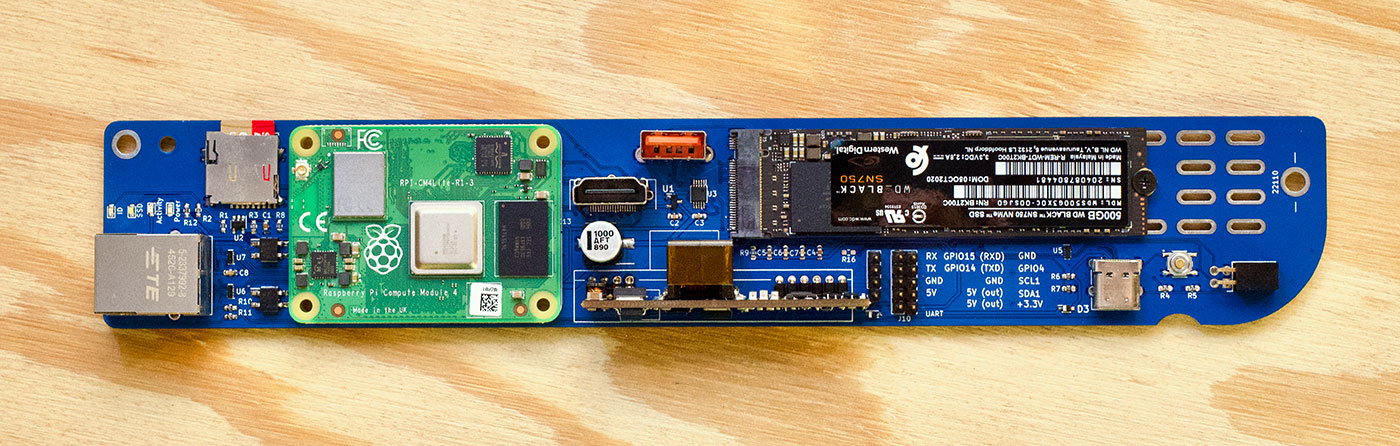
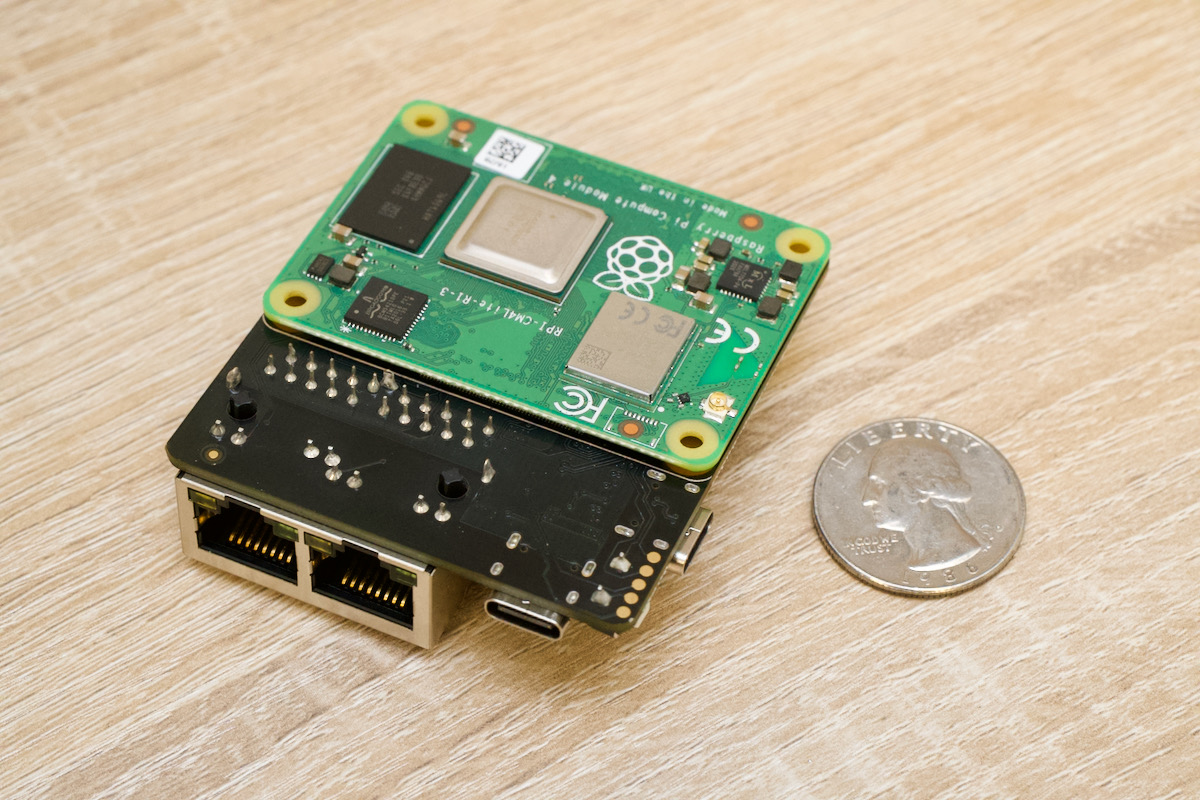
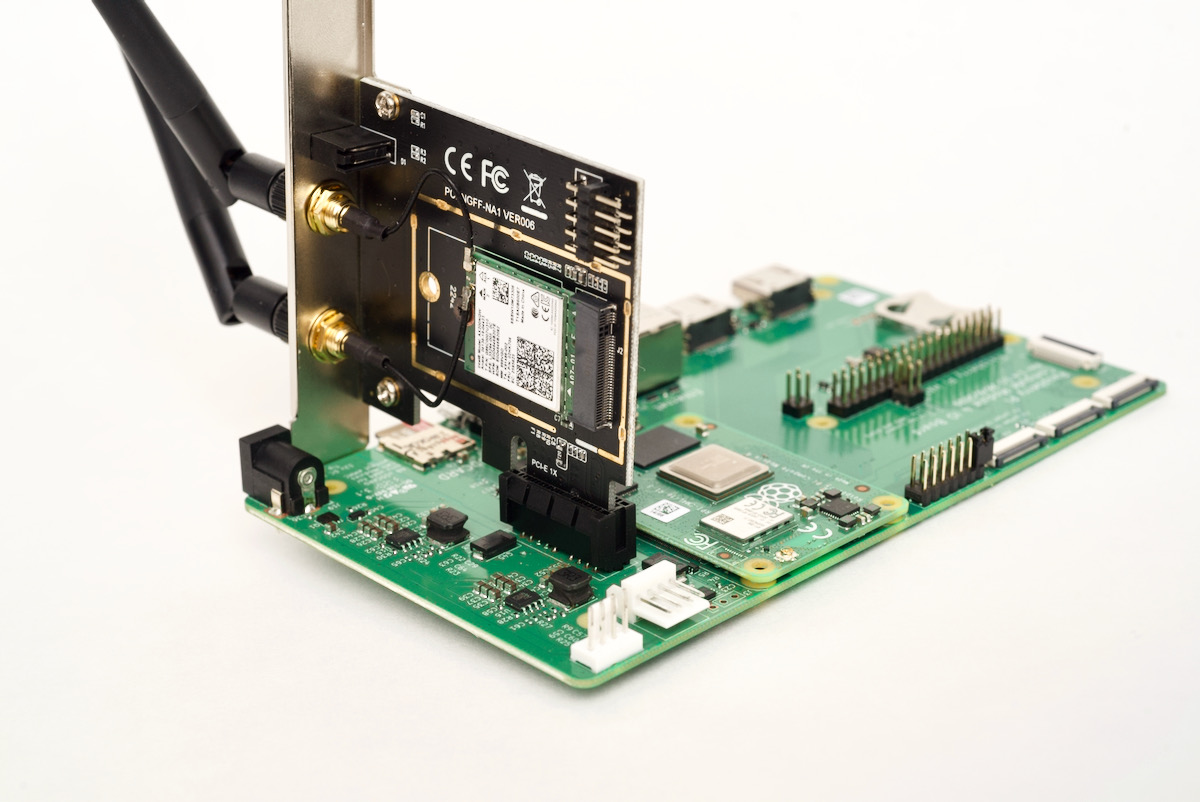
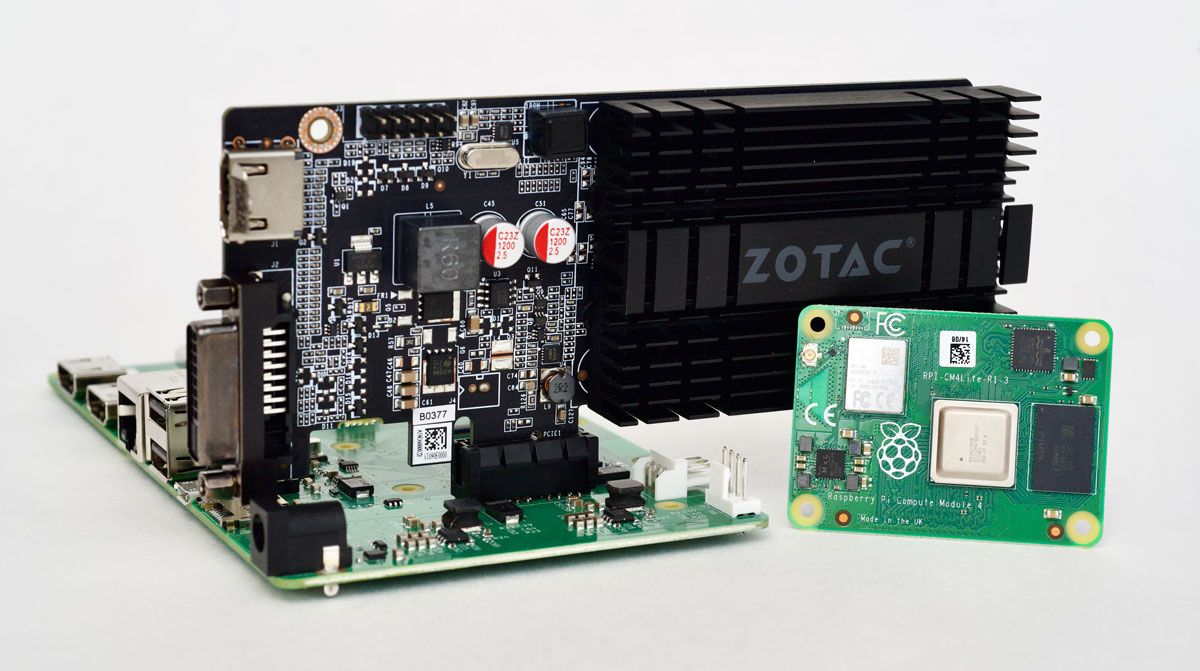
The Blade is built for the Raspberry Pi Compute Module 4, which has the same processor as the Pi 4 and Pi 400, but without any of the built-in IO ports. You plug the CM4 into the Blade, then the Blade breaks out the connections to add some interesting features.

A 1U rackmount enclosure is in the works, and 161 of these boards would deliver:

  • 64 ARM CPU cores
  • up to 128 GB of RAM
  • 16 TB+ of NVMe SSD storage

That's assuming you can find 8 GB Compute Modules—they've been out of stock since launch almost a year ago, and even smaller models are hard to come by. More realistically, with 4 GB models, you could cram in 64 GB of total RAM.

The Wiretrustee SATA Pi Board is a true SATA NAS

In my earlier posts about building a custom Raspberry Pi SATA NAS, and supercharging it with 2.5G networking and OMV, I noted that my builds were experimental only—they were a mess of cables and parts, with a hilariously-oversized 700W PC power supply.

I lamented the fact there was no simple "SATA backplane on a board" for the Raspberry Pi Compute Module 4. But no longer.

Wiretrustee SATA Board for Raspberry Pi OMV NAS

Wiretrustee's SATA Board integrates a SATA controller and data and power for up to four SATA drives with a Raspberry Pi Compute Module 4.

And their entire solution makes for a great little Raspberry Pi-based NAS, using software like OpenMediaVault.

Two Tiny Dual-Gigabit Raspberry Pi CM4 Routers

Since I started testing various PCI Express cards on the Raspberry Pi Compute Module 4, I've been excited to see what new kinds of custom networking devices people would come up with.

Well, after months of delays due to part shortages, both DFRobot and Seeed Studios have come out with their 2-port Gigabit router board designs, and I was happy to receive a sample of each for testing:

DFRobot and Seeed Studios Router Boards with Dual Gigabit Ethernet

The boards are tiny, and even with the Compute Module 4 installed, they are incredibly small—take a look at the entire assembled DFRobot unit, complete with a Raspberry Pi attached:

DFRobot CM4 IoT Router Board with Raspberry Pi CM4 and Quarter

Three more graphics cards on the Raspberry Pi CM4

Last year I tested two older graphics cards—a Radeon 5450 and a GeForce GT710—on a Raspberry Pi Compute Module 4.

Jeff Geerling holds NVidia and ASRock Rack GPU and Raspberry Pi Compute Module 4 with quizzical look

This year, I've been testing three more graphics cards—a GeForce GTX 750 Ti, a Radeon RX 550, and the diminutive ASRock Rack M2_VGA.

The Compute Module 4, if you didn't know already, exposes the BCM2711's single PCI express lane, and the official IO Board has a nice, standard, 1x PCIe slot into which you can plug any PCI express device.

MirkoPC - a full-featured Raspberry Pi desktop computer

The MirkoPC is so far the closest thing to a full-fledged Raspberry Pi desktop computer:

MirkoPC with Raspberry Pi Compute Module 4

Based on the Compute Module 4, it has a full-size M.2 M-key slot, allowing the Pi to boot from reliable and fast NVMe SSD storage, a built-in headphone amp and line out, 4 USB 2.0 ports, gigabit Ethernet, two HDMI ports, and a number of other neat little features.

Video

I also have a video review of this board here:

M.2 on a Raspberry Pi - the TOFU Compute Module 4 Carrier Board

Ever since the Pi 2 model B went to a 4-core processor, disk IO has often been the primary bottleneck for my Pi projects.

You can use microSD cards, which aren't horrible, but... well, nevermind, they're pretty bad as a primary disk. Or you can plug in a USB 3.0 SSD and get decent speed, but you end up with a cabling mess and lose bandwidth and latency to a USB-to-SATA or USB-to-NVMe adapter.

The Pi 4 actually has an x1 PCI Express gen 2.0 lane, but the USB 3.0 controller chip populates that bus on the model B. The Compute Module 4, however doesn't presume anything—it exposes the PCIe lane directly to any card it plugs into.

TOFU board by Oratek - Raspberry Pi Compute Module 4 Carrier with M.2 slot

And in the case of Oratek's TOFU, it's exposed through an M.2 slot, making this board the first one I've used that can accept native NVMe storage, directly under the Pi:

WiFi 6 is not faster than Ethernet on the Raspberry Pi

I didn't know it at the time, but my results testing the EDUP WiFi 6 card (which uses the Intel AX200 chipset) on the Raspberry Pi in December weren't accurate.

It doesn't get 1.34 gigabits of bandwidth with the Raspberry Pi Compute Module 4 like I stated in my December video, WiFi 6 on the Raspberry Pi CM4 makes it Fly!.

I'm very thorough in my benchmarking, and if there's ever a weird anomaly, I try everything I can to prove or disprove the result before sharing it with anyone.

In this case, since I was chomping at the bit to move on to testing a Rosewill 2.5 gigabit Ethernet card, I didn't spend as much time as I should have re-verifying my results.

MZHOU WiFi Bluetooth M.2 NGFF Adapter Card for PCIe Raspberry Pi Compute Module 4 AX200 Intel 6

How to flash Raspberry Pi OS onto the Compute Module 4 eMMC with usbboot

The Raspberry Pi Compute Module 4 comes in two main flavors: one with built-in eMMC storage, and one without it. If you opt for a Compute Module 4 with built-in eMMC storage, and you want to write a new OS image to the Compute Module, or manually edit files on the boot volume, you can do that just the same as you would a microSD card—but you need to first make the eMMC storage mountable on another computer.

This blog post shows how to mount the eMMC storage on another computer (in my case a Mac, but the process is very similar on Linux), and then how to flash a new OS image to it.

Video Instructions

In addition to the tutorial below, I published a video version of this post covering installation and usage of rpiboot for flashing the eMMC on Windows, Ubuntu, Raspberry Pi OS, or macOS:

External GPUs and the Raspberry Pi Compute Module 4

The Raspberry Pi Compute Module 4 eschews a built-in USB 3.0 controller and exposes a 1x PCI Express lane.

The slightly older Raspberry Pi 4 model B could be hacked to get access to the PCIe lane (sacrificing the VL805 USB 3.0 controller chip in the process), but it was a bit of a delicate operation and only a few daring souls tried it.

Raspberry Pi Compute Module 4 with Zotac Nvidia GeForce GT 710 GPU

Watch this video for more detail about my experience using these GPUs on the CM4:
GPUs on a Raspberry Pi Compute Module 4!

Overclocking the Raspberry Pi Compute Module 4

People have been overclocking Raspberry Pis since the beginning of time, and the Raspberry Pi 4 is no exception.

I wanted to see if the Compute Module 4 (see my full review here) could handle overclocking the same way, and how fast I could get mine to run without crashing.

There's a video version of this blog post, if you'd like to watch that instead:
Raspberry Pi Compute Module 4 OVERCLOCKED.