zero

Look inside the Raspberry Pi Zero 2 W and the RP3A0-AU

Today, Raspberry Pi released their new Zero 2 W, and it includes a new Raspberry Pi-branded chip, labeled RP3A0-AU.

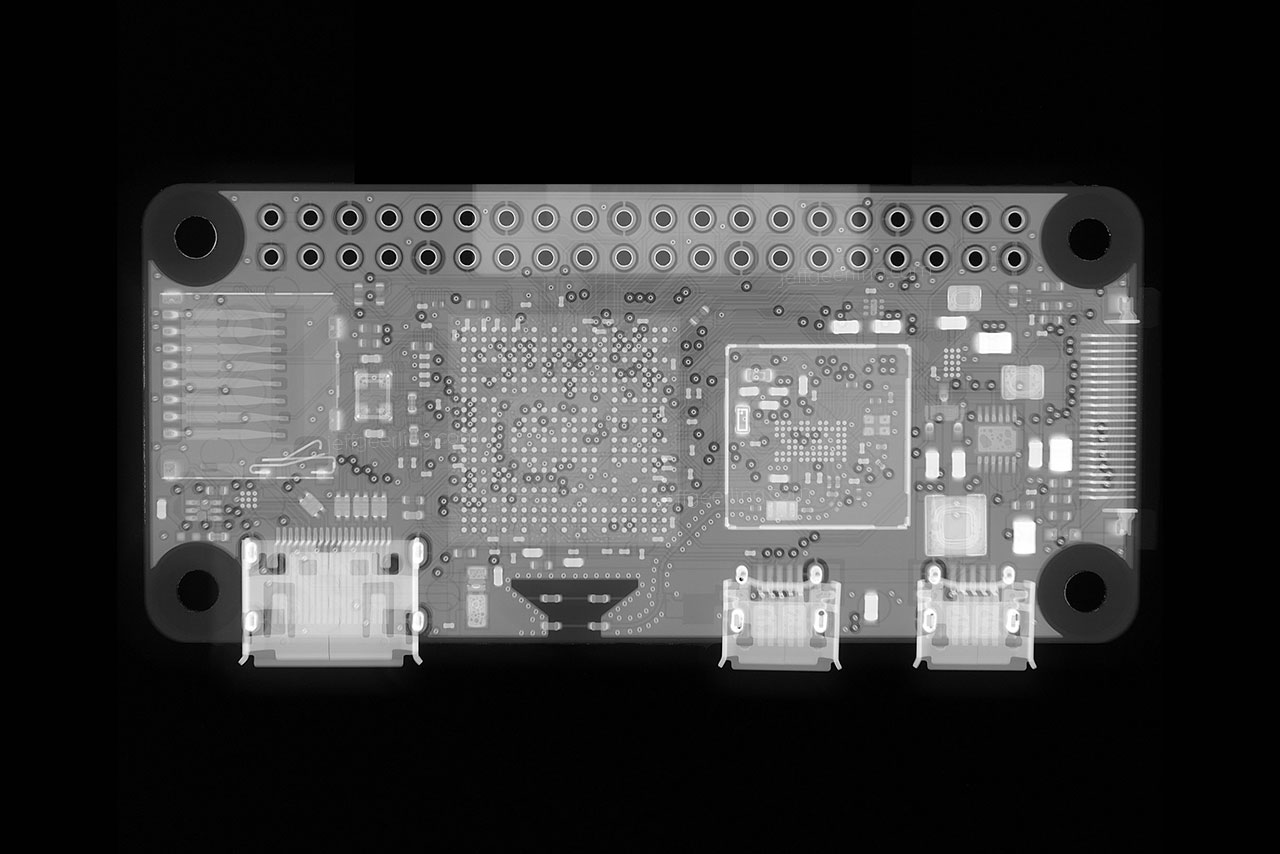
I was able to get early access to the Zero 2, and I have a full review of the device on my YouTube channel, but I wanted to share more of the X-ray images I took of the device to reveal its inner workings, and because I just think they look cool. Also, I paid a bit of money to get these pictures, so might as well share!

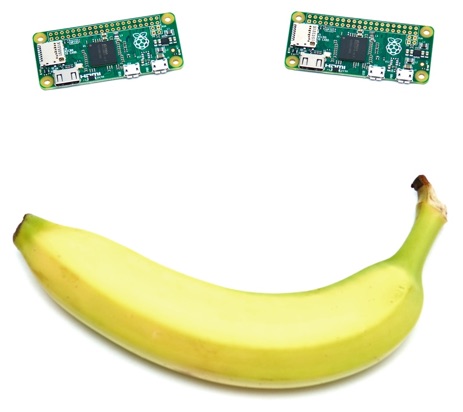
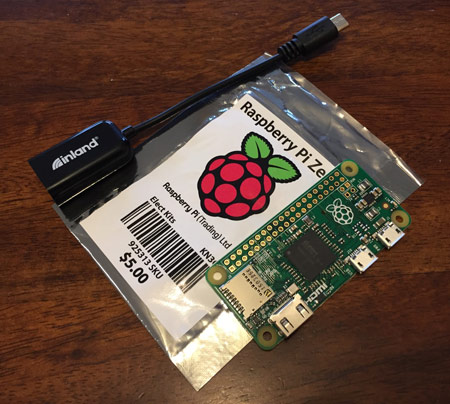
First, here's what the Zero 2 W looks like in person:

Raspberry Pi Zero 2 W

And here's what it looks like via X-ray:

Raspberry Pi Zero 2 W - X-ray vision

Drupal VM - DrupalEasy Podcast and DrupalCon NOLA BoF

As Drupal VM has passed 500 stars on GitHub, and is becoming a fairly mature environment for local development environment—especially for teams of Drupal developers who want to maintain consistency and flexibility when developing many sites, I've been working to get more stable releases, better documentation, and a more focused feature set.

Also, in the past few months, as interest has surged, I've even had the opportunity to talk about all things Drupal VM on the DrupalEasy podcast! Check out DrupalEasy Podcast 172 - The Coup (Jeff Geerling - Drupal VM), which was just posted a few days ago.

And to keep the conversation flowing, I'm going to be moderating a BoF on Drupal VM at DrupalCon New Orleans, Drupal VM and local Drupal development for teams.

Raspberry Pi Zero - Power Consumption Comparison

tl;dr: The Raspberry Pi Zero uses about the same amount of power as the A+, and at least 50% less power than any other Pi (B+, 2 B, 3 B).

On November 26, the Raspberry Pi foundation announced the Raspberry Pi Zero, a $5 USD computer that shares the same architecture as the original Raspberry Pi and A+/B+ models, with a slightly faster processor clock (1 Ghz), 512 MB of RAM, and sans many of the essential ports and connectors required for using the Pi as an out-of-the-box computer.

Raspberry Pi Zero - new with adapter cable
The Raspberry Pi Zero - quite a small Linux computer!

Controlling PWR and ACT LEDs on the Raspberry Pi

All Raspberry Pi models have a few built-in LEDs; the earlier models had PWR, ACT, and networking status LEDs all lined up on the board itself; for the B+ and model 2 B, the networking LEDs moved onto the network jack itself, leaving just two LEDs; PWR (a red LED) and ACT (a green LED).

Normally, whenever the Pi is powered on—except if the power supply dips below something like 4.5VDC—the red PWR LED remains lit no matter what. If you wanted to 'disable' the LED, you'd have to put a piece of tape or something else over the LED, or get out a soldering iron and modify the hardware a bit.

Raspberry Pi model 2 B, B+ and A+ (and beyond)

Luckily, with the Pi 2 model B, B+, A+, and Zero, you can control the LEDs in software, in a few different ways. The simplest way to change the way these LEDs work is to modify the trigger for each LED by setting it in /sys/class/leds/led[LED_ID]/trigger, where you replace [LED_ID] with 0 for the green ACT LED, and 1 for the red PWR LED.

For example: