youtube

Learning about ZFS and efficiency on my new Arm64 NAS

HL15 with Ampere Altra and ASRock Rack motherboard - NAS fully built

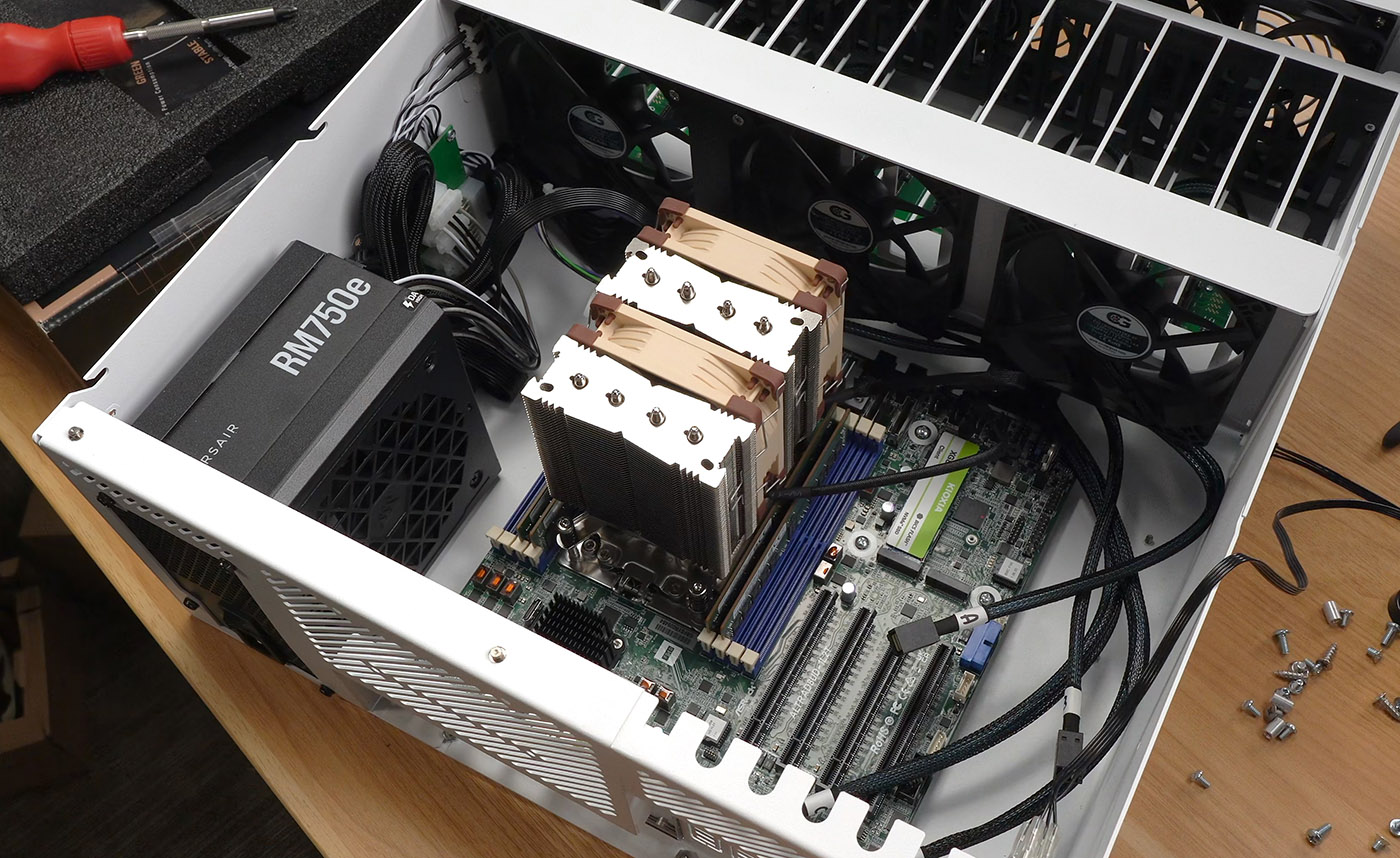
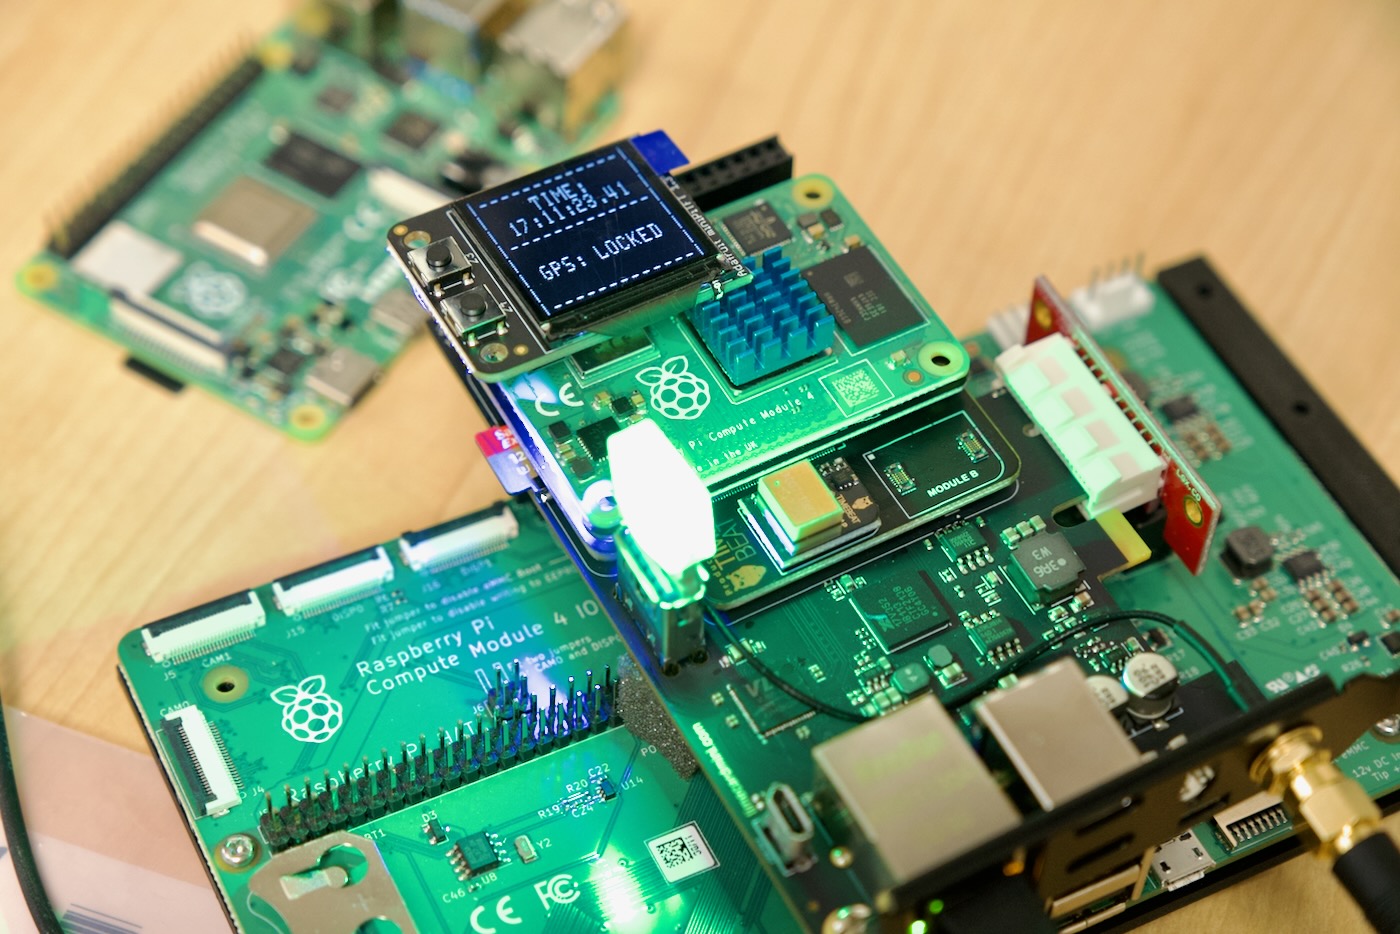
I've been building out a new Arm-based NAS using ASRock Rack's new 'Deep Micro ATX' motherboard for Ampere Altra and Altra Max CPUs.

I posted about the hardware earlier, in Building an efficient server-grade Arm NAS. Go check that out if you want details on the specific hardware in this setup.

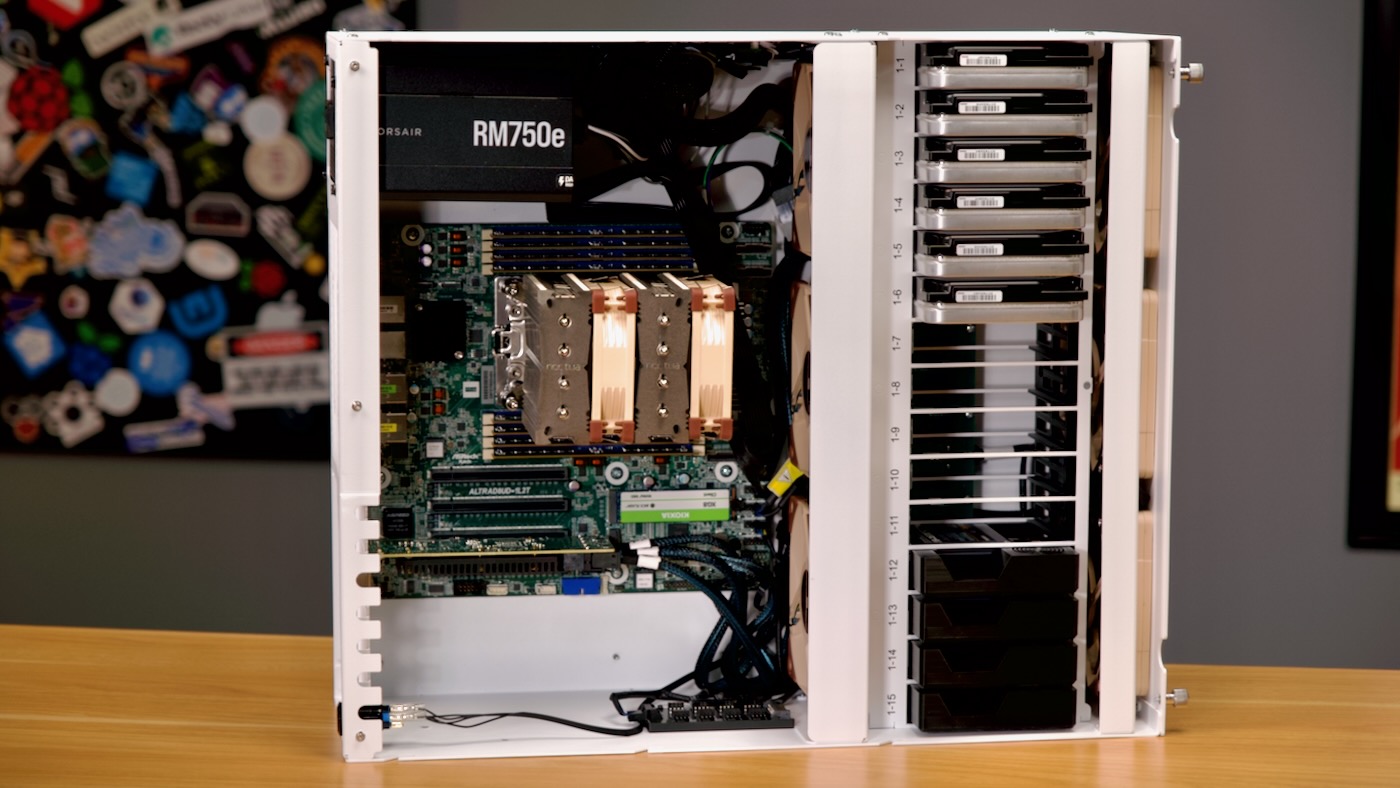
But at the end of the build, I installed Rocky Linux, and found the power consumption to be a bit higher than expected—over 150W at idle!

As it turns out, the NAS must've been doing something when I took that initial measurement, because after monitoring it for a few more days, the normal idle power usage was around 123W instead.

Photographing the 2024 Total Solar Eclipse

On April 8, there will be a Total Solar Eclipse covering an large swath of the US, offering hundreds of millions of people the opportunity to witness one of the most spectacular displays of our sun.

Jeff Geerling Photographing the Total Solar Eclipse

I wrote two blog posts about the recent 2017 eclipse, as well—check those out:

For this year, I was considering going all-in on a custom Raspberry-Pi-based solar tracking system, recording video and images... but Will Whang already built a custom solar imaging setup that would put anything I build to shame.

SimpliSafe Video Doorbell: Halt and Catch Fire

SimpliSafe Video Doorbell Pro burnt wires

This SimpliSafe doorbell burned up less than a week after I installed it. I never would've thought a doorbell would be the most dangerous thing I set up at my studio!

I learned a LOT about powering 'smart' doorbells, and talked directly to SimpliSafe about it. They did sent a replacement, but it has it's own problems.

I'm still happy with SimpliSafe overall, but I don't like how I've spent about 8 hours troubleshooting a 'smart' doorbell. The only thing that's been 100% reliable on this thing is the basic ding dong I could've gotten with a five dollar dumb doorbell!

This blog post is based off my latest moving vlog, episode 12, where I talk about my SimpliSafe doorbell problems, the new 10G and 25G networking gear I'm testing, and a new 'retro corner' in my office. Check it out below:

When did Raspberry Pi get so expensive?

Raspberry Pi 5 and N100 GMKtec Nucbox G3

I just bought this N100-based Intel x86 mini PC (brand new), and it was cheaper than an almost equivalent—but slower—Raspberry Pi 5.

This GMKtec mini PC is called the Nucbox G3, and it comes with an Intel Alder Lake N100 4-core CPU, 8GB of RAM, a 256 GB M.2 NVMe SSD, and Windows 11 Pro—and mine cost just $131, after a couple coupons.

That's... a lot of computer for a very good price. But the Raspberry Pi—the famous "$35 computer", should be well below that... right?

Well, I bought all the parts required to build a Pi 5 to the same spec—including the adapters and parts to assemble it into one small unit—and it turns out... the Pi is more expensive. And slower.

The Pi 4 still starts at $35 (for a 1 GB model), but the Pi 5 starts at $60 (for 4 GB) and climbs to $80 for the maximum 8 GB model.

MNT Reform - a hackable laptop, not for everyone

MNT Reform bottom with purple battery cells

The MNT Reform's design, the components, everything—is open source. If iFixIt did a teardown, they'd probably give it an 11 out of 10.

You can replace individual battery cells! Some people with these laptops hacked in their own speakers, added more internal Ethernet, or even swapped out the CPU itself.

Does that mean I think you should buy it? No, probably not. It's expensive (starting at €1199), and it's built for a certain type of person. It's not gonna replace a MacBook or a cheap Chromebook.

But why does this exist, and why am I excited about it?

Disclaimer: The reform used in this review was sent to me for testing; it's already been shipped back to MNT Research. They haven't paid me anything, and they have no input into the content of this blog post.

Minivans are better than trucks

...at least if you have a family, and need to transport datacenter racks.

Consider this:

  • You can fit full 4' x 8' plywood sheets in the back (assuming you fold down/remove the seats)
  • You can fit up to 12' long dimensional lumber (1x2, 2x4, etc.) inside (passing it through the gap between front seats)
  • You can seat 7 or even 8 people inside, somewhat comfortably, with at least 2-3 cupholders per person (still preserving 20-30 ft3 ((0.8m3) of storage space in the back!)
  • You can fit a full 42" deep 42U datacenter rack in the back, with space left over for one or two 2U 1500VA UPSes

Datacenter Rack in the Back Minivan Toyota Sienna

From: Look at my HUGE RACK! (moving vlog 11).

All that, and all 140ft3 (4.2m3) of interior storage is fully enclosed and climate-controlled.

A Pigeon is still faster than the Internet

Jeff Geerling holding a homing pigeon

In 2009, a company in South Africa proved a homing pigeon was faster than an ADSL connection, flying a 4 GB USB flash drive to prove it.

Besides IEEE's speculative work, nobody's actually re-run the 'bird vs. Internet' race in over a decade.

Now that I have gigabit fiber, I thought I'd give it a try.

Video

I published a video with all the details—and even more background on the graceful birds used in the experiment—over on my YouTube channel:

Soundproofing my studio: what's in a wall?

Jeff with resilient channel

Soundproofing is... kind of an art. It's not as simple as buying something and slapping on your walls. And the word 'soundproofing' is a bit of a loaded term.

You could mean deadening sound, so you can record podcasts with that signature radio sound. Or you could mean isolating a room from outside noise, which is an entirely different process. Or you could work on reducing resonance, echo, or just certain frequencies.

In my case, I wanted to build kind of a 'sound cocoon' in the middle of this space, so I could record any time, day or night, even if my AC is running.

Time Card mini adds Pi, GPS, and OCXO to your PC

For LTX 2023, I built this:

CM4 Timecard mini GPS locked

This build centers around the Time Card mini. Typically you'd install this PCI Express card inside another computer, but in my case, I just wanted to power the board in a semi-portable way, and so I plugged it into a CM4 IO Board.

The Time Card mini is a PCIe-based carrier board for the Raspberry Pi Compute Module 4, and by itself, it allows you to install a CM4 into a PC, and access the CM4's serial console via PCIe.

But the real power comes in 'sandwich' boards: