Running the LAMP Stack in a Lamp Rack

I typically don't do anything for April Fool's Day, but this year I thought I'd unite a bit of a meme in the homelab community with something I wanted to make a video on anyway: a lamp rack.
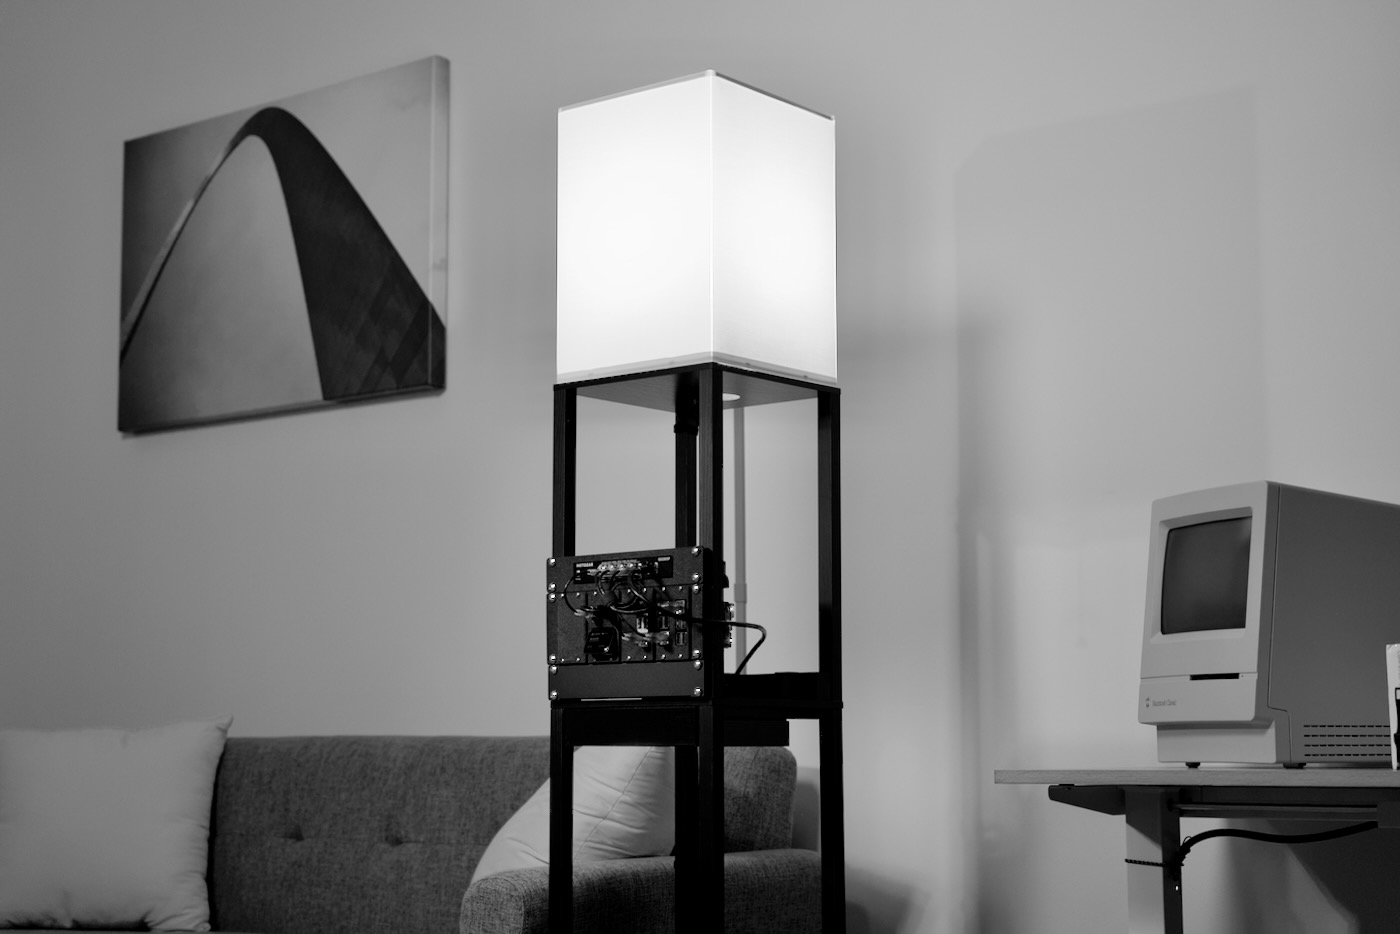
What's a lamp rack? Well, you're looking at one! It's a floor lamp with an integrated mini rack!
I didn't want to make a video about a floor lamp, but more on the fact you don't need fancy racks or any new hardware at all to start a homelab.
If you have an old laptop, throw Proxmox on it, start tinkering, and boom! There's a homelab! And if you buy the same Sunmory Floor Lamp that I did, you could set the laptop on one of the shelves, plug it in, and consolidate your lamp and your homelab, for the most effective use of a tight space!
But I went a little extra. I installed 4U of rack rails for an almost-perfect mini-rack in the same tier as the built-in PDU (well... the Sunmory has hot glued ungrounded power outlets, but technically it's still a PDU!), placed a UPS on the bottom, and had the lamborghini of lamp racks.
Then, I did the only logical thing: I installed the LAMP stack in my Lamp Rack.
I also made a full video on the rack, you can view it below:
But I'll go through a few more details here, in case you're crazy enough to replicate my build.
The LAMP Cluster - Hardware

To mount everything, I bought a $14 set of 4U rack ears, and screwed them into the pillars of the top shelf of the lamp, facing each other.
Then, I put in a 1U blanking panel on the bottom (for future expansion possibilities!), a 2U LabStack mini cluster (I'll get to the contents next), and a Netgear GS305P PoE+ Switch.
I printed a 2U LabStack mini 4-module bracket and installed four modules, from left to right:

Each of the three Raspberry Pi 5s has a HackerGadgets PoE+ NVMe HAT, with 2242-sized NVMe SSDs installed running Pi OS.
These are currently the most compact and robust HATs that combine PoE and an M.2 NVMe slot, and they just barely fit within the LabStack mini system if you stack two on top of each other. I could go more dense, cramming in eight Pi 5s this way, but (a) I don't have that many Pi 5s, and (b) I only have a 5-port network switch to use for this build!
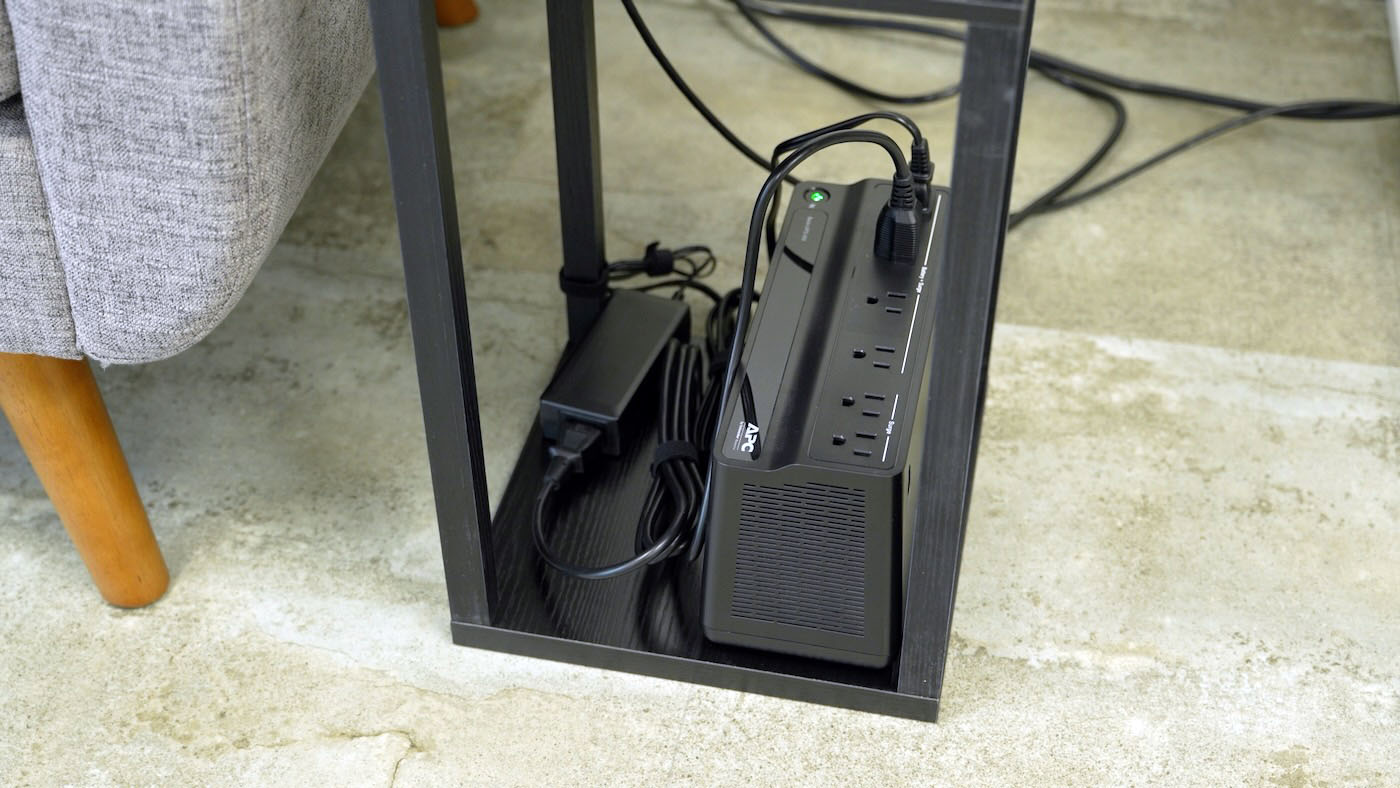
Powering the whole setup, I installed an APC 425VA Battery Backup in the base of the floor lamp, both to provide stability, and to provide a much nicer power source than the hot-glued-together mess that is the included AC/USB power strip!
The LAMP Cluster - Software
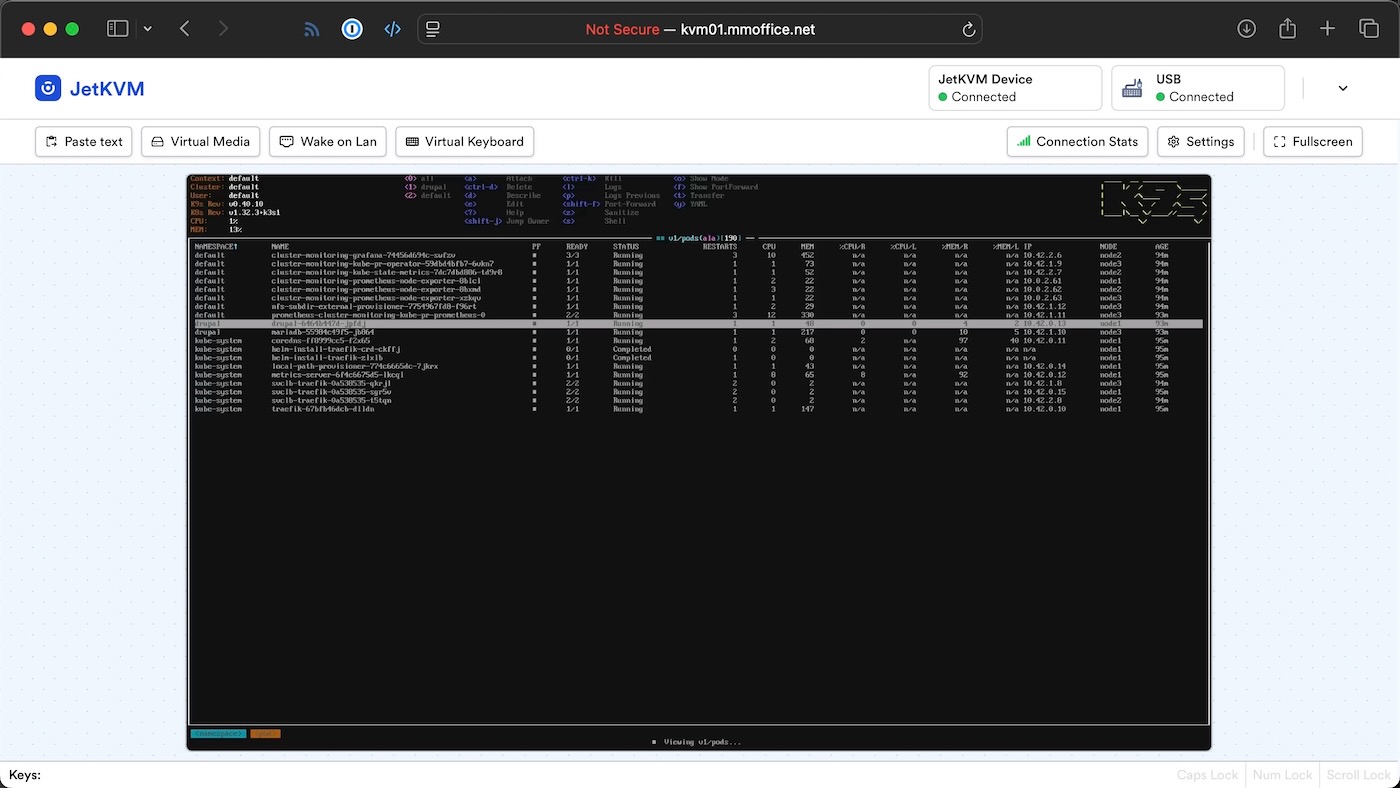
For software, I ran my Raspberry Pi Cluster playbook, which uses Ansible to configure all the nodes into a K3s Kubernetes cluster.
That playbook also installs Drupal, and I installed the K9s CLI on the main Pi so I could inspect all the running resources (see above picture).
I'm not running through the entire setup process here, because I've done similar setups in the past, and I'd rather you go into the deeper dives I've posted before:
- Kubernetes 101 - a free series on Kubernetes
- Ansible for DevOps - a book on Ansible (I also published Ansible 101 in 2020).
Conclusion

My main goal was to make a fun custom mini rack build in a literal lamp, after @gwzcomps jokingly suggested it on Twitter.
But through the process of building it, I realized how easy it is to turn many everyday objects into homelab artifacts. And in this case, despite the wobbly construction and inadequate PSU, it turns out bringing your homelab into your living space has never been easier.
Comments