Raspberry Pi Cluster Episode 4 - Minecraft, Pi-hole, Grafana and More!
This is the fourth video in a series discussing cluster computing with the Raspberry Pi, and I'm posting the video + transcript to my blog so you can follow along even if you don't enjoy sitting through a video :)
In the last episode, I showed you how to install Kubernetes on the Turing Pi cluster, running on seven Raspberry Pi Compute Modules.
In this episode, I'm going to show you some of the things you can do with the cluster.
A brief introduction to managing Kubernetes
In the last episode I explained in a very basic way how Kubernetes works. It runs applications on your servers. To help manage Kubernetes, there is a handy little tool called kubectl (sometimes I call it cube control, but if we go down that road I have to start talking about why it's called a 'gif' and not a 'jiff', and why spaces are better than tabs, or vim is better than emacs, and I don't want to go there!).

I won't go into a deep dive on managing Kubernetes in this series, because that could be its own series, but, I will be using kubectl a lot, to deploy apps to the cluster, to check on their status, and to make changes.
Pi-Particular Pitfalls
And just as a warning, there may be a few parts of this blog post that are a little over your head. That's okay, that's kind of how it is working with Kubernetes. The only way to learn is to build test clusters, make them fail in new and unexpected ways, then start over again!
I like to think of it like every second you're working right at the edge of your understanding. When it works, it's magic, when it doesn't... well, good luck!
No, I'm just kidding—I'll try to help you understand the basics, and once you start building your own cluster, hopefully you can start to understand how it all works.
One of the most frustrating things you run into if you're trying to do things with Raspberry Pis (or most any single board computer like the Pi) is the fact that many applications and container images aren't built for the Pi.
So you end up in a cycle like this:
- You think of some brilliant way you could use the Pi cluster.
- You search for "How to do [brilliant thing X] in Kubernetes or K3s"
- You find a repository or blog post with the exact thing you're trying to do.
- You deploy the thing to your Pi cluster.
- It doesn't start.
- You check on the status, and Kubernetes says it's stuck in a
CrashLoopBackOff - You check the logs, and you see:
exec user process caused "exec format error"
This happens more often than I'd like to admit. You see, the problem is, most container images like the ones you see on Docker Hub or Quay are built for typical 'X86' computers, like for the Intel or AMD processor you're probably using on your computer right now. Most are not also built for 'ARM' computers, like the Raspberry Pi.
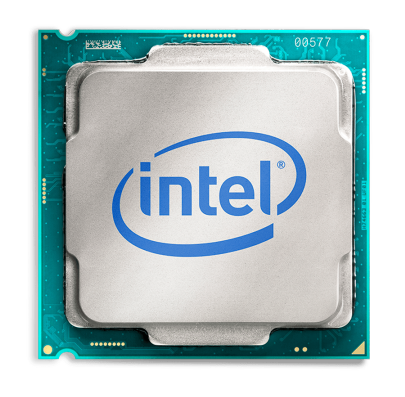
And even if they are, there are many different 'flavors' of ARM, and maybe it's built for 64-bit ARM but not for 32-bit ARM that you might be running if you're not on the 64-bit version of Raspberry Pi OS!
It can be complicated. Sometimes if you really want to do something and can't find a pre-built image that does what you want, you'll have to build your own container images. It's not usually too difficult, but especially when your quickly testing a new idea, where other people may have already done the work for you, but you can't use it because it's not compatible, it can be a bit frustrating.
To illustrate: let's look at one of the simplest 'Hello world' examples from Kubernetes' own documentation: Hello Minikube.
If I create the hello-node deployment with kubectl create deployment hello-node --image=k8s.gcr.io/echoserver:1.4, then check on its status using kubectl get pods, after a couple minutes I'll see the pod in CrashLoopBackOff state.
And if I check the pod's logs with kubectl logs I get—you guessed it—exec format error.
The Venn Diagram
And not to be discouraging, but sometimes when you want to solve a problem with Kubernetes, on a cluster of Raspberry Pis, you're kind of inflicting pain on yourself—imagine this scenario:
You want to run a minecraft server on your cluster. Now think about all the other people in the world who run Minecraft servers. How many of these people not only run a Minecraft server, but run it in a Docker container... in a Kubernetes cluster... on a Raspberry Pi, which might be running a 32-bit operating system!?

The amount of people who are doing the same thing you're trying to do is usually pretty small, so like an early explorer, you may have to do some extra work to get things working! Google is your friend here, because often there are one or two other people who are doing the exact same thing, and finding their work can help you a lot.
Running some Applications
Now I'll show you what I deployed to my Turing Pi cluster and how I did it.
Prometheus, Grafana, and AlertManager
The first thing I like to do with my Kubernetes cluster is make sure I have something monitoring the cluster. The most common tools used for this purpose are Prometheus and Grafana.
I initially tried to run the kube-prometheus project that's maintained by the CoreOS organization on GitHub, but after I followed the Quickstart guide, I ended up getting the dreaded:
exec user process caused "exec format error"
I opened an issue on GitHub for that problem, because I believe the project should work on 32-bit ARM OSes, but apparently the kube-rbac-proxy image currently isn't. So then I started changing configurations to try to get it working on my cluster, but while I was doing that, I found an awesome project by Carlos Eduardo that already had done everything I wanted to do, but better!
So I downloaded Carlos' cluster-monitoring project to the Pi and deployed it instead:
- Log into the master Pi:
ssh pirate@turing-master - Switch to the root user:
sudo su - Install prerequisite tools:
apt-get update && apt-get install -y build-essential golang - Clone the project:
git clone https://github.com/carlosedp/cluster-monitoring.git - Edit the
vars.jsonnetfile, tweaking the IP addresses to servers in your cluster, and enabling thek3soption andarmExporter. - Run
make vendor && make(this takes a while) - Run the final commands in the Quickstart for K3s guide to
kubectl applymanifests, and wait for everything to roll out.
Once everything has started successfully, you should be able to access Prometheus, Alertmanager, and Grafana at the URLs you can retrieve via:
kubectl get ingress -n monitoring
The Cluster Monitoring project includes a really nice custom dashboard for Pi-based clusters that even shows the CPU temperature and alerts you if the Raspberry Pis are too hot and could be throttled!

Drupal
Now, monitoring the cluster is great, but if you're not running anything on the cluster, what use is monitoring?
I'm pretty familiar with Drupal, since it was one of the first open source projects I started working with, when I built my first major website over a decade ago.
It's a pretty flexible Content Management System, and is great for building big websites. It can run on Kubernetes, but is a little heavyweight, so let's see if we can get it to run on our Compute Module nodes with 1 GB of RAM each.
I have a barebones Drupal in Kubernetes K3s on Raspberry Pi configuration, which uses a couple 'Kubernetes manifest' files.
Manifests describe one or more Kubernetes resources that help you run an application.
In this case, I downloaded both the drupal.yml and mariadb.yml files to my Turing Pi, in a drupal folder, then I ran:
kubectl create namespace drupal
And then applied the contents of the manifest to my cluster:
kubectl apply -f drupal.yml
kubectl apply -f mariadb.yml
And then ran watch kubectl get pods -n drupal to watch as the Pods for Drupal and MariaDB were started up.
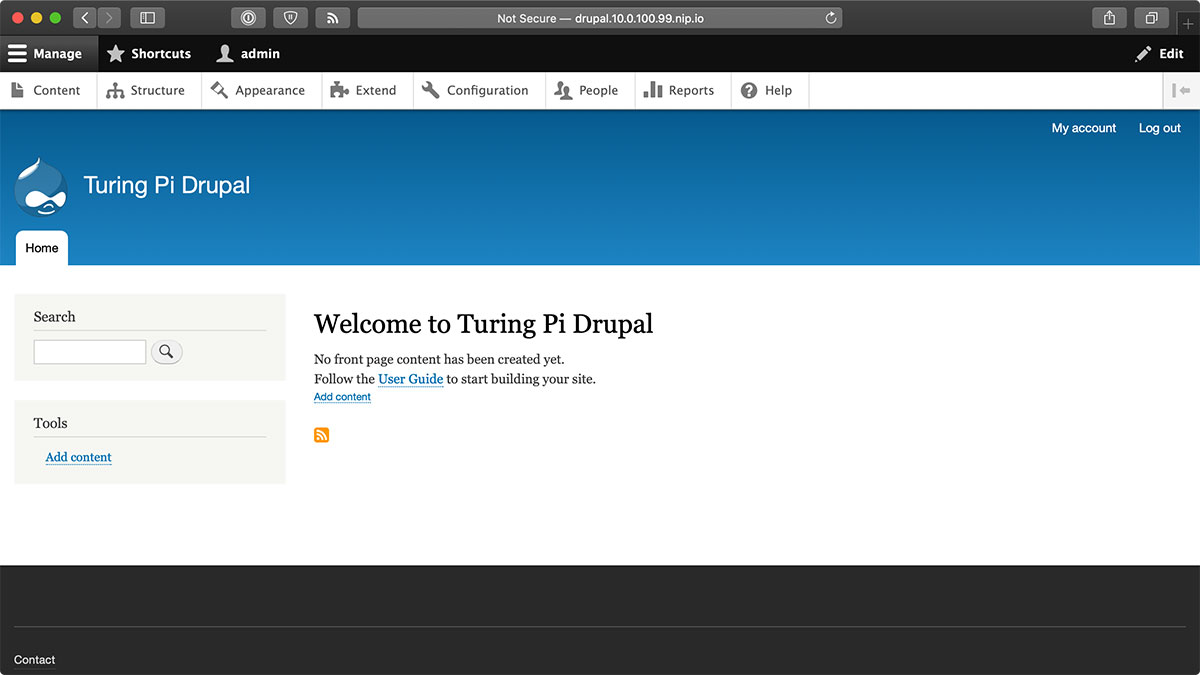
The way these manifests work is there is an 'Ingress' resource that tells Kubernetes to accept requests for the hostname drupal.10.0.100.99.nip.io. Those requests should be routed to the 'Service' named drupal on port 80. The drupal Service then directs requests to containers that are part of the drupal 'Deployment'. And the 'Deployment's containers have a 'PersistentVolumeClaim' that allows the containers to store data permanently so if the Drupal container dies, the files will still be accessible after Kubernetes launches a replacement.
Things may be a little over your head, but that's okay. Kubernetes is like that, and you really have to experiment and be willing to accidentally break your cluster a lot, then rebuild it, before you start getting the hang of all the resources you have to deploy in Kubernetes, and how they are tied together.
In the end, I accessed the hostname drupal.10.0.100.99.nip.io in my browser, then went through Drupal's install UI, and finally got a fresh new Drupal website running on my cluster!
Wordpress
Drupal is a pretty popular CMS that powers many of the world's largest websites, but a similar application that's also built with PHP and uses a database is Wordpress.
I also have a very basic Wordpress in Kubernetes K3s on Raspberry Pi configuration, and it looks very similar to the Drupal configuration.
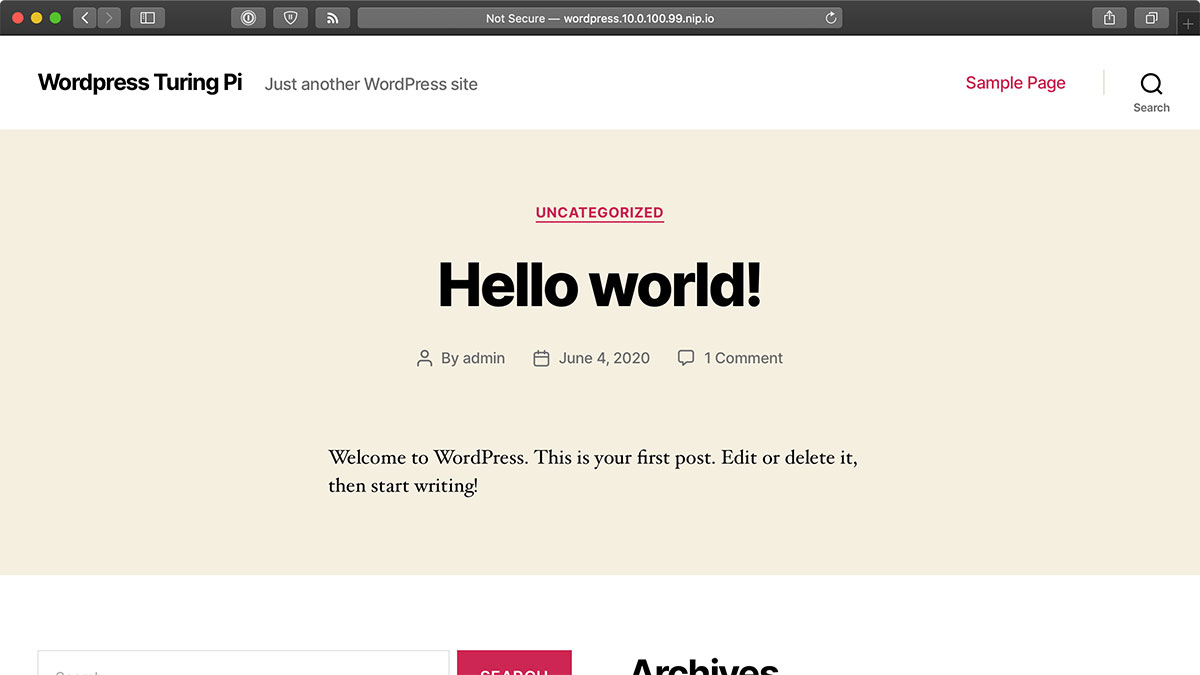
Following the same steps as with the Drupal manifests, I downloaded the manifests and applied them to the cluster. After a couple minutes, the Wordpress and MariaDB Pods were up and running, and I visited the Wordpress hostname wordpress.10.0.100.99.nip.io.
The installation was much faster, as Wordpress doesn't require as many resources as Drupal to install itself on your server, and a minute or so later, I had a Wordpress website also running on my cluster!
Minecraft
Now, running websites on the cluster is great, and you could even consider hosting a website that's accessible to the Internet, but I like to have fun with my Raspberry Pis, and one fun game that you can enjoy with your friends either on the same home network or over the internet is Minecraft.
Minecraft has a server you can download and run, and lucky for us, there's a Helm chart available for it.
What's Helm, you ask? Well, many people manage applications using raw YAML manifest files like we did for Drupal and Wordpress. Some people use tools like kustomize or Ansible to template manifests and manage application deployments in Kubernetes or K3s. Helm is a widely used tool to do the same thing, and there are pre-made Helm 'Charts' available to install almost any popular software you might know of. They might not always be the right fit, but Helm Charts are often the quickest way to try new things in a Kubernetes cluster.
To get started with Helm, you have to install it. I did that on the Turing Pi master node using the Helm install guide, and you just have to download the right binary—arm for a 32-bit OS like HypriotOS, or arm64 for a 64-bit OS—and then move the downloaded helm binary into the /usr/local/bin folder.
For minecraft, there's a semi-official minecraft Helm chart in the 'stable' Helm repository, so to use it, you have to add that repository to Helm:
helm repo add stable https://kubernetes-charts.storage.googleapis.com
Then create a namespace to hold Minecraft and its resources:
kubectl create namespace minecraft
Kubernetes namespaces are great for isolating different applications. Drupal and Wordpress have databases that are only accessible within their own Kubernetes namespace (though you could configure them to be accessible outside as well). And namespaces are easy to delete if you mess one up; deleting a namespace deletes everything inside so you don't have to try cleaning up a bunch of Kubernetes resources in the default namespace!
Now, we can use Helm to create a minecraft server instance in the cluster, but first, we need to create a minecraft.yaml file with the 'values' that Helm will use for our particular cluster—some of these values are required to make Minecraft server run better on a lightweight CPU like the one in the Compute Module 3+ that I'm using in the Turing Pi cluster. So create minecraft.yaml with the contents:
---
imageTag: armv7
livenessProbe:
  initialDelaySeconds: 60
  periodSeconds: 10
  failureThreshold: 180
readinessProbe:
  initialDelaySeconds: 60
  periodSeconds: 10
  failureThreshold: 180
minecraftServer:
  eula: true
  version: '1.15.2'
  Difficulty: easy
  motd: "Welcome to Minecraft on Turing Pi!"
  # These settings should help the server run better on underpowered Pis.
  maxWorldSize: 5000
  viewDistance: 6
And then run the following command to deploy the Helm chart:
helm install --version '1.2.2' --namespace minecraft --values minecraft.yaml minecraft stable/minecraft
Minecraft server takes a while—up to 15-20 minutes on the Compute Module 3+!—to generate it's world, and you can monitor that progress by running:
kubectl logs -f -n minecraft -l app=minecraft-minecraft
After a little while, you should see a message like:
[12:25:47] [RCON Listener #1/INFO]: RCON running on 0.0.0.0:25575
And that's when you can connect to the server; open up Minecraft on your Mac, PC, or whatever other device, use Multiplayer and then Direct Connect, and connect to the server on the Turing Pi cluster. The server should be something like:
10.0.100.70:30767
You can get the IP address (EXTERNAL-IP) and port (PORT, the part between the : and /TCP) using this command:
kubectl get service -n minecraft
And now you can start playing Minecraft with your friends!
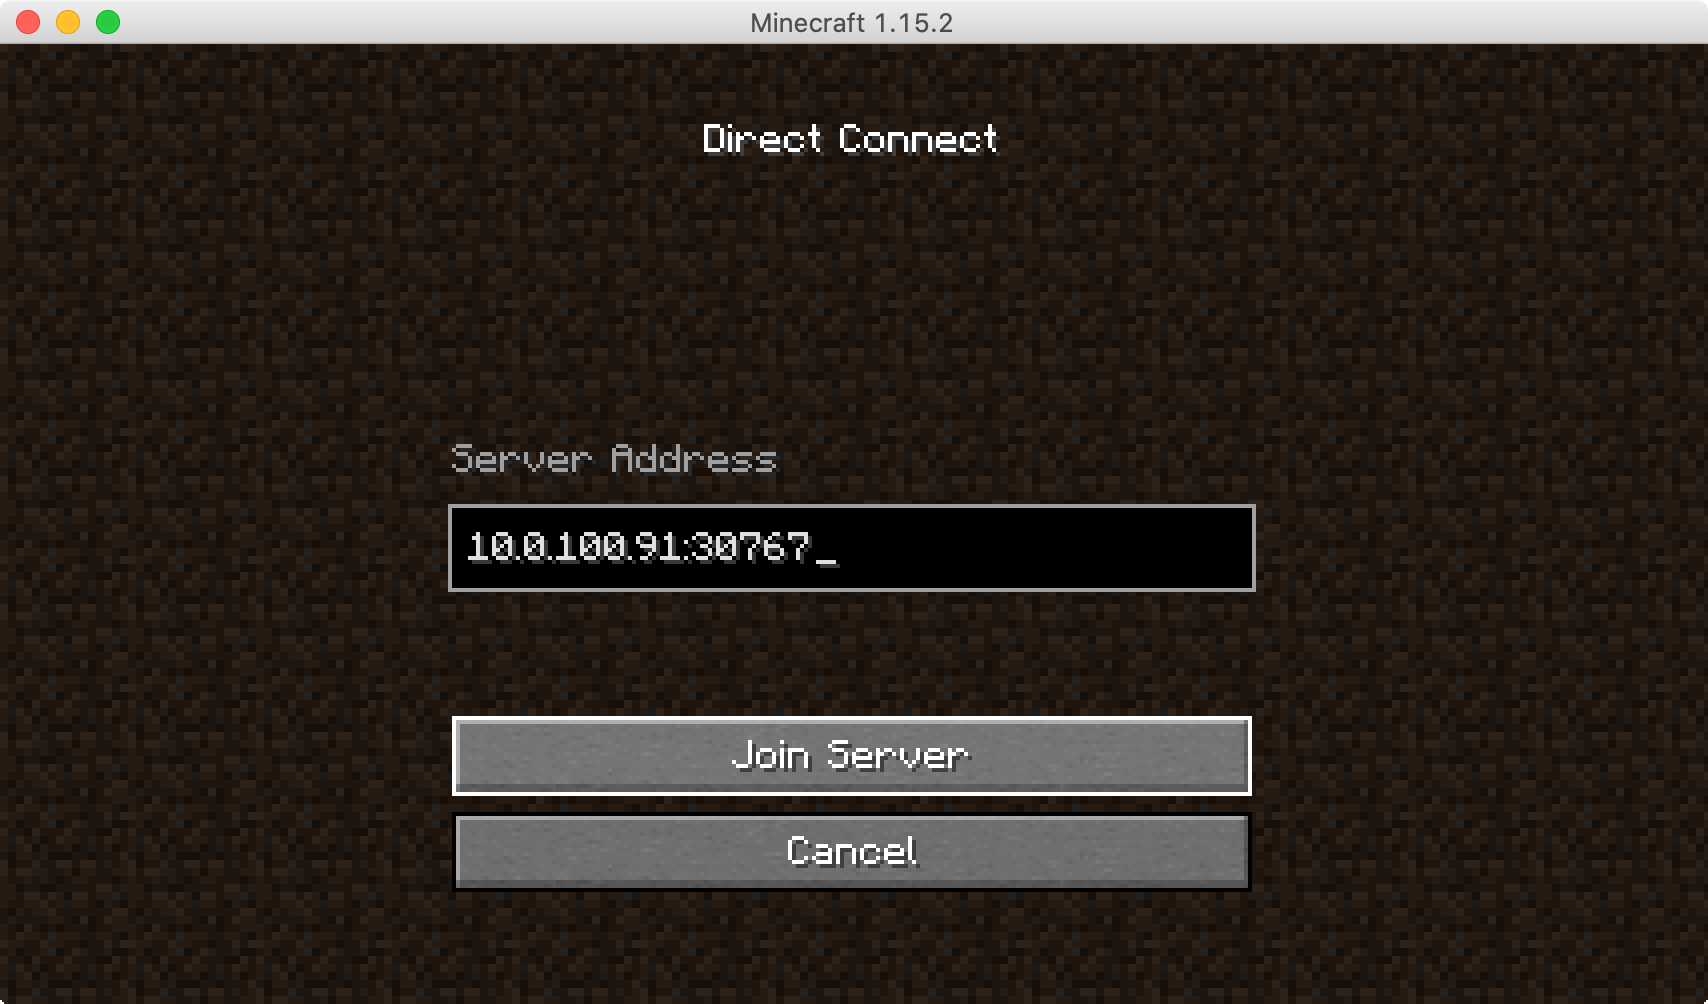
The Raspberry Pi Compute Module 3+ isn't the best Minecraft server in the world, even though it works... you may want to consider running Minecraft server on a Pi 4 or another faster computer with more RAM available. I'll get more into benchmarking in the next Turing Pi cluster episode!
Pi-hole
Now there's one other tool I like to run in my house to help blocking ads or other unwanted content, and also to allow me to set up some custom DNS rules for different devices like Raspberry Pis that I use around the house.
That tool is Pi-hole, and it's pretty easy to get installed—especially since there's a Helm chart that does all that work for you!
GitHub user Christian Erhardt maintains a pihole Helm chart in a custom Helm repository, so the first step is to add that custom repository:
helm repo add mojo2600 https://mojo2600.github.io/pihole-kubernetes/
Now create a namespace inside which you can deploy Pi-hole:
kubectl create namespace pihole
As with Minecraft, there are a few values we need to override to get Pi-hole working correctly on the Turing Pi cluster, so create a values file named pihole.yaml and put the following inside:
---
persistentVolumeClaim:
  enabled: true
ingress:
  enabled: true
serviceTCP:
  loadBalancerIP: 'LOAD_BALANCER_SERVER_IP_HERE'
  type: LoadBalancer
serviceUDP:
  loadBalancerIP: 'LOAD_BALANCER_SERVER_IP_HERE'
  type: LoadBalancer
resources:
  limits:
    cpu: 200m
    memory: 256Mi
  requests:
    cpu: 100m
    memory: 128Mi
# If using in the real world, set up admin.existingSecret instead.
adminPassword: admin
Substitute the IP address of one of your Pi worker nodes for the LOAD_BALANCER_SERVER_IP_HERE (e.g. 10.0.100.99).
Then use Helm to install Pi-hole:
helm install --version '1.7.6' --namespace pihole --values pihole.yaml pihole mojo2600/pihole
After a couple minutes (check on the progress with kubectl get pods -n pihole), Pi-hole should be available, and if you edit your computer's /etc/hosts file and add a line like 10.0.100.99 pi.hole, then you can access the web UI (and log in with password 'admin') by visiting http://pi.hole:

On my Mac, I can now change the DNS server in my Network System Preferences to the IP address 10.0.100.99, and now Pi-hole will start serving DNS for my Mac, and blocking ads and trackers however I configure it!
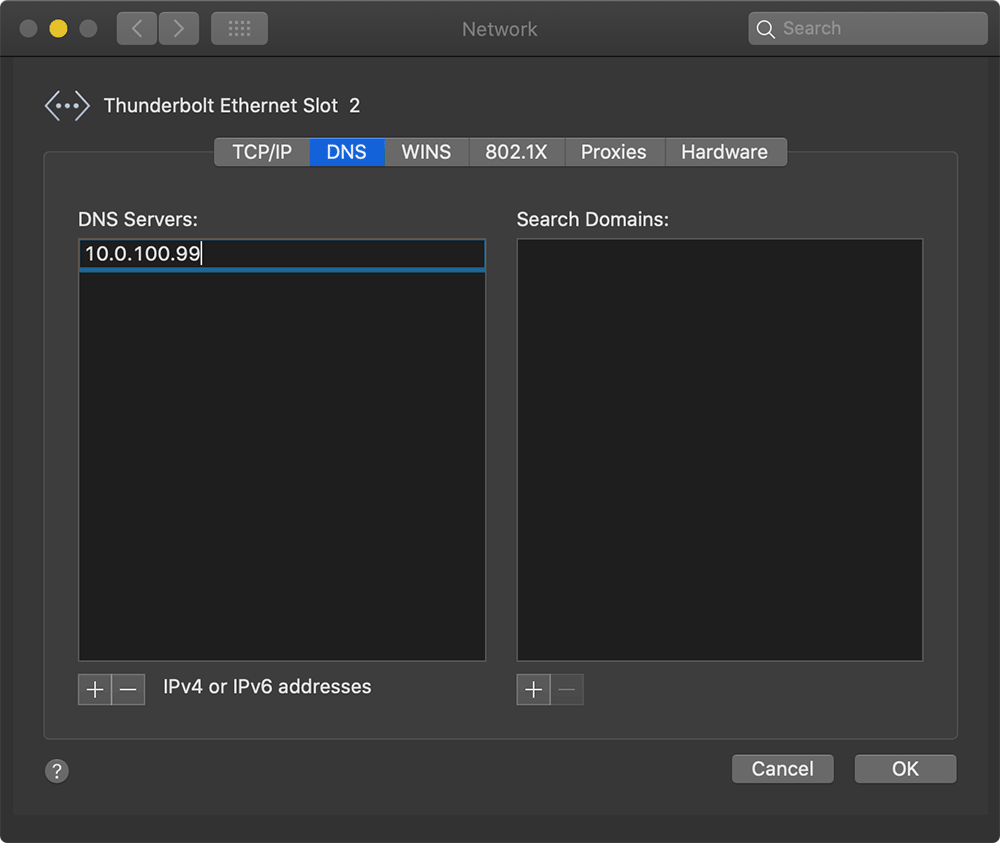
There's a lot more you can do with Pi-hole, so go to read the Pi-hole documentation for more!
Summary
So those were just a few of the things you can run on a cluster.
But throughout my time working on these different deployments, I learned a lot about the limitations of the Compute Module 3+, so I'm looking forward to the Compute Module 4, which is coming out later this year. It should be a lot faster, and hopefully, it will have options with more RAM!
And it would be crazy for me to do all this work, and not share it with you. Time and again, you have been generous in supporting me, like on Patreon and GitHub Sponsors (and if you don't already support my work there, please consider doing it!).
So to give back, I've been secretly maintaining a repository for the Turing Pi Cluster project, which is still a work in progress, but will quickly, and automatically, bootstrap ALL the apps that I just showed in this video, on your own cluster, using Ansible. It doesn't even have to be a Turing Pi cluster! You can run it on any kind of ARM cluster. And today, I released that project as open source code on GitHub, so you can use it as you like; here it is: Turing Pi cluster configuration for Raspberry Pi.
In fact, I ran this automation on my own Raspberry Pi Dramble cluster, which has four Raspberry Pi 4's with 2 GB of RAM each, and then I did a bunch of benchmarks on the two clusters, to see how they perform.
The results were surprising—in many cases, the Pi Dramble cluster ran things twice as fast as the Turing Pi cluster! There are a number of reasons for this, but the main one is the Pi 4 is overall a much better and faster computer than the Compute Module 3+.
But how much better? And does the new 64-bit Raspberry Pi OS change anything? And what are my thoughts on the Turing Pi after having done all of this? Well, to find out, subscribe to my YouTube channel. In the next video, I'm going to give a more thorough review of the Turing Pi itself. And please comment below if you have any questions about the Turing Pi, K3s, or clusters in general. I will do a follow-up video with questions and answers soon!
Comments