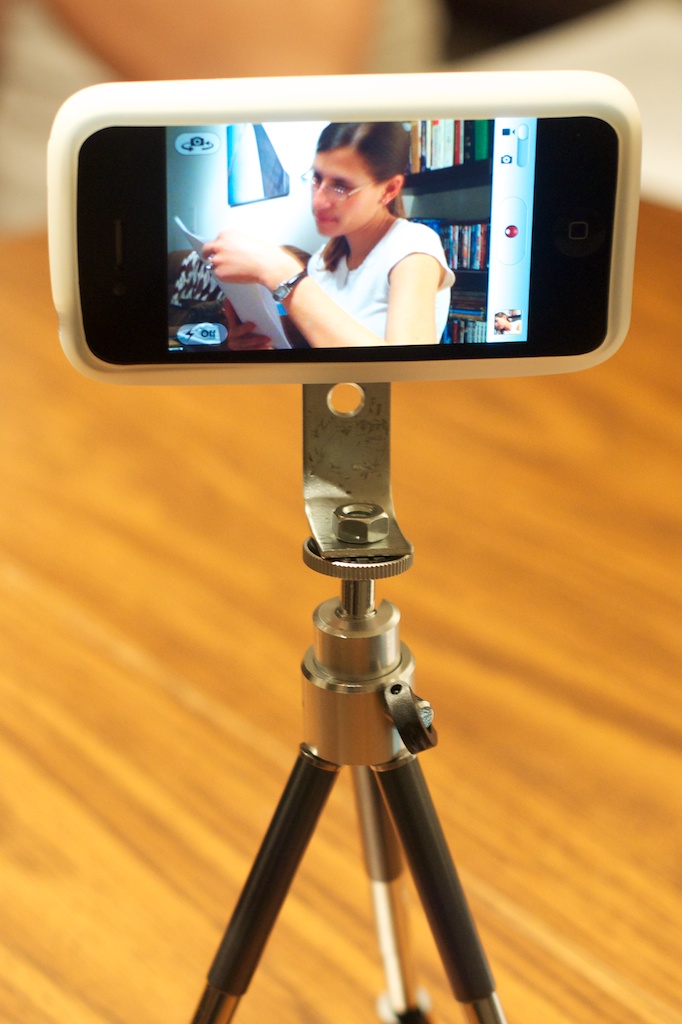
DIY $10 iPhone 4 & 3G/3Gs Tripod Adapter/Case
⚠️ Warning
This post is more than 10 years old. I do not delete posts, because even old information is still useful, but please know that some material on this page may be outdated or incorrect. Thanks!
This post is more than 10 years old. I do not delete posts, because even old information is still useful, but please know that some material on this page may be outdated or incorrect. Thanks!
Please read this article for background/more info: iPhone/iPad external microphones
[Update] Here are a few other commercially-available tripod mounts:
- Smartphone Tripod + Mount (review of the unit I bought - only $7!)
- The Glif - (elegant stand/mount for iPhone 4 - $20)
- SnapMount iPhone 4 Tripod adapter (simple yet sturdy - $18)
- OWLE Mount (Crazy expensive, but nice)
- Some other Tripod Mount Ideas
Parts Required
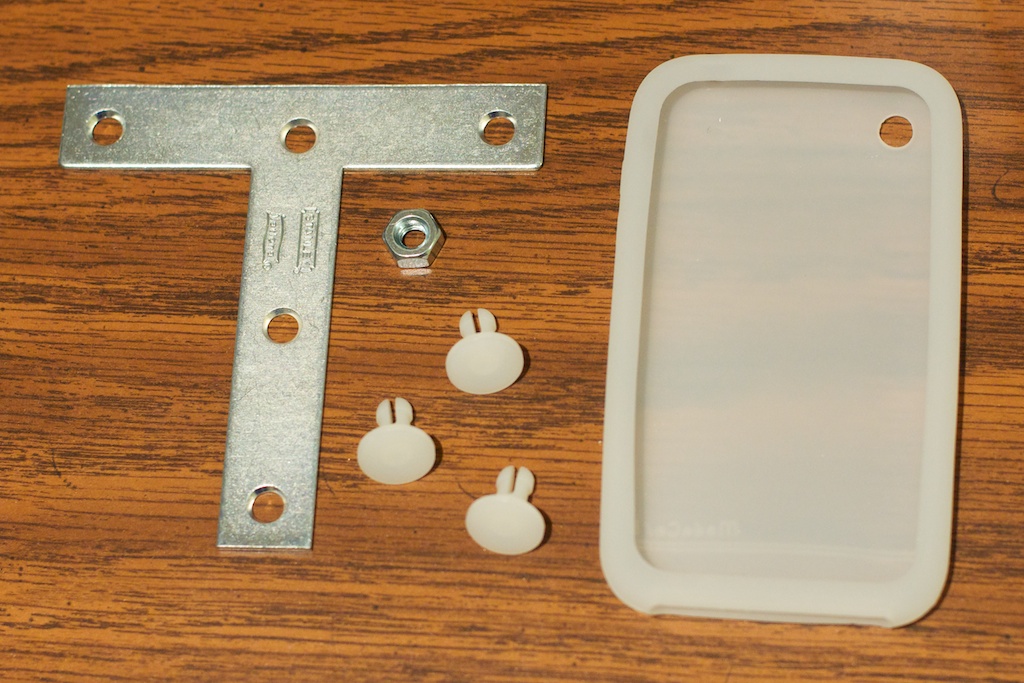
- Stanley 4" ZN T-Plate (2 pack) - $3.26 (#315657)
- 1/4 x 20 Hex Nut (single) - $0.04 (#63301 - although a winged hex nut would be better)
- Nylon Push in Fastners (375N - 2 packs of 2, from Home Depot) - $0.96
- iPhone case - pretty much any silicone case will do—3G/s cases work fine with the iPhone 4, bye the way (this one was $4.99)
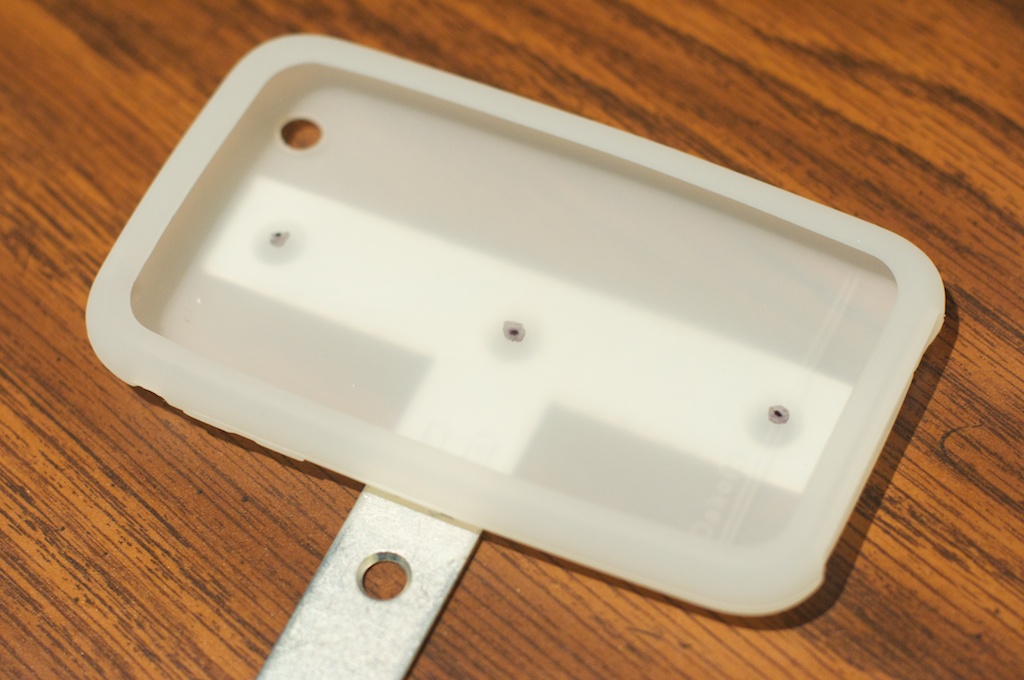
Putting the Parts Together
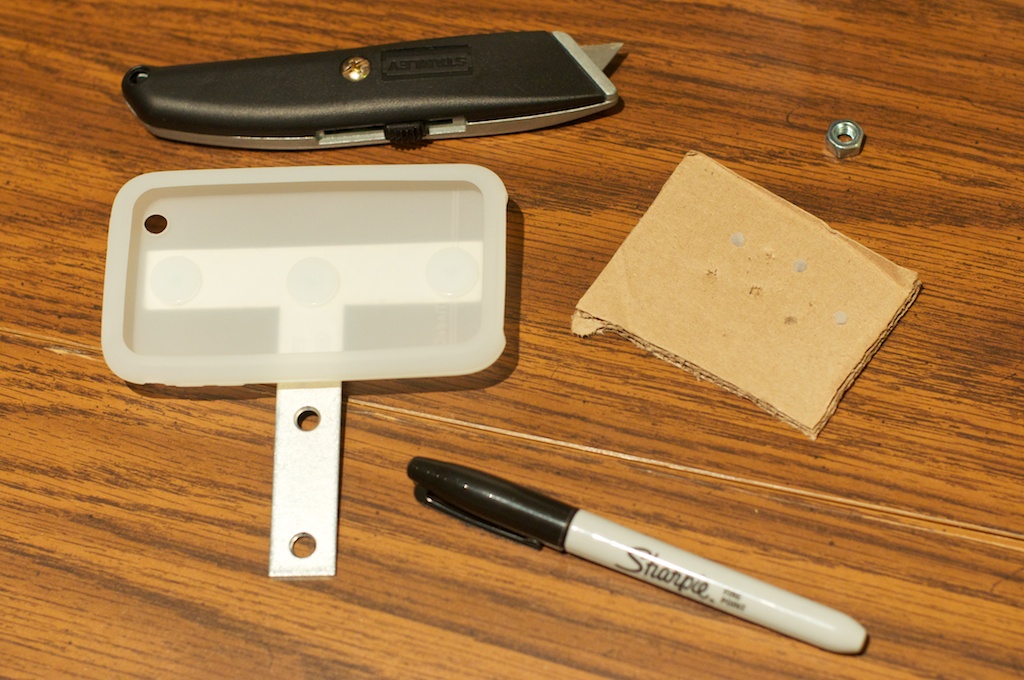
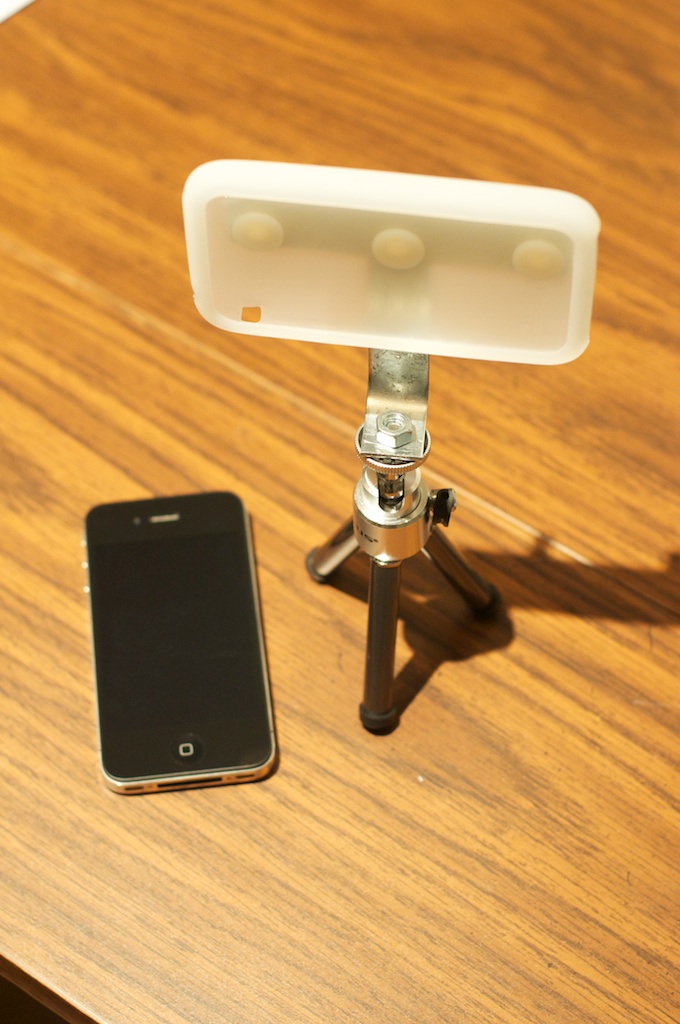
Step 1: Put Silicone iPhone case on top of the crossbar portion of the T-bar (see image), and mark the hole locations with a permanent marker. Using a razor blade/knife, cut small holes (about 1/8" diameter) where you made the marks (using a piece of cardboard as backing is a great idea!).
Notes:
- Since I was using a 3G/s case, I had to cut the camera hole a little bit to make the iPhone 4's camera fit within the hole properly.
- You could, alternatively, bend the T-bracket in some other fashion, or not at all, keeping in mind the balance of the iPhone while mounted on this tripod adapter—if you're using a tiny tabletop tripod, it might fall over if you have uneven weight distribution.
Comments